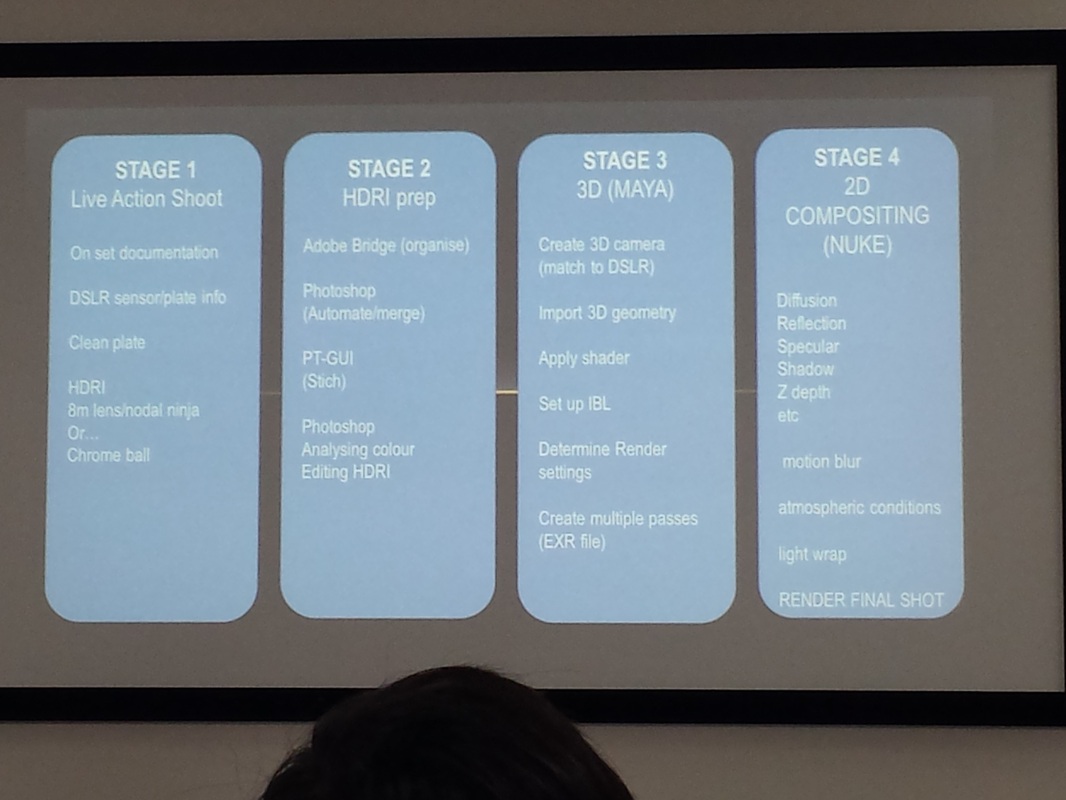
Compositing and Special Effects Techniques
HDRI - workshop
Overview:
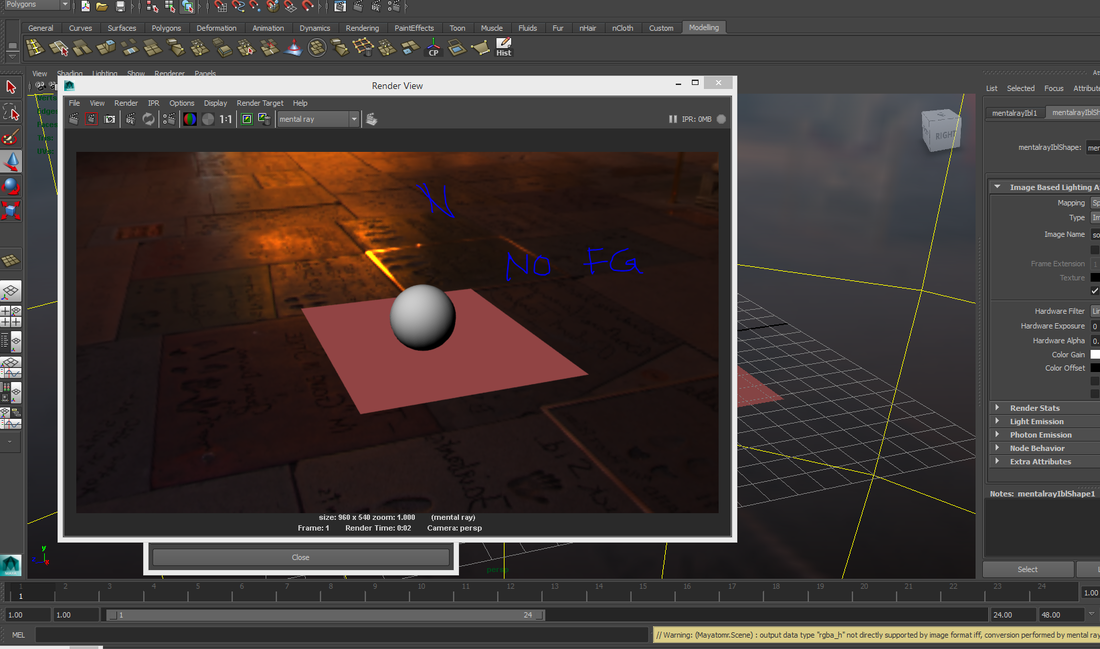
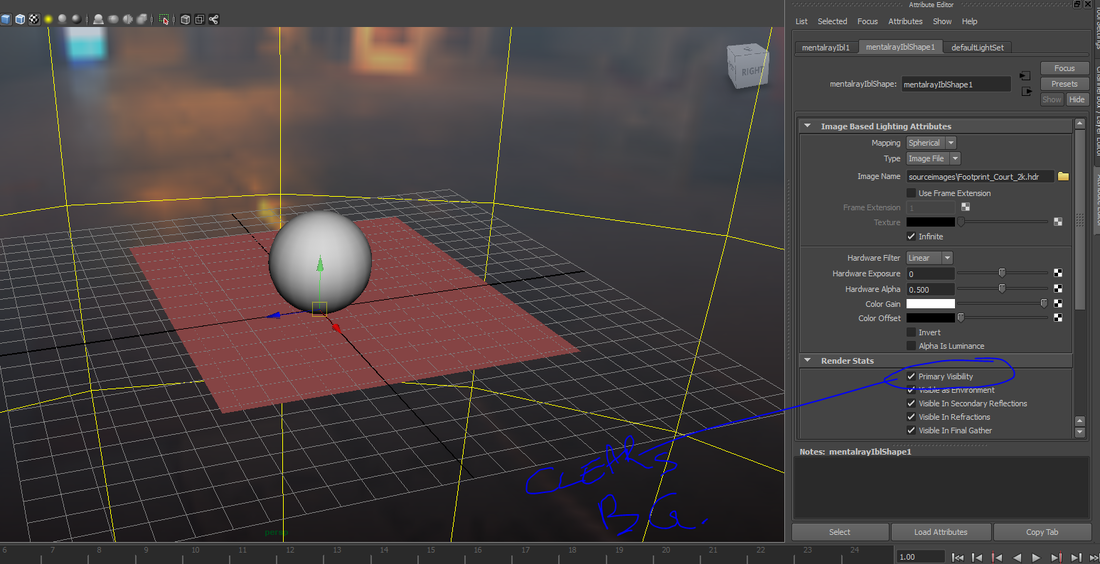
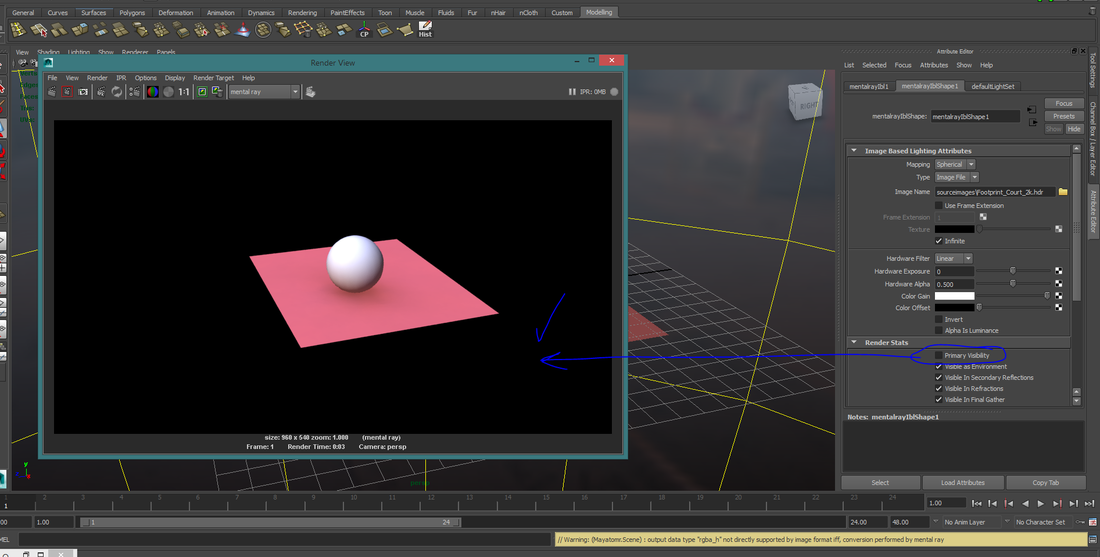
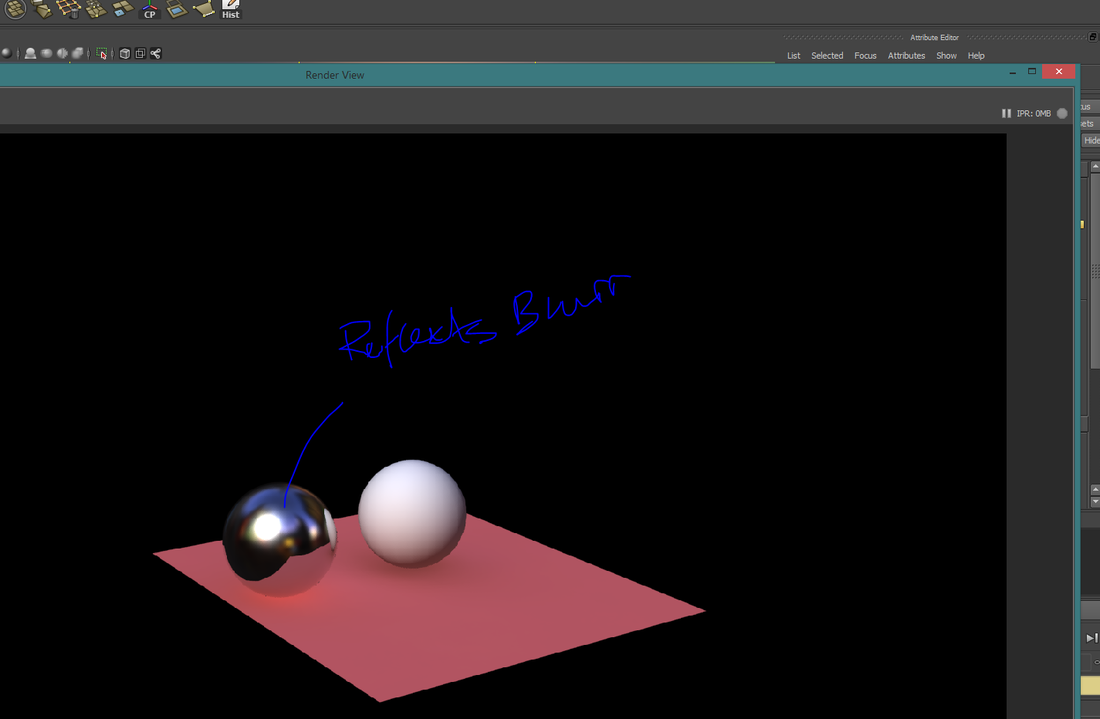
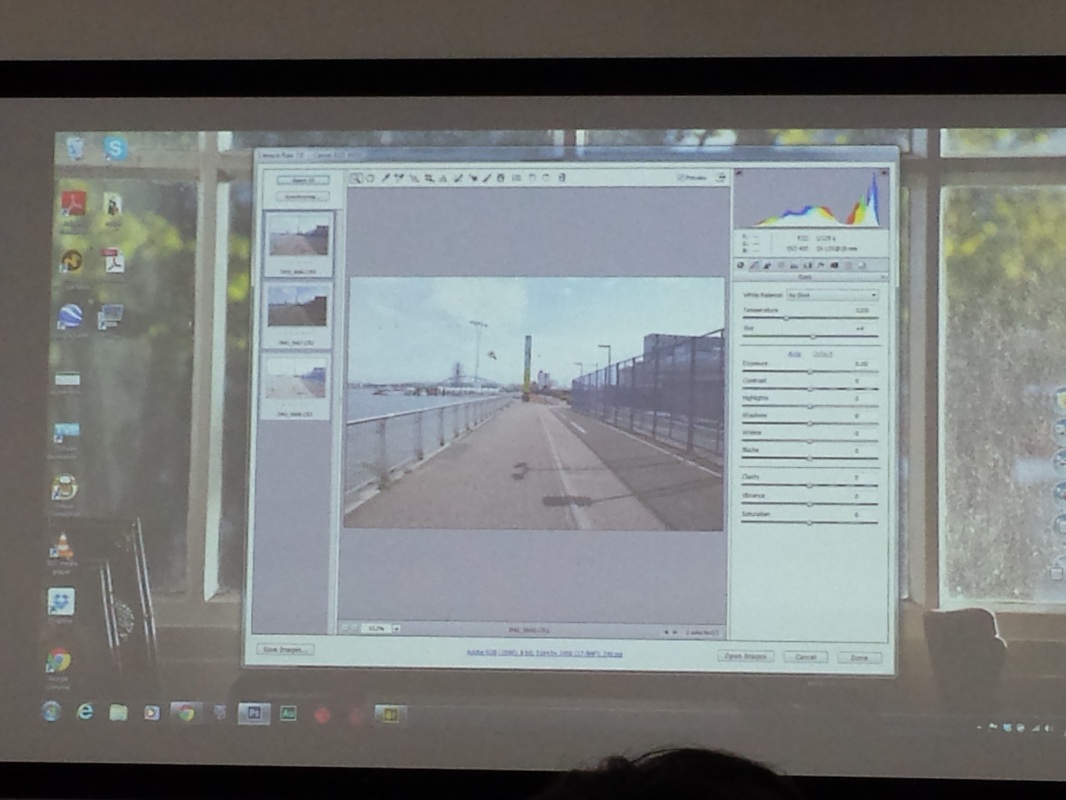
HDR images are used to capture the illumination data of the environment at one particular point. This image is used to render the 3d objects with proper / realistic lighting information of the environment.
HDR images are used to capture the illumination data of the environment at one particular point. This image is used to render the 3d objects with proper / realistic lighting information of the environment.
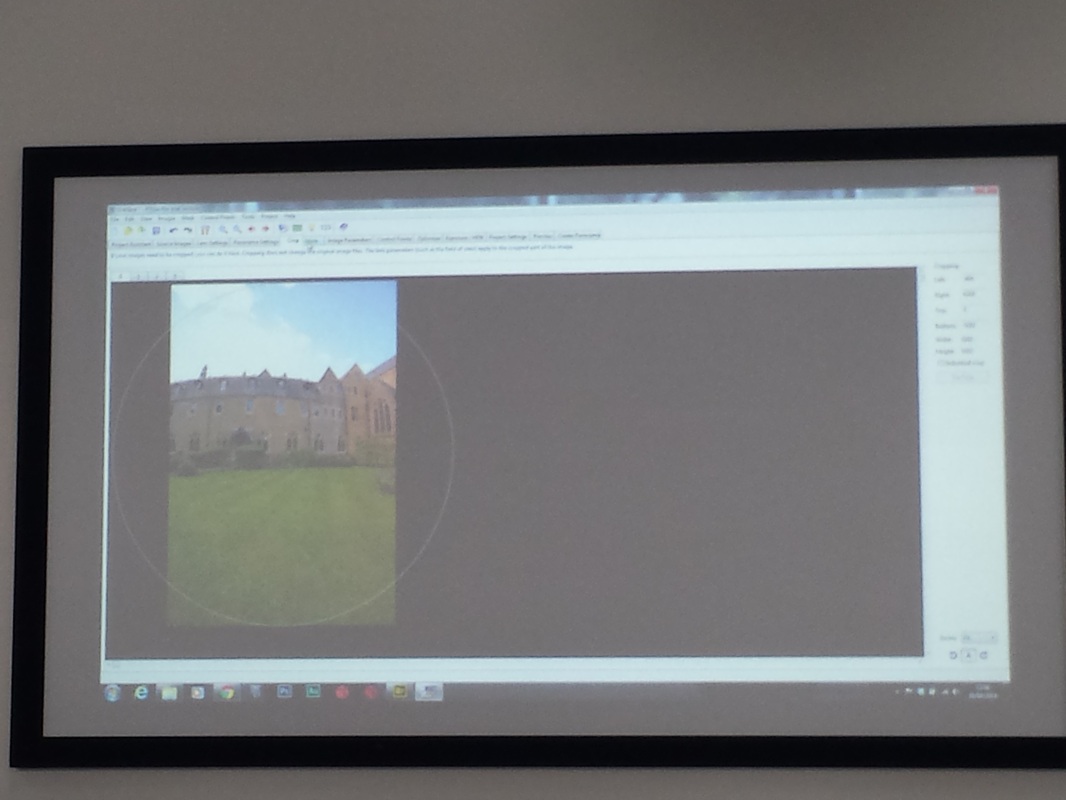
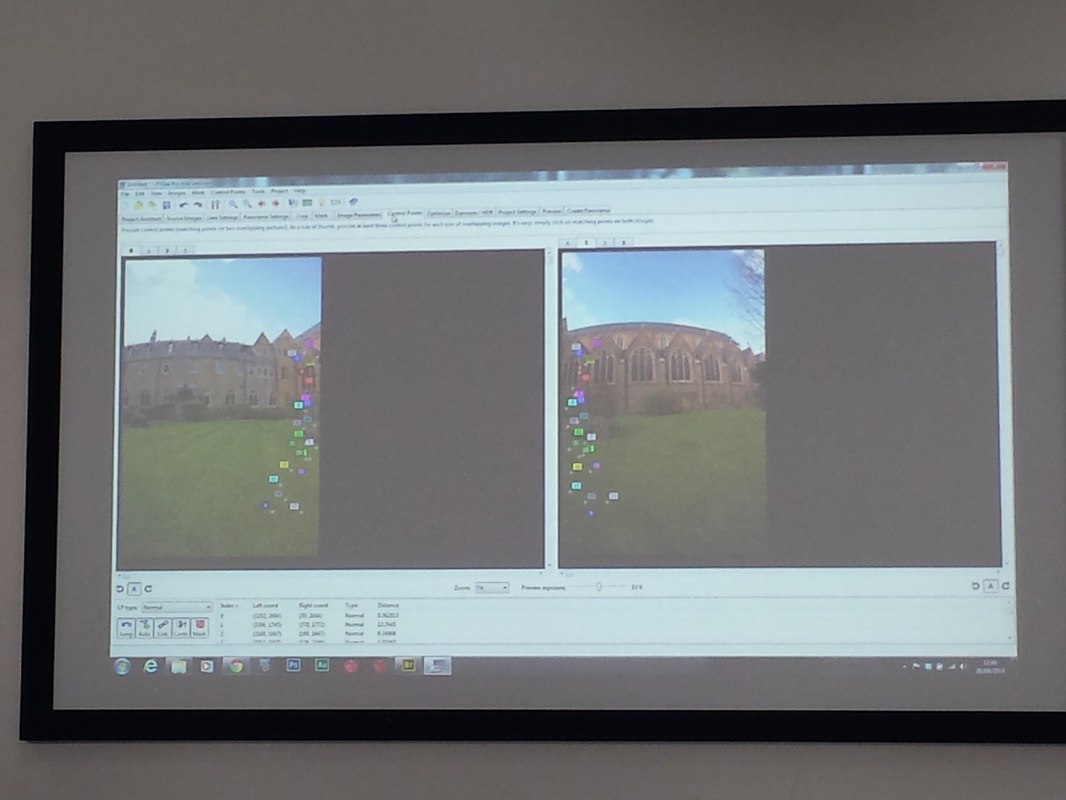
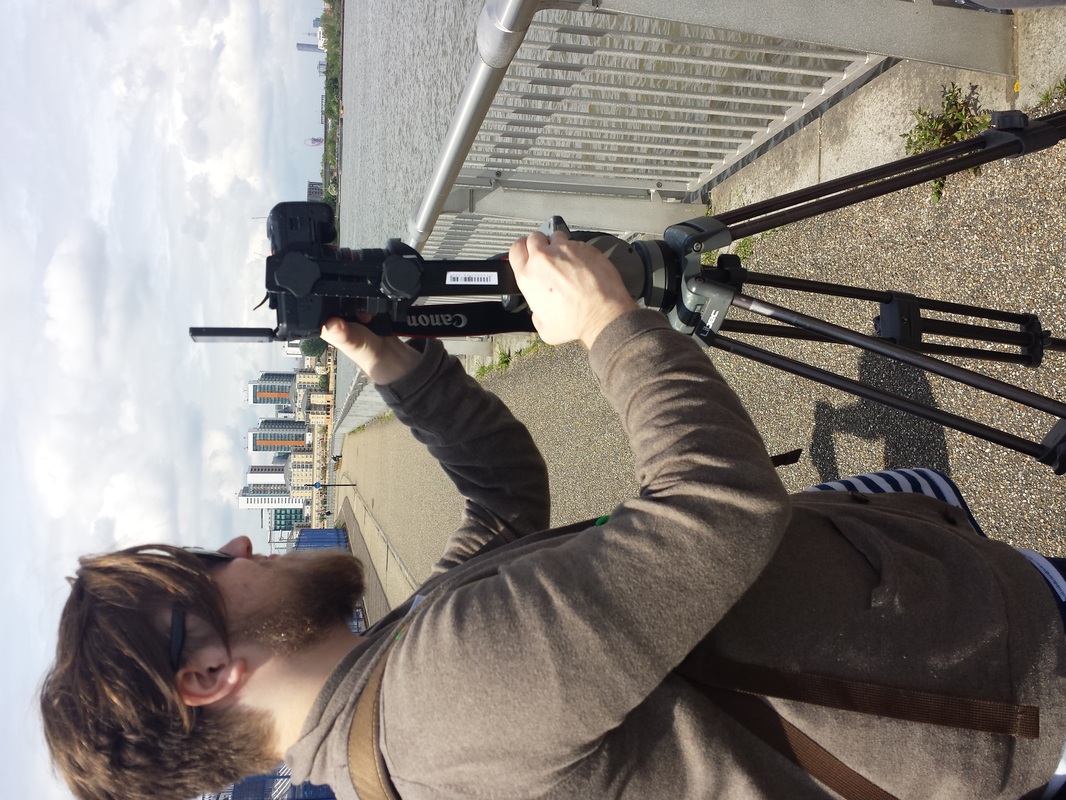
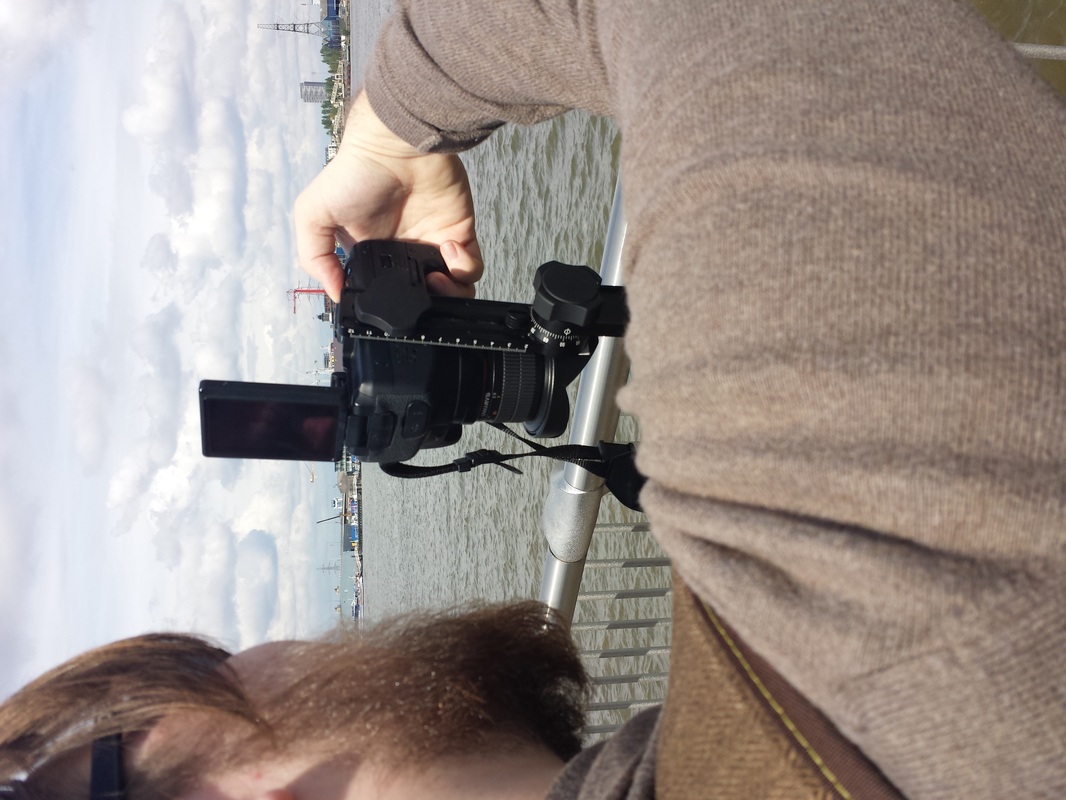
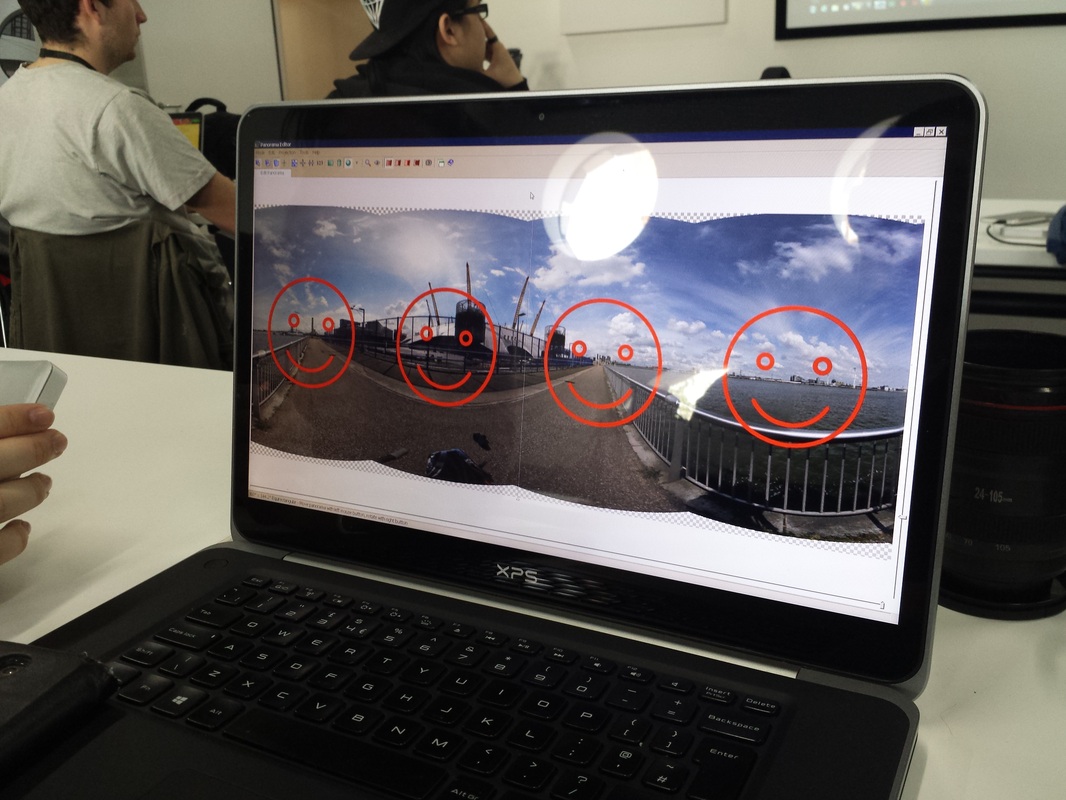
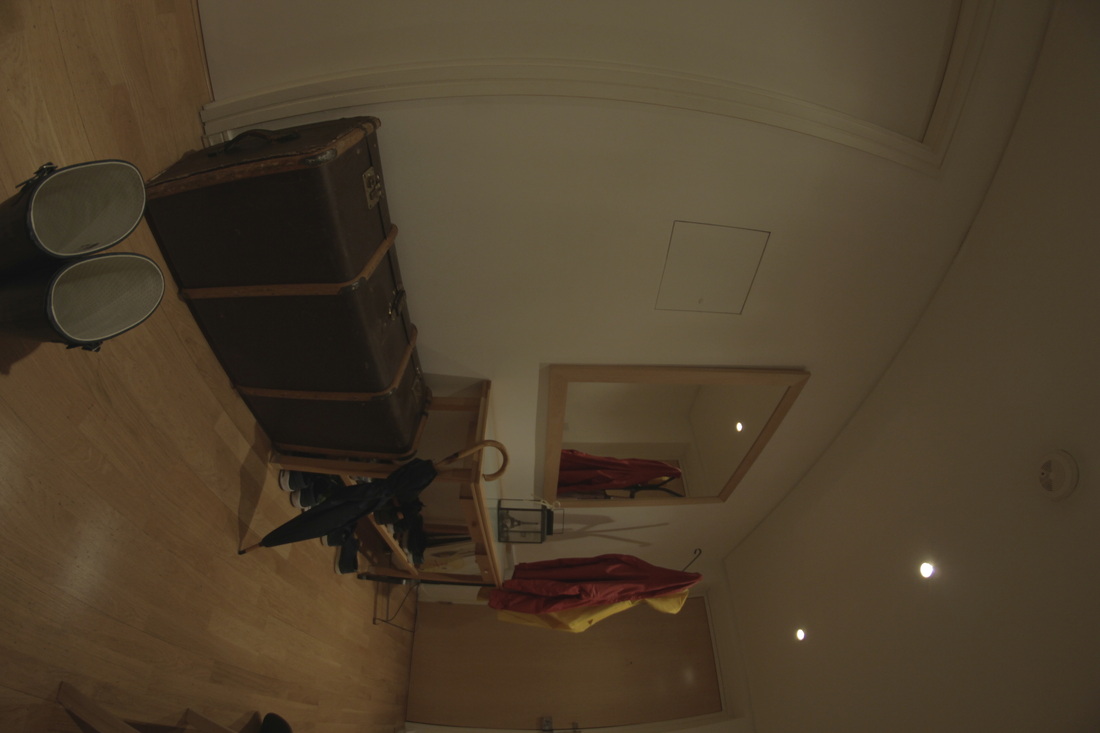
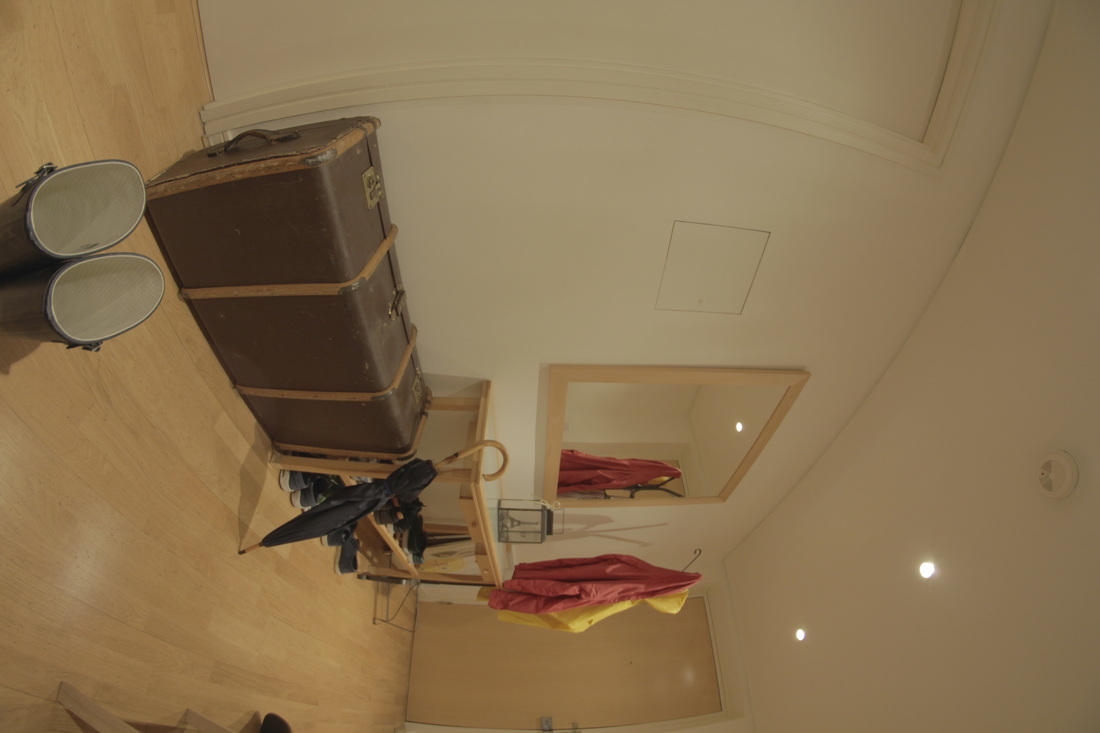
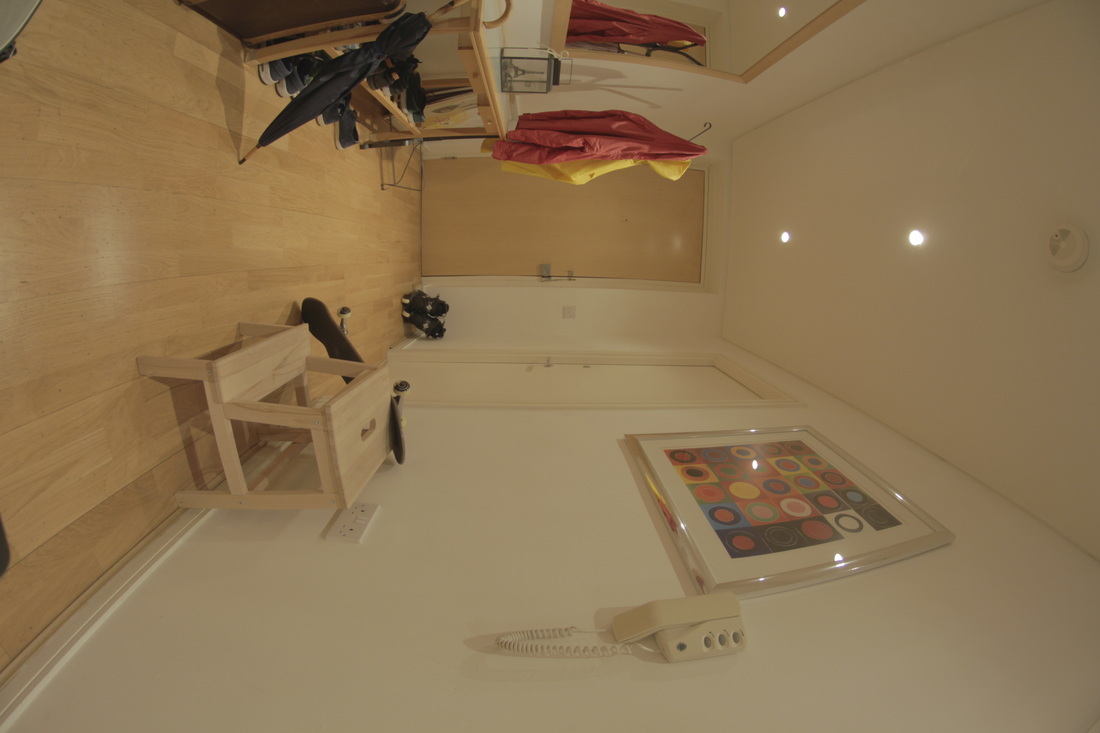
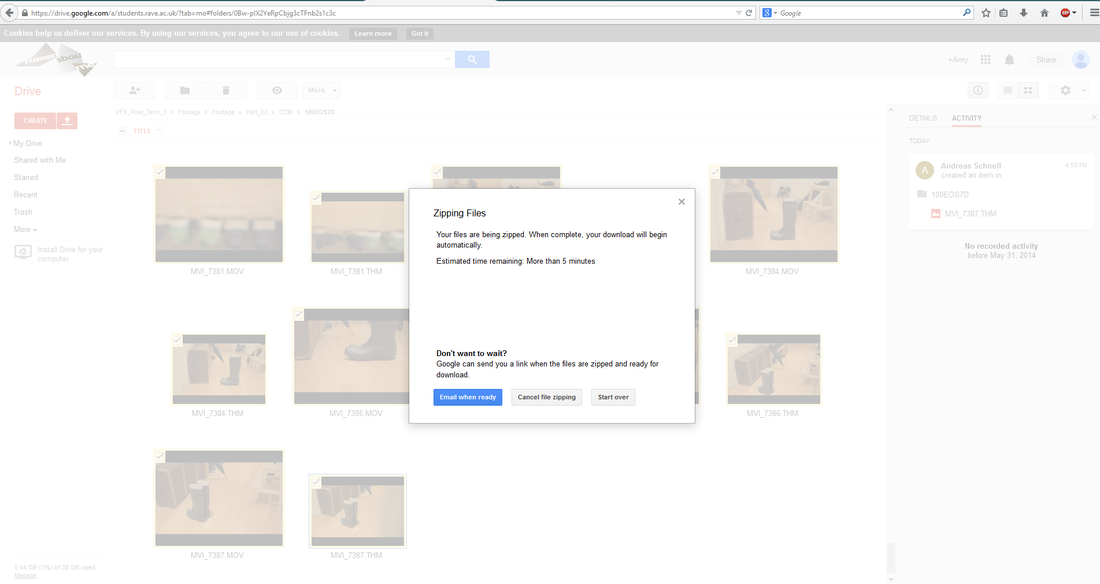
We had a chance to try our hand at using the nodal ninja with the fish-eye lens. Andreas, Lloyd and I teamed up to learn as much as we could, and set out to take the perfect panorama of the environment just behind the O2. We then had a chance to stitch it in PTGui, but unfortunately didn't have time to crack the serial code, so we ended up with 'smiley faces' across it as a watermark. See the images recorded below:
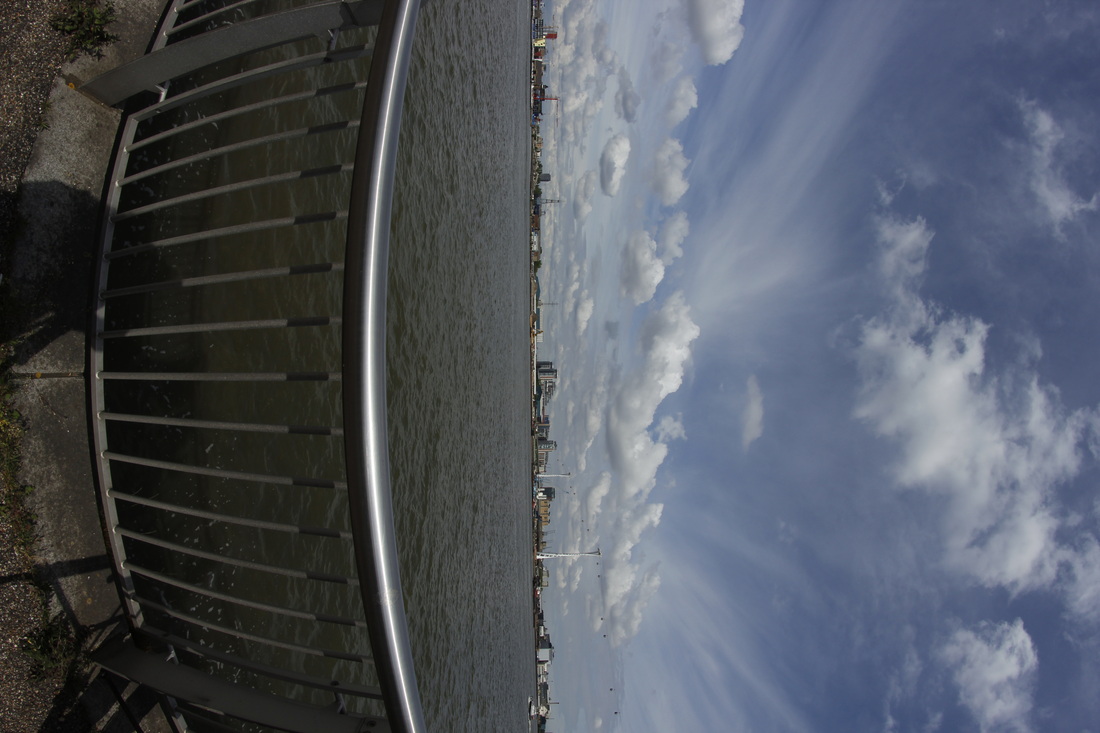
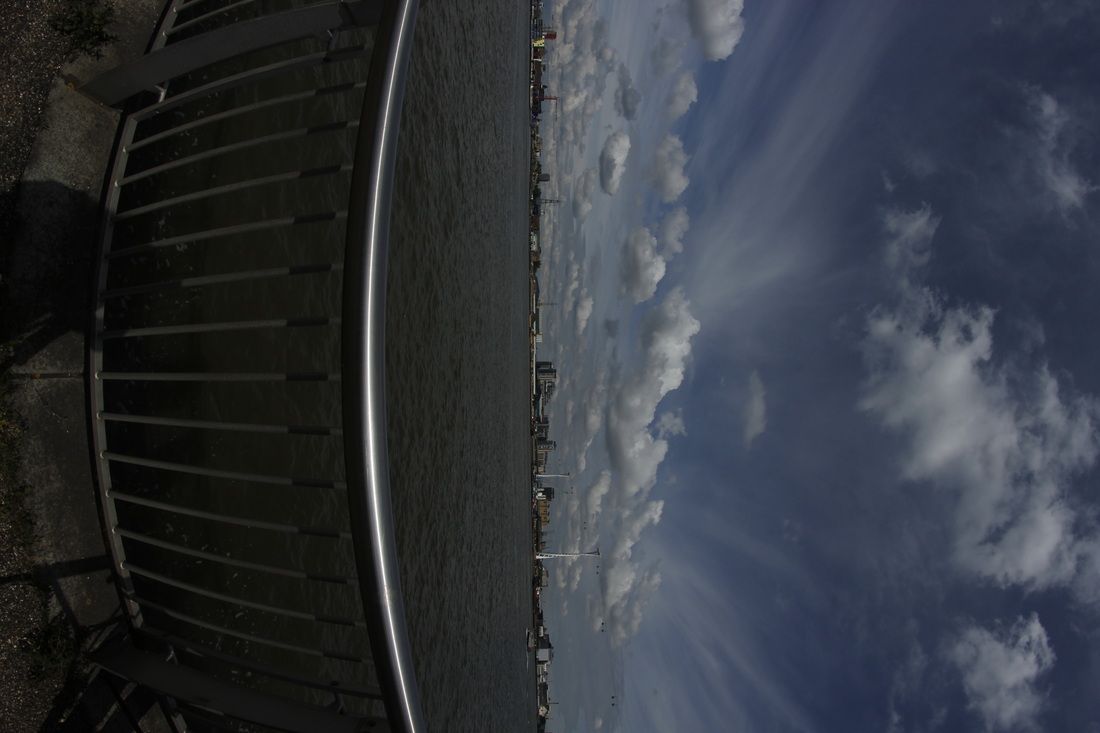
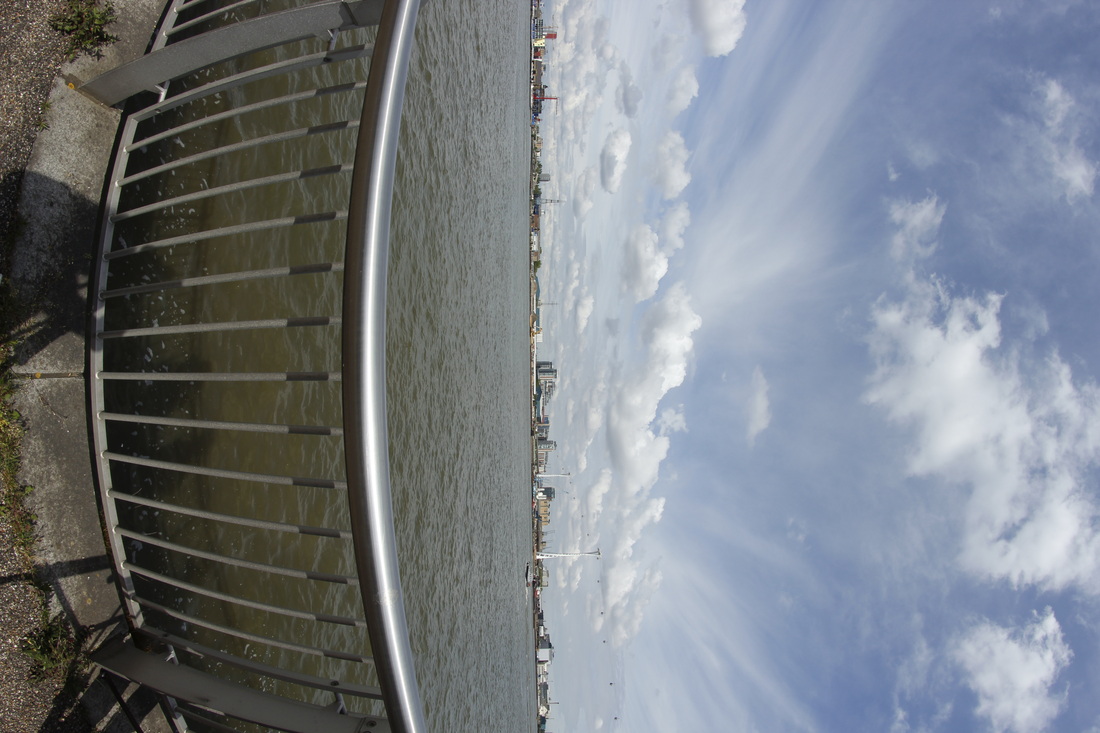


Examples of our own HDRIs
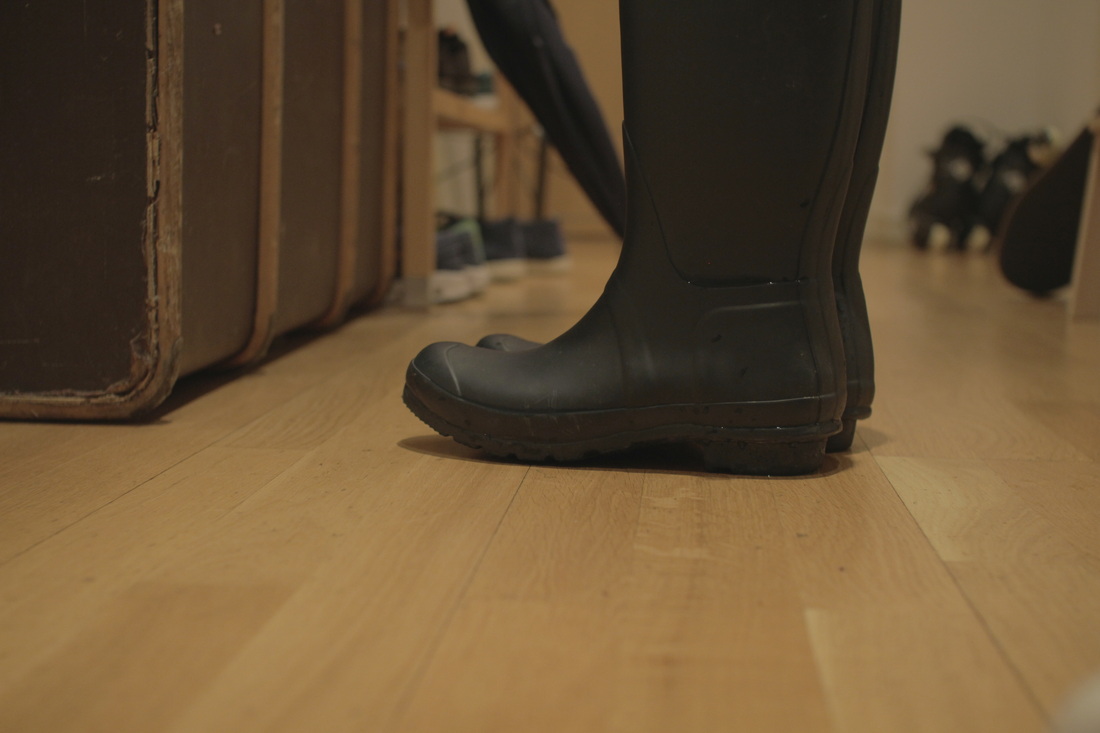
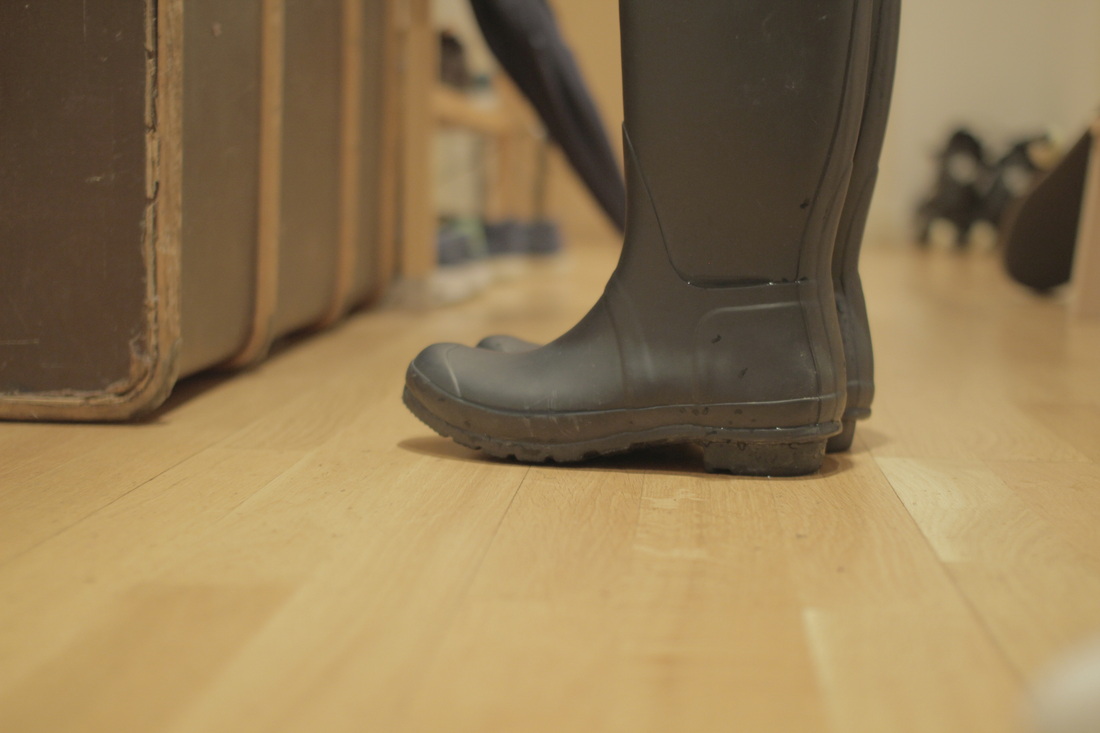
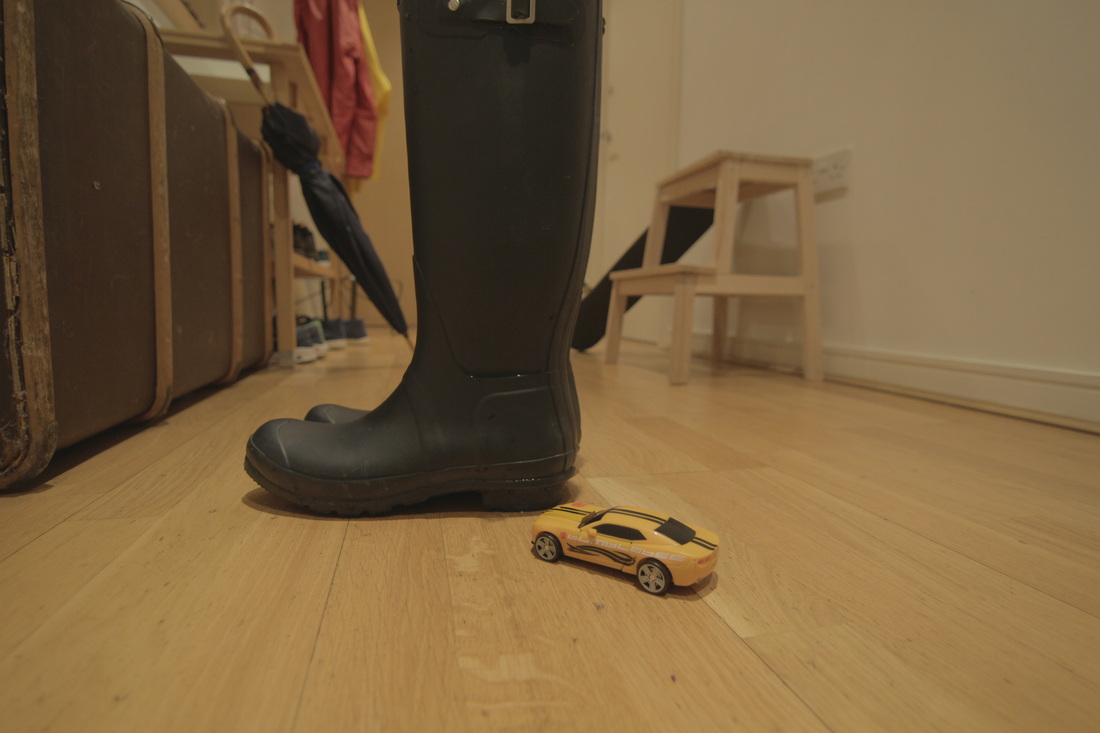
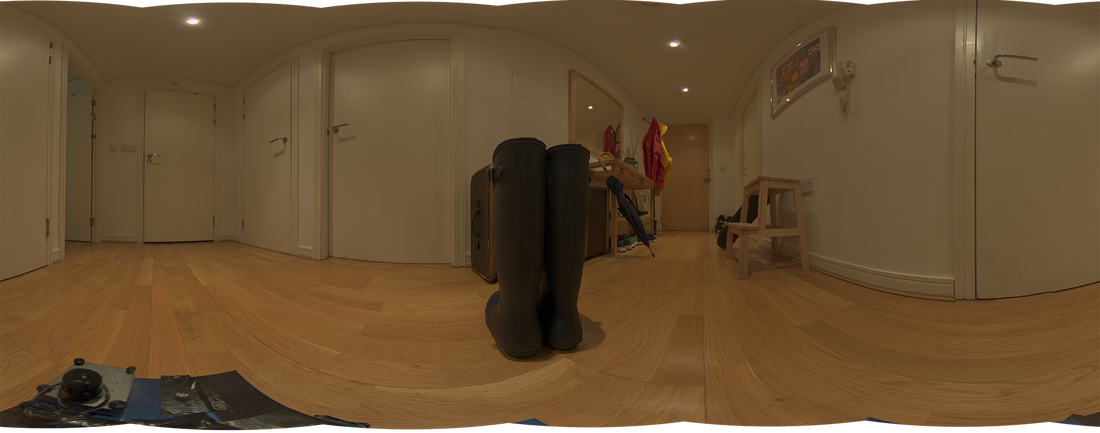
Some clips from our hallway shoot. We chose to film there in the end, rather that outside, because Jazz recommended we stick to a more 'household object' theme. We also have many more controllable factors, e.g lighting, weather, distances, no disturbance. etc...
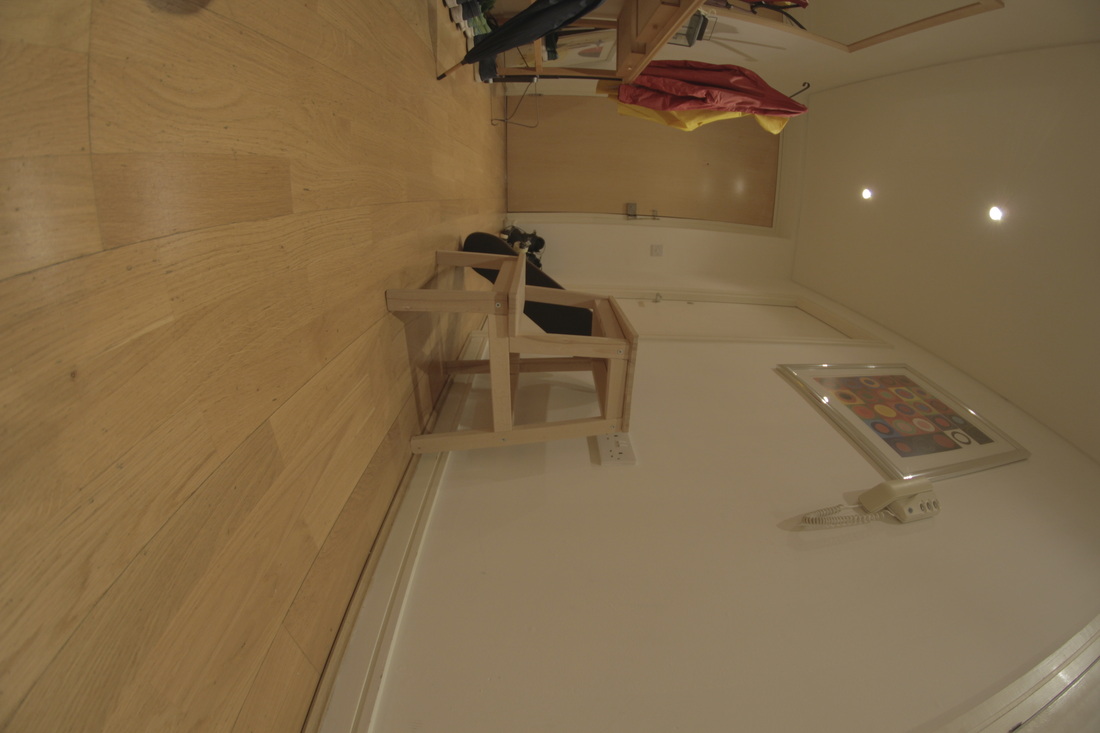
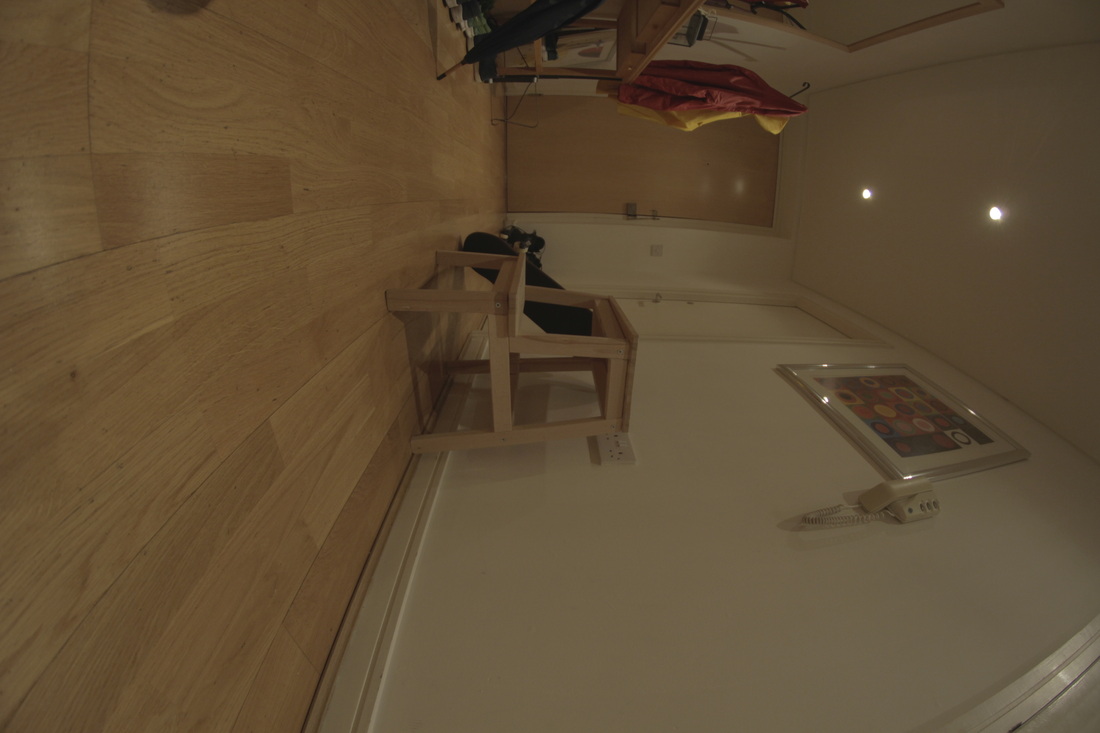
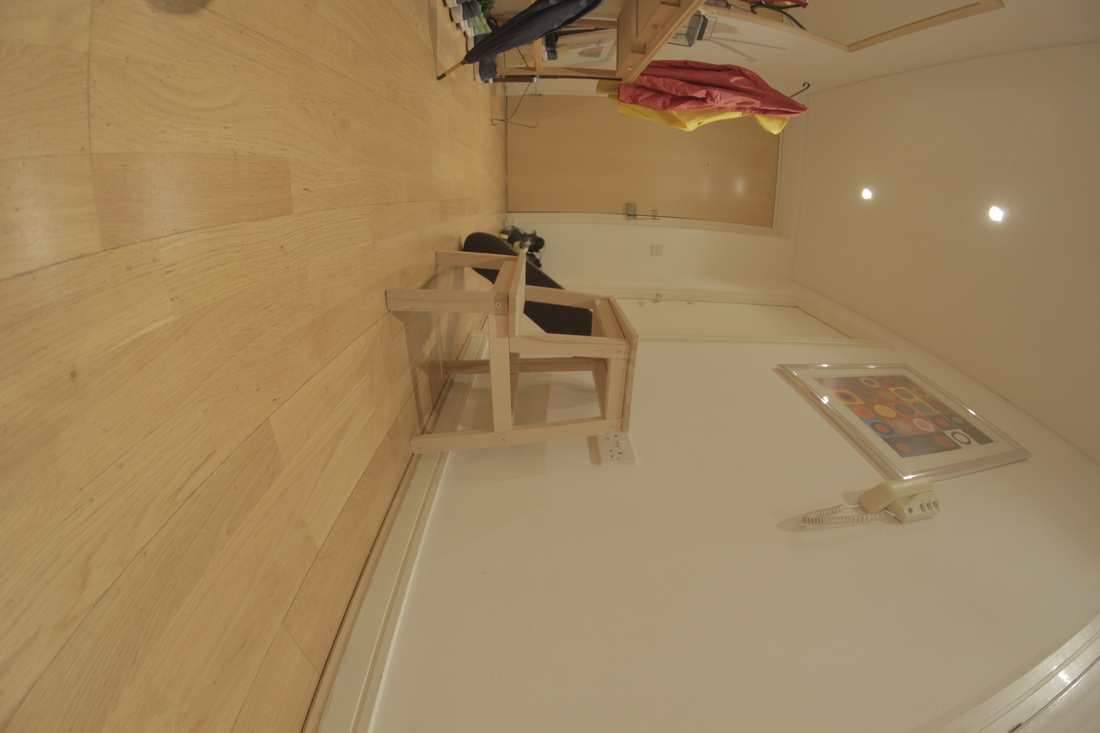

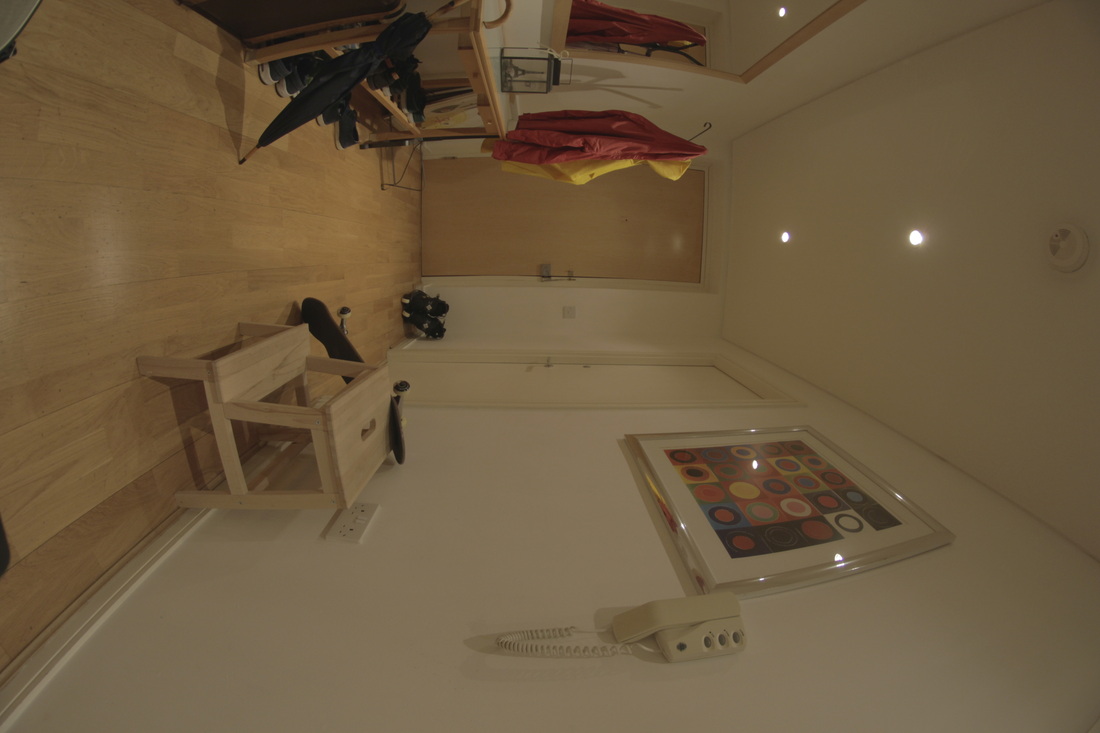
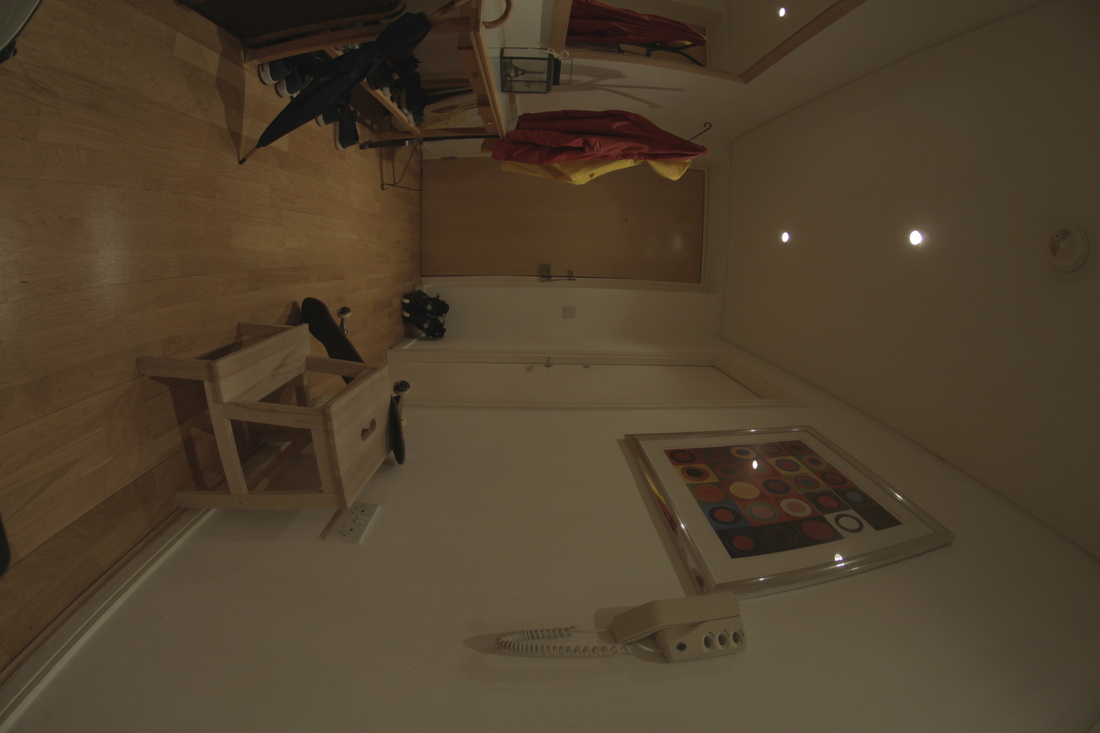

Our Final stitched panoramic
We kept the files raw in order to be able to grade it more efficiently in the comp. It may look a little dim, but it serves it's purpose to light the car accurately.
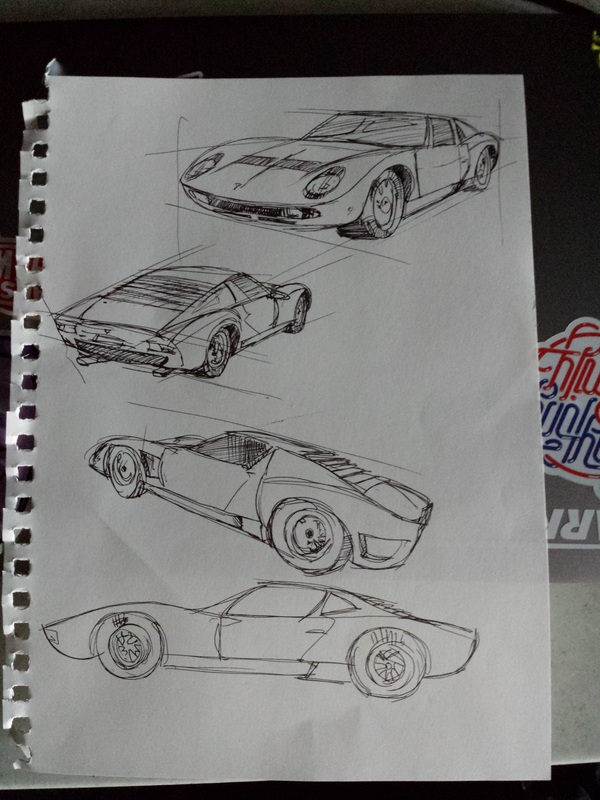
Car Concepts
Decided to go with a car based on the Lamborghini Miura, since it's an iconic 70s super car, and has a pretty interesting shape that would suit a toy car well.
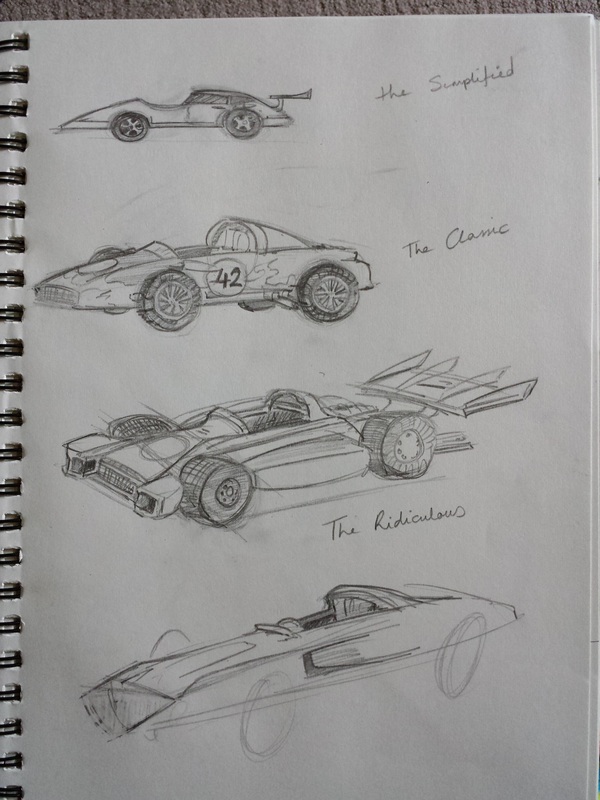
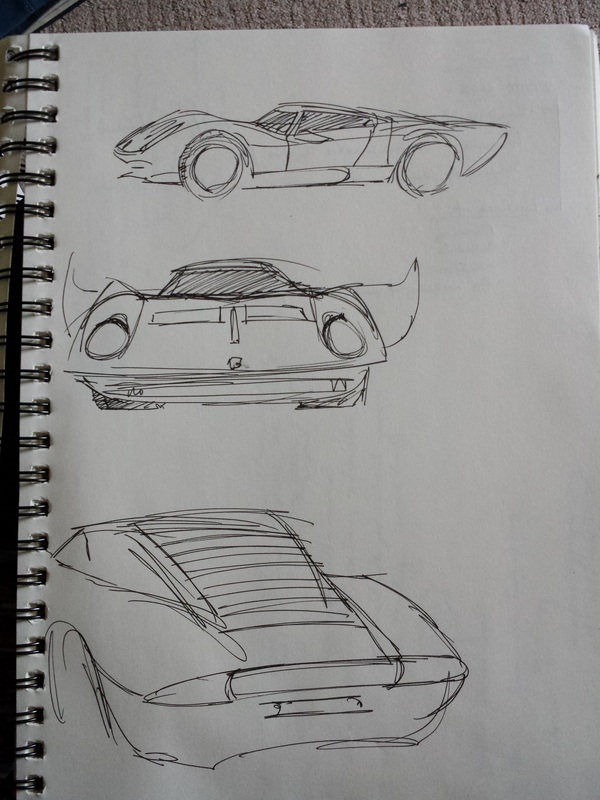
Here are some quick sketches of the Miura and other ideas...
Here are some quick sketches of the Miura and other ideas...
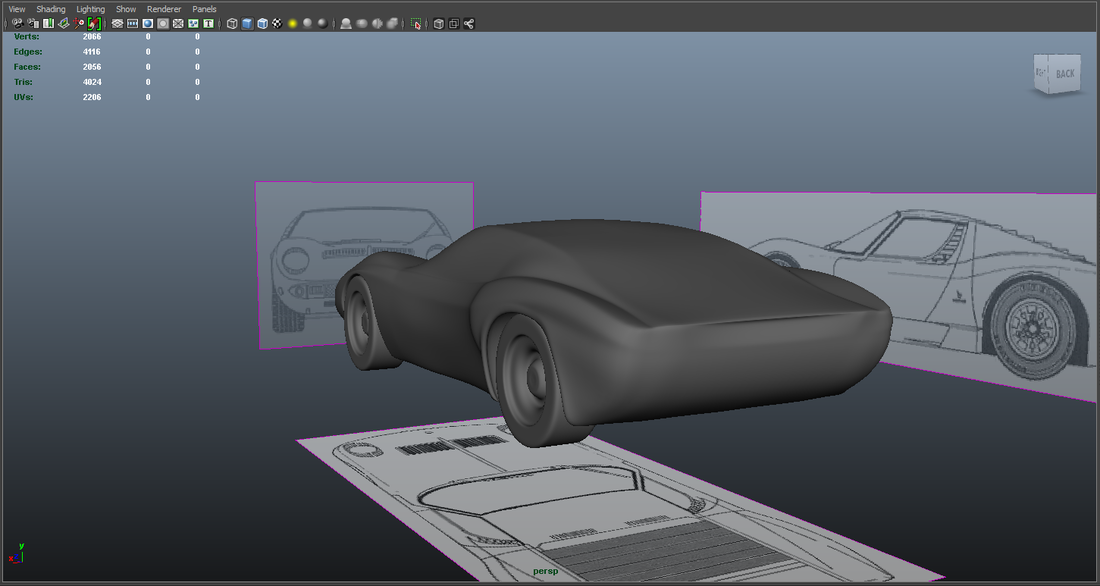
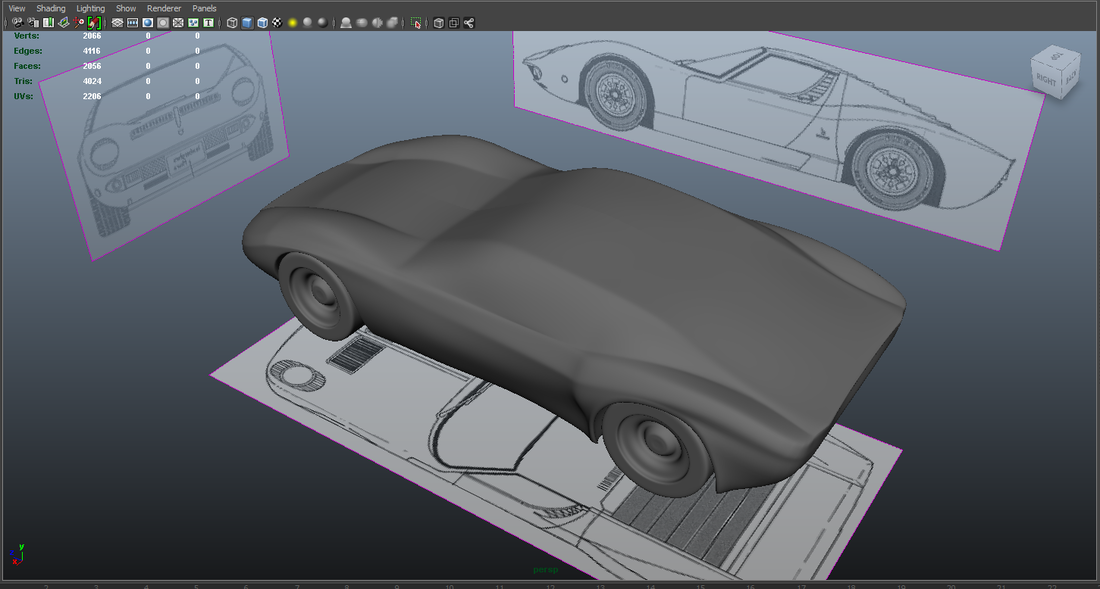
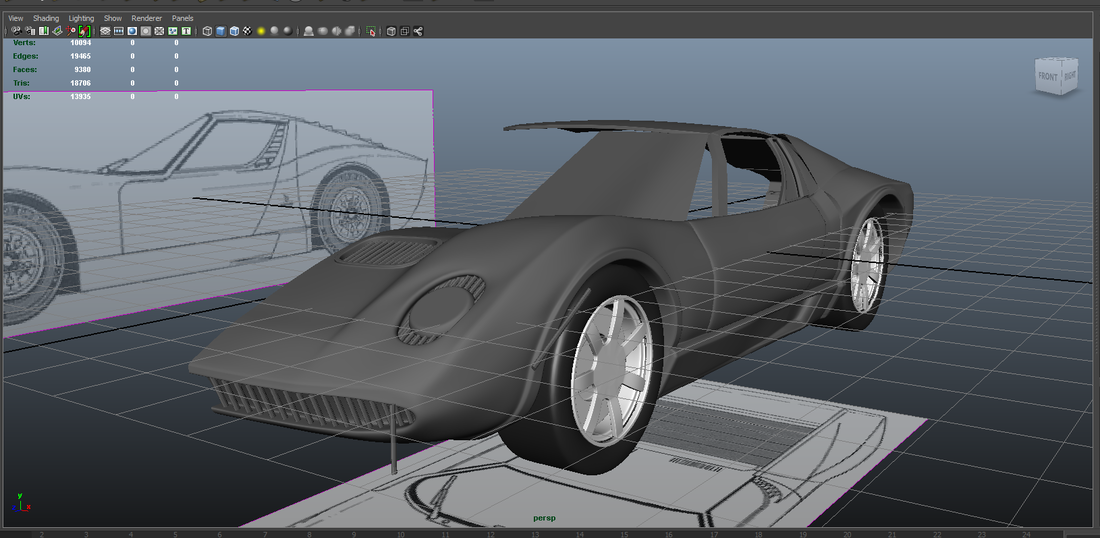
The Rough Car Model (for the animatic)
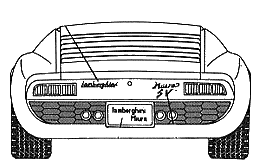
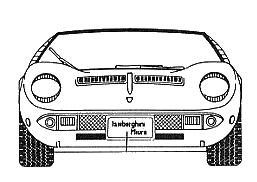
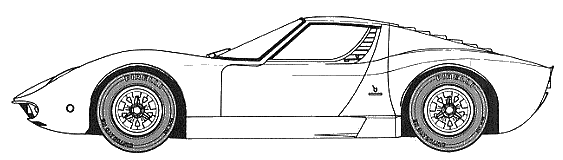
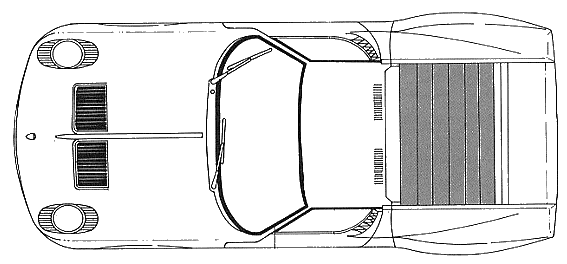
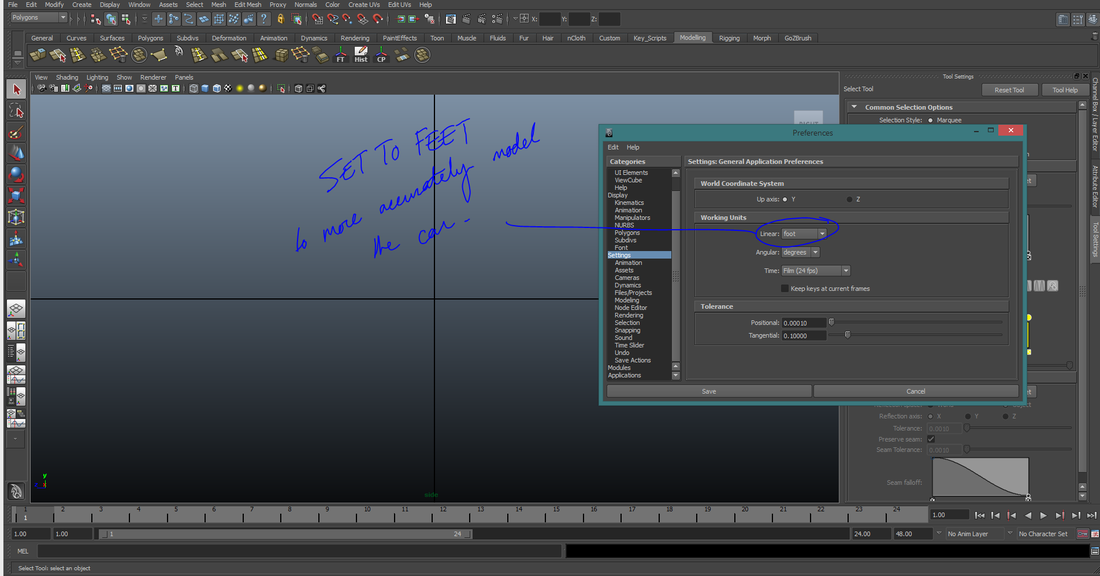
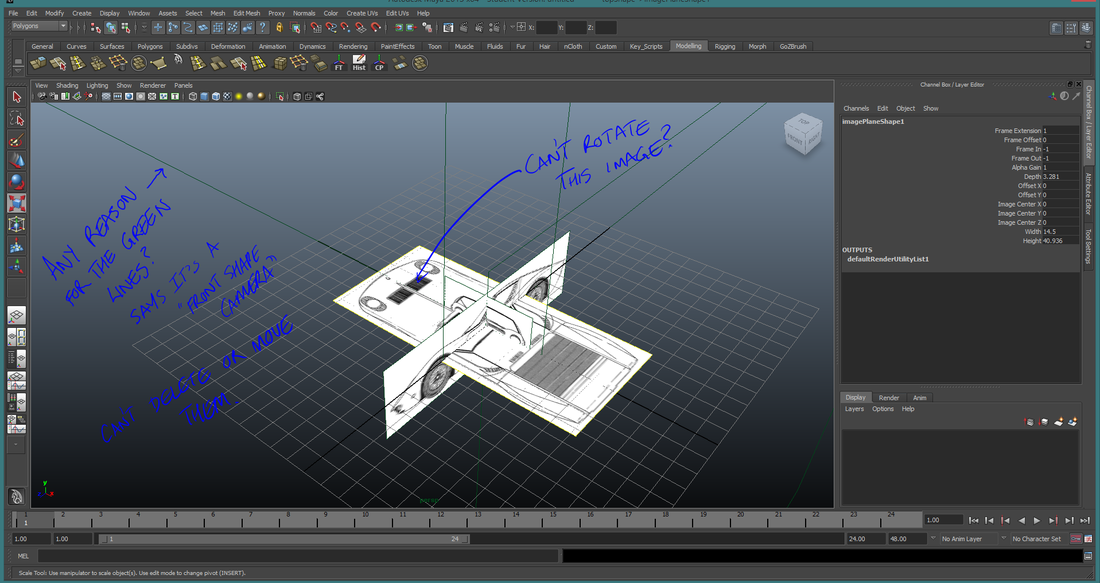
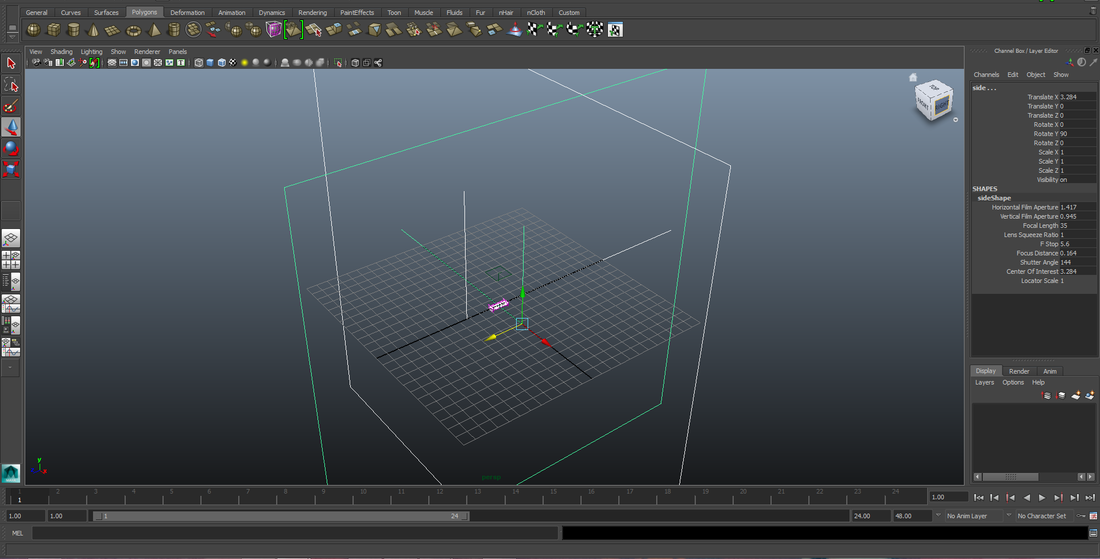
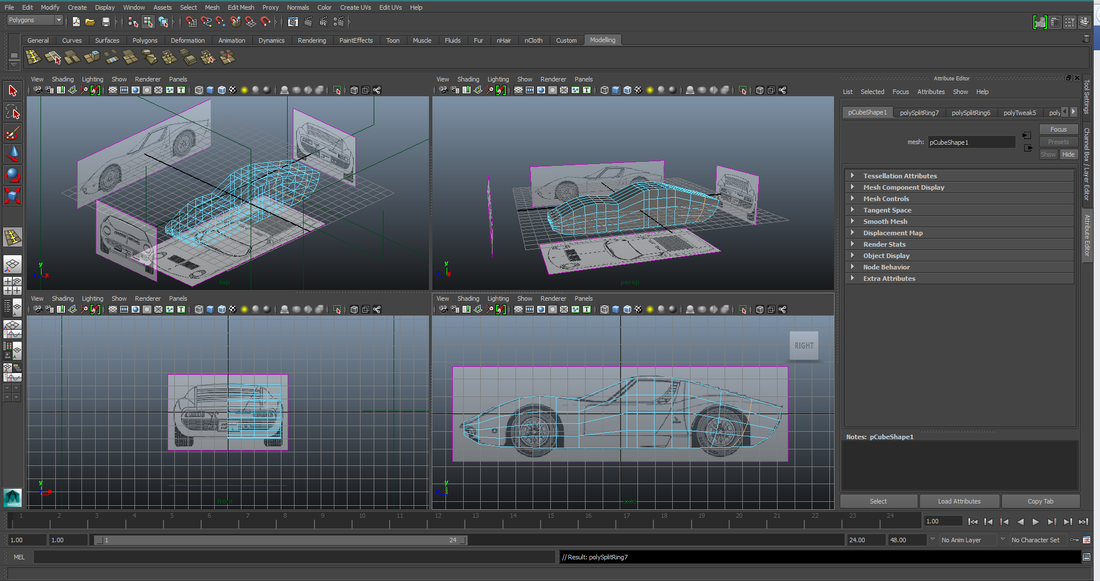
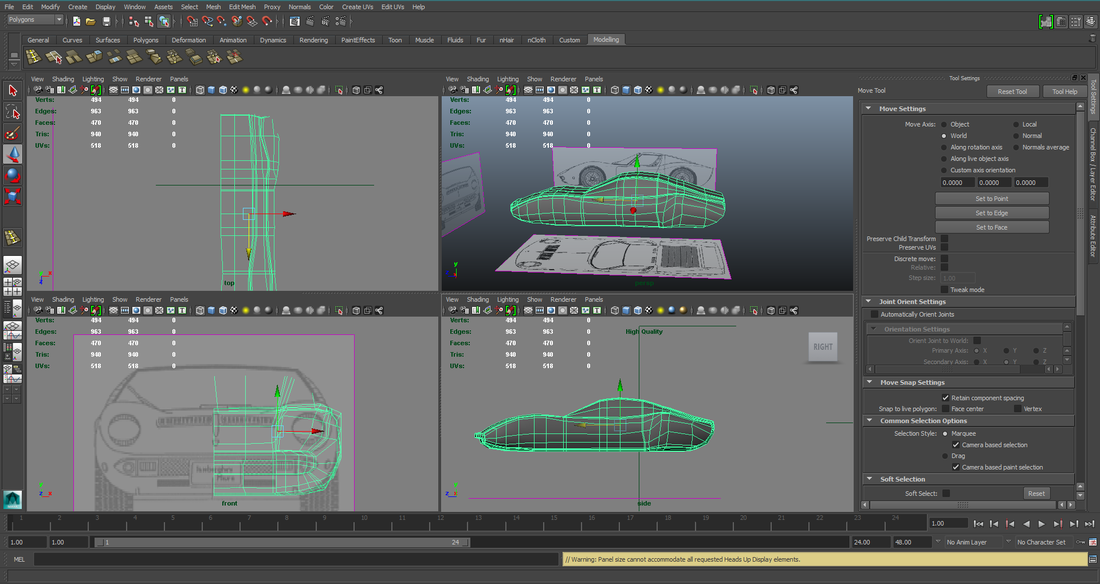
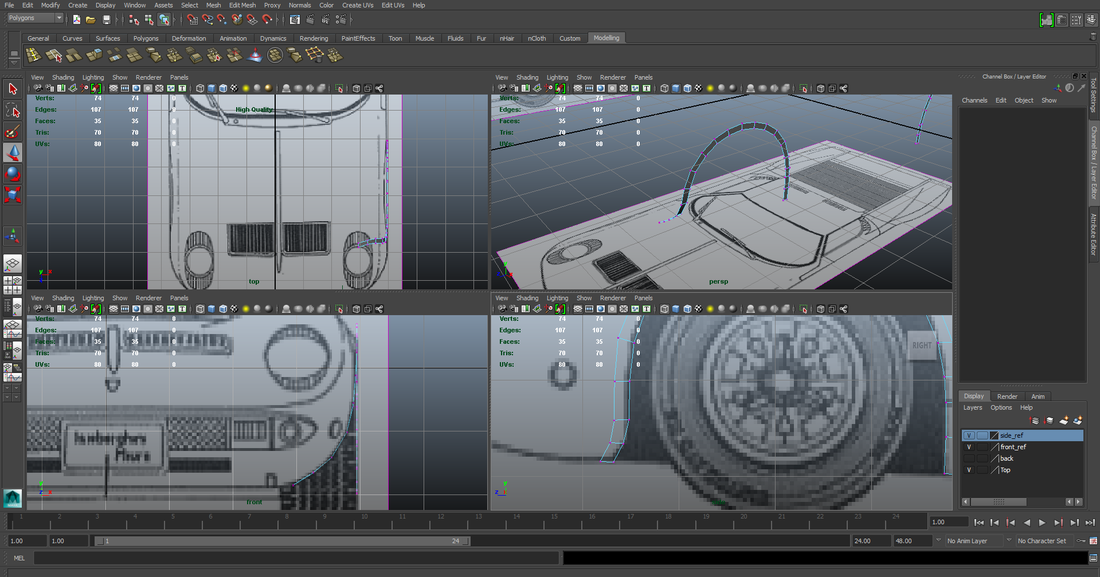
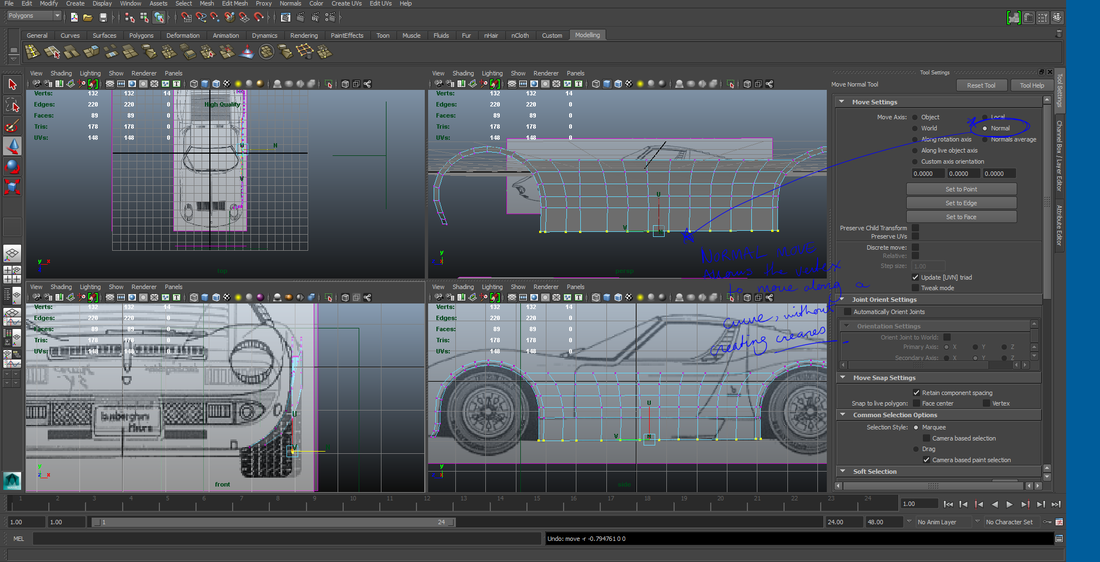
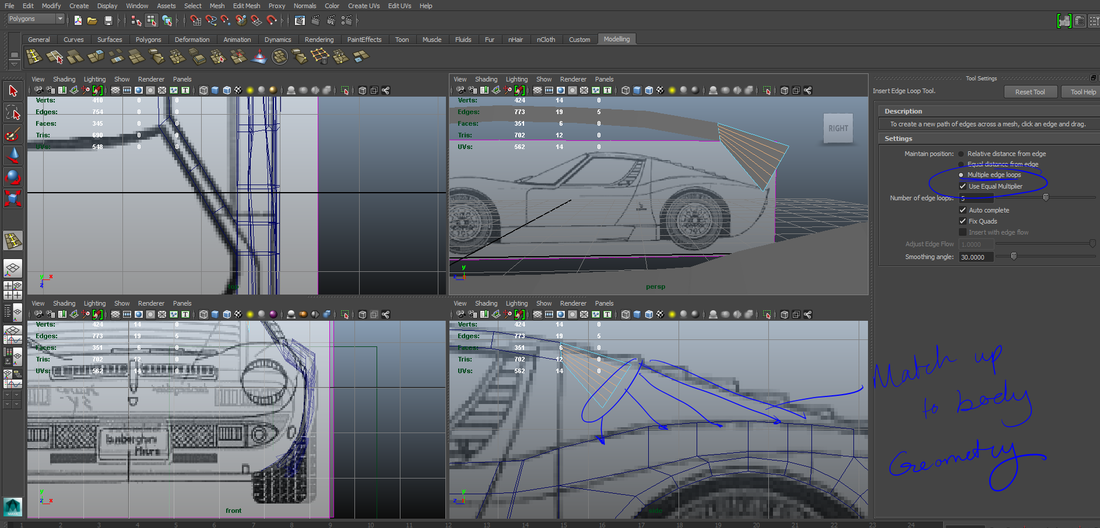
Got ahold of the original blueprints for the Miura, and set them up as reference images to model a rough version of the car. I had intentions to revisit it later, after the animatic, and model the car on more detail.
I have some notes on what I've learned noted on the images (using snipping tool).
I have some notes on what I've learned noted on the images (using snipping tool).

The Maya Animatic
Andreas finally put together an animatic with the model, but a few aspects had changed compared to the boards.
..So, last minute, and infront of everyone at rave, I made my own live action version. As crude as it is, it was fun, and conveys the idea at least!
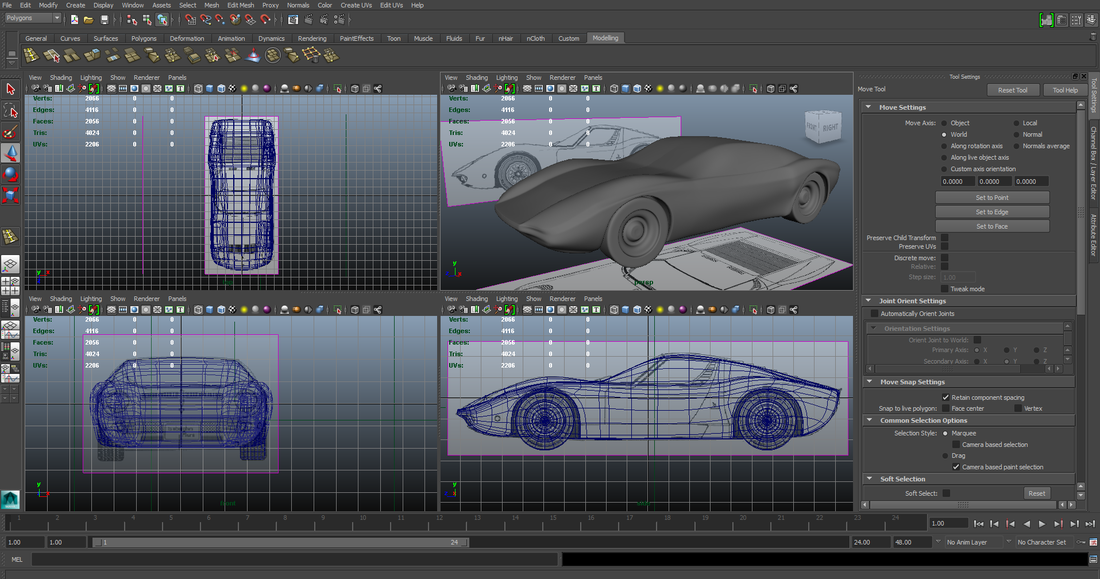
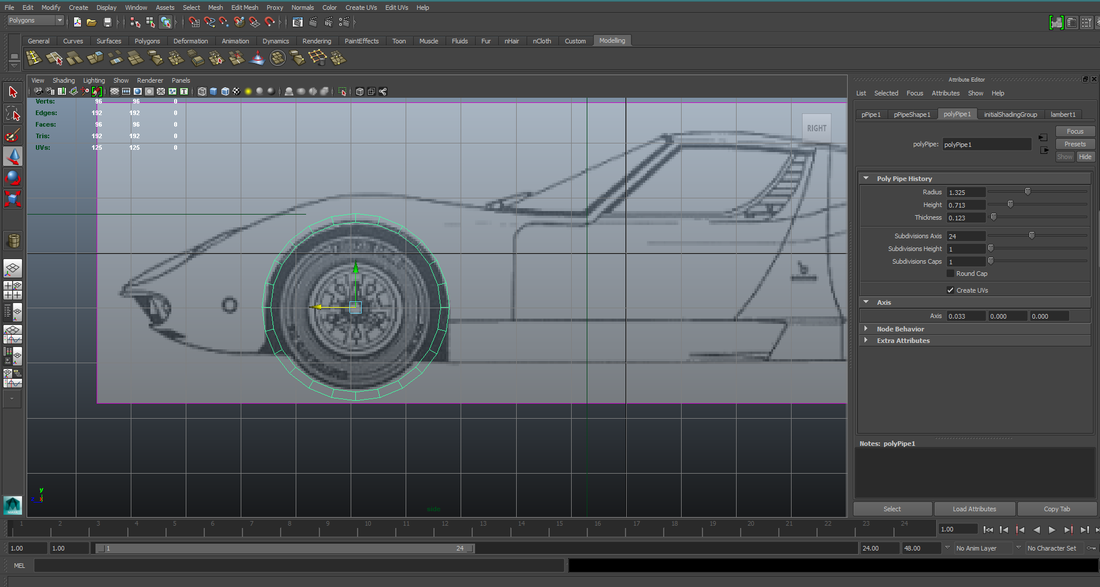
Car modelling progress recorded
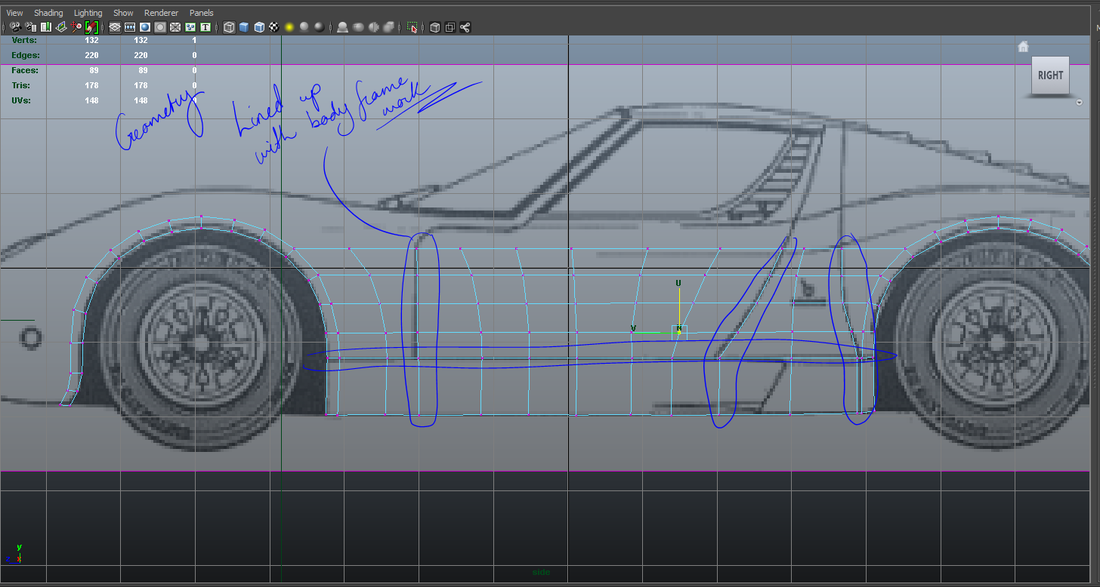
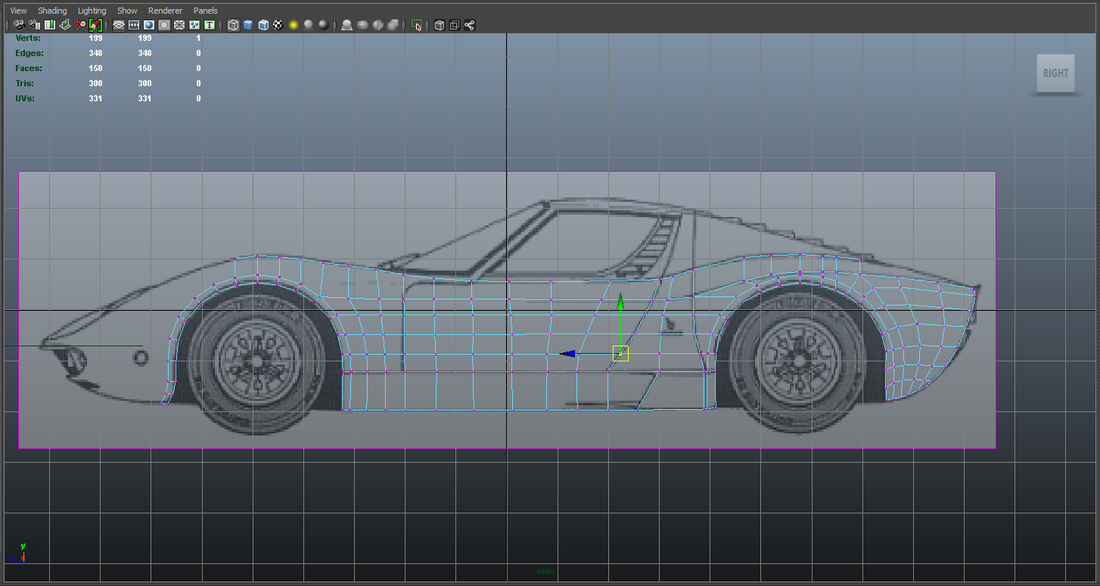
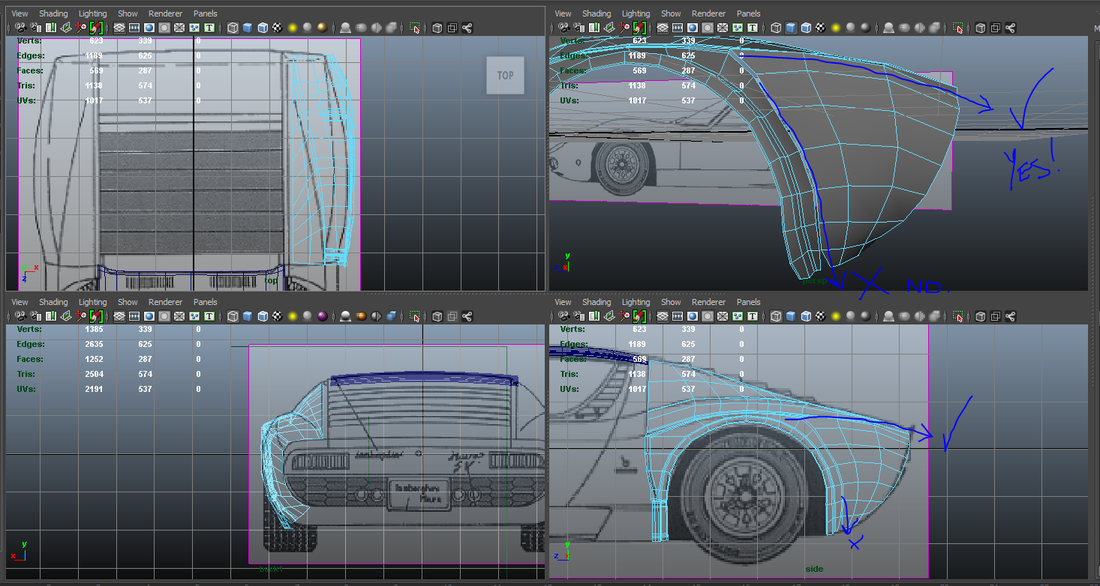
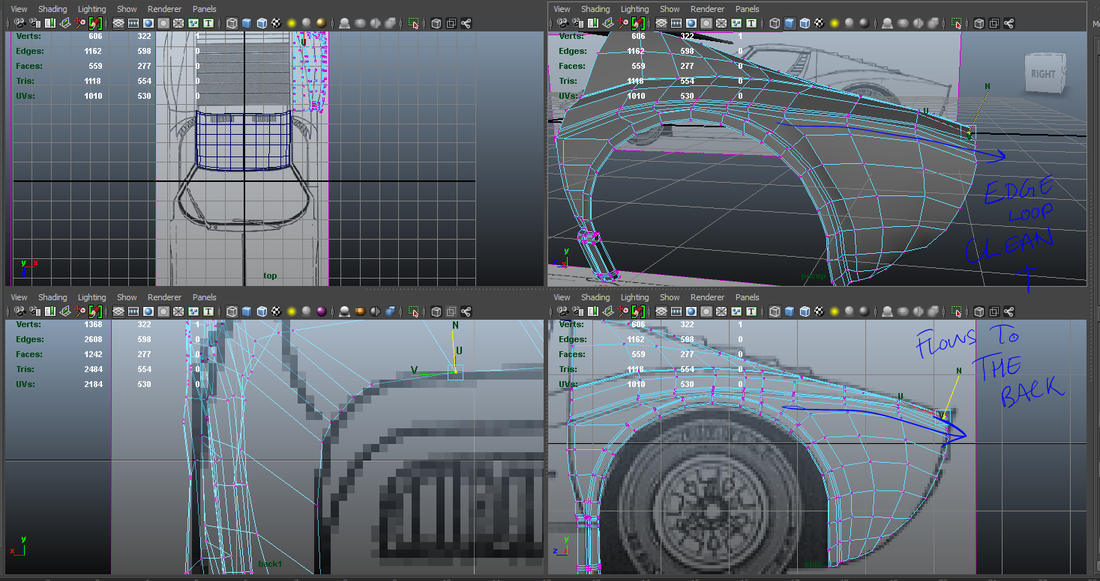
So, I was watching a tutorial from Digital Tutors on how to model a cartoon car. However, they treated the geometry like organic material, and I felt like it was making my car appear a little loose and lumpy. So I started again following a different tutorial, Digital Tutor's realistic Audi R8. The problem with this of course was the fact that this was my first time doing automotive modelling. It's COMPLETELY different to more organic modelling. So much more technical.
Whilst watching the tutorials, I had to take what I could from them, and try my best to apply the same learning principles. Of course, they make it look so easy in the tutorial, if you are actually following along to their exact model... But modelling the Miura was completely different to the Audi R8. It has large smooth panels, compared to many intersecting panels, so it was quite the challenge!
I learned so much from having to try and break the geometry down at an early stage, rather than continuously building detail.


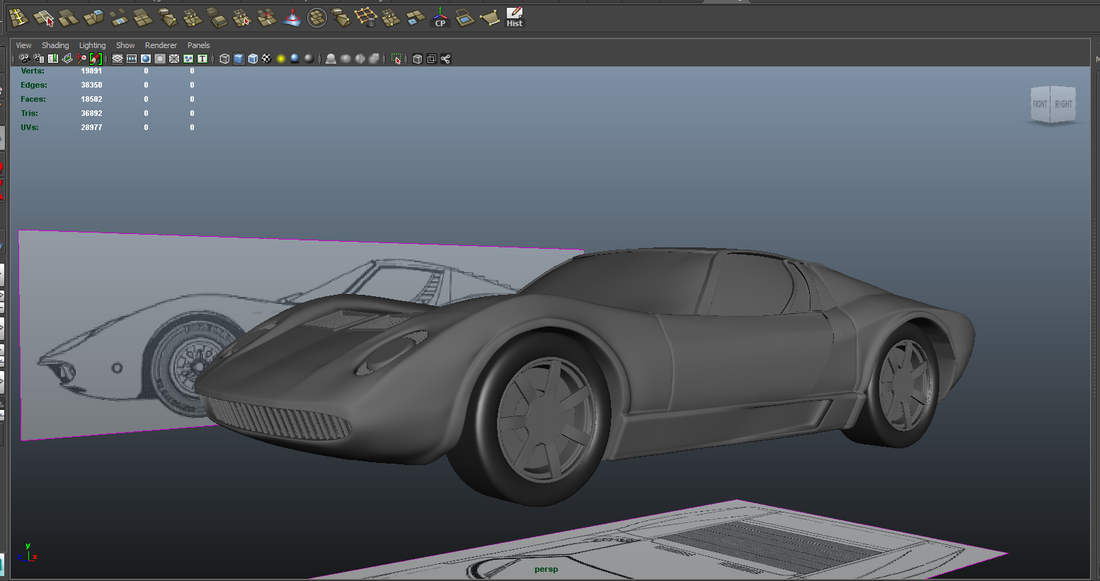
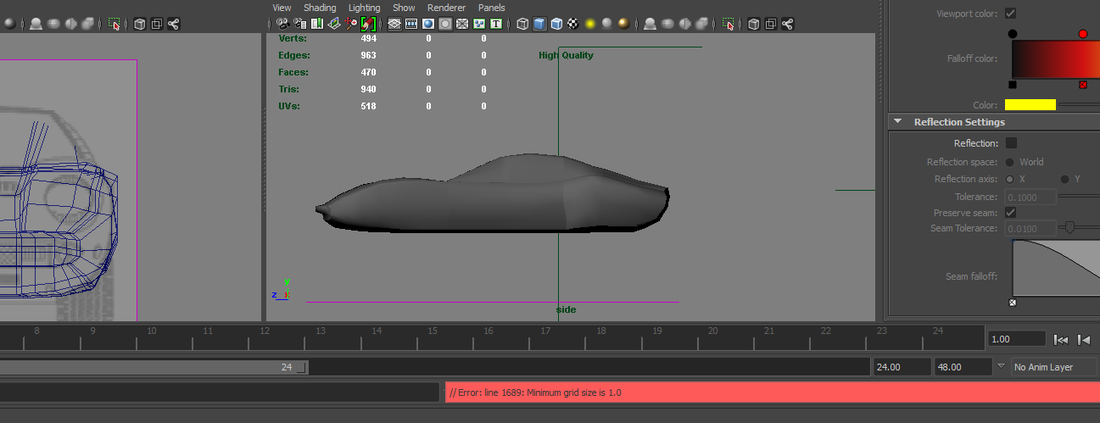
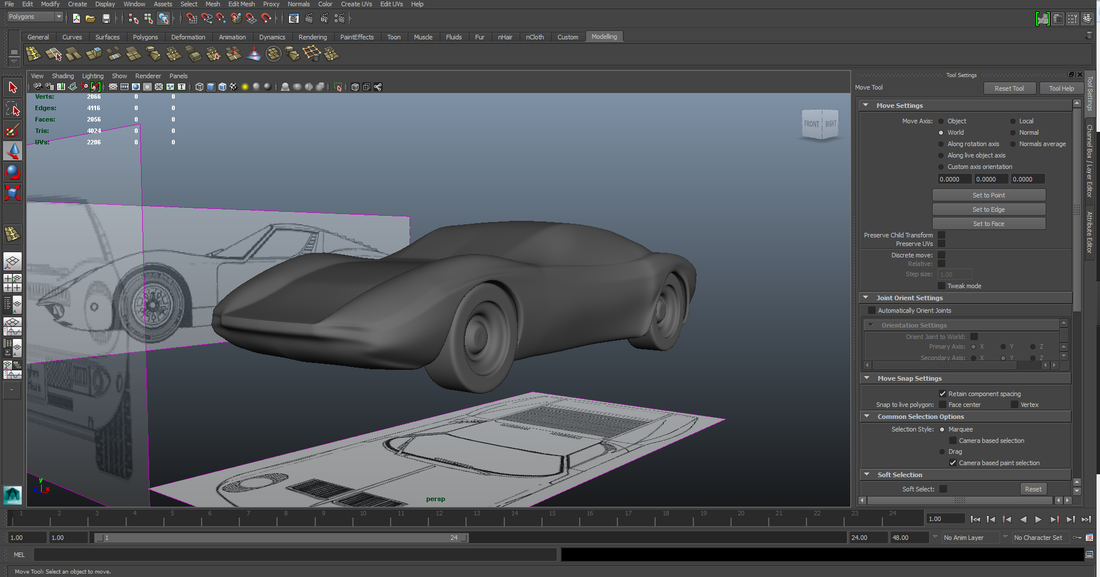
Render Tests, Finalising the Model
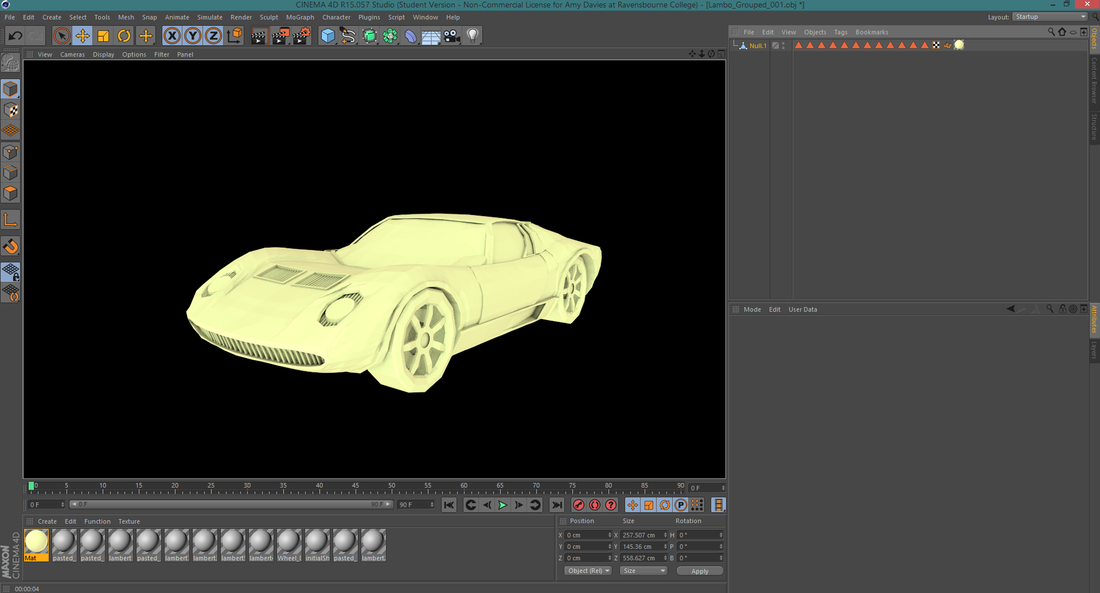
I tried experimenting with Cinema 4d to create a basic Ambient Occlusion shading. I thought it looked pretty good to be honest, and would have been happy with a matte, easy texture, as long as the model was smoothed appropriately. (as opposed to going all out with Vray)
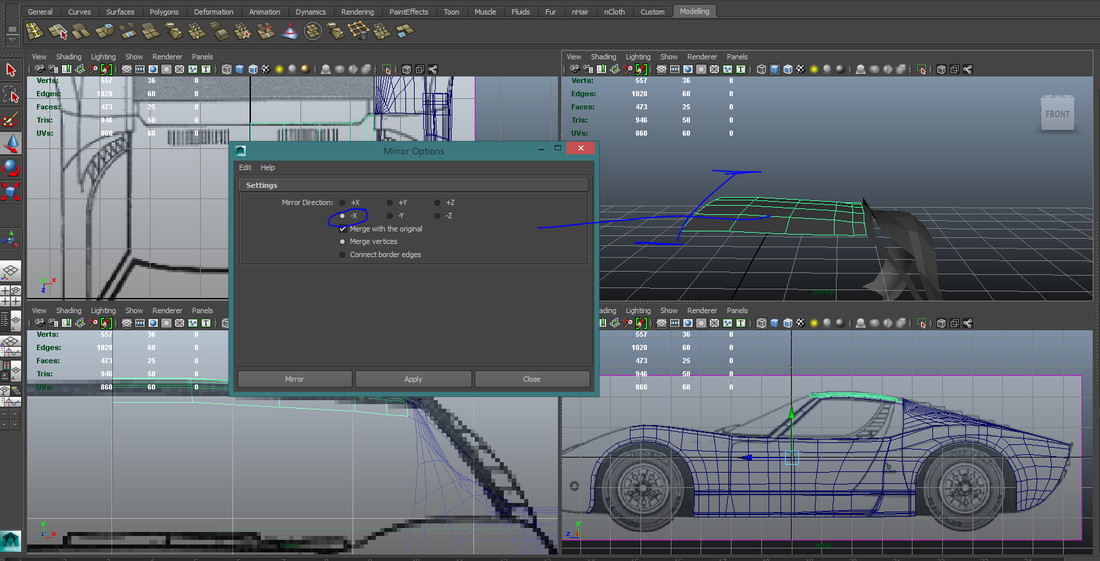
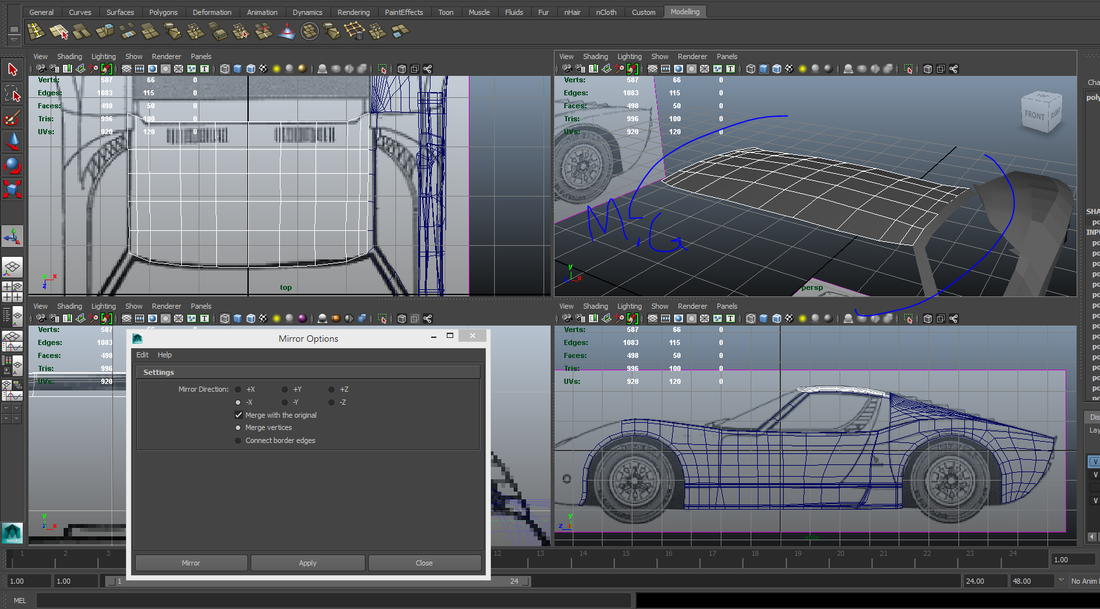
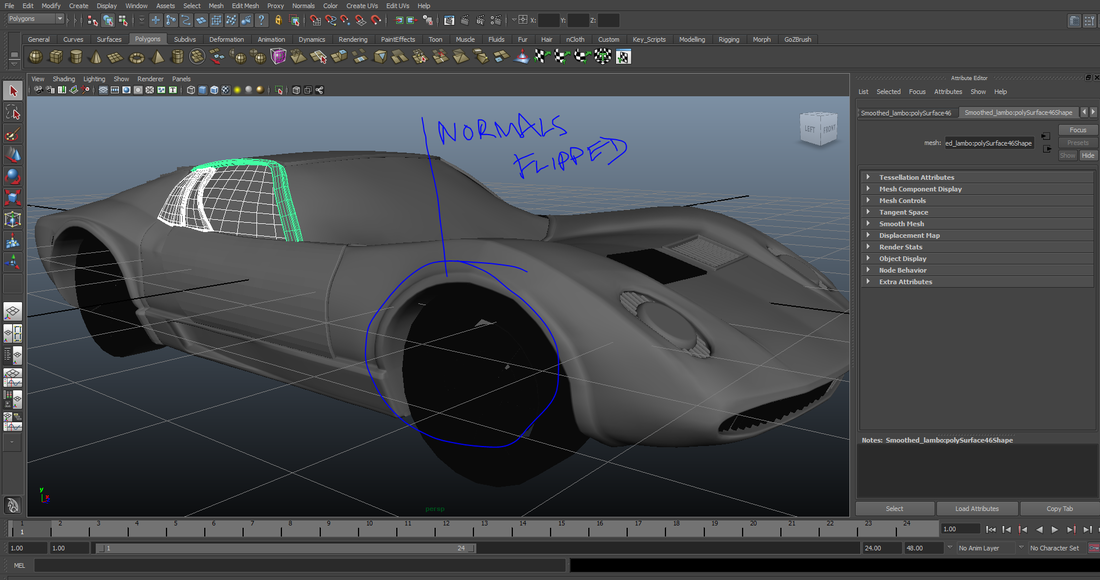
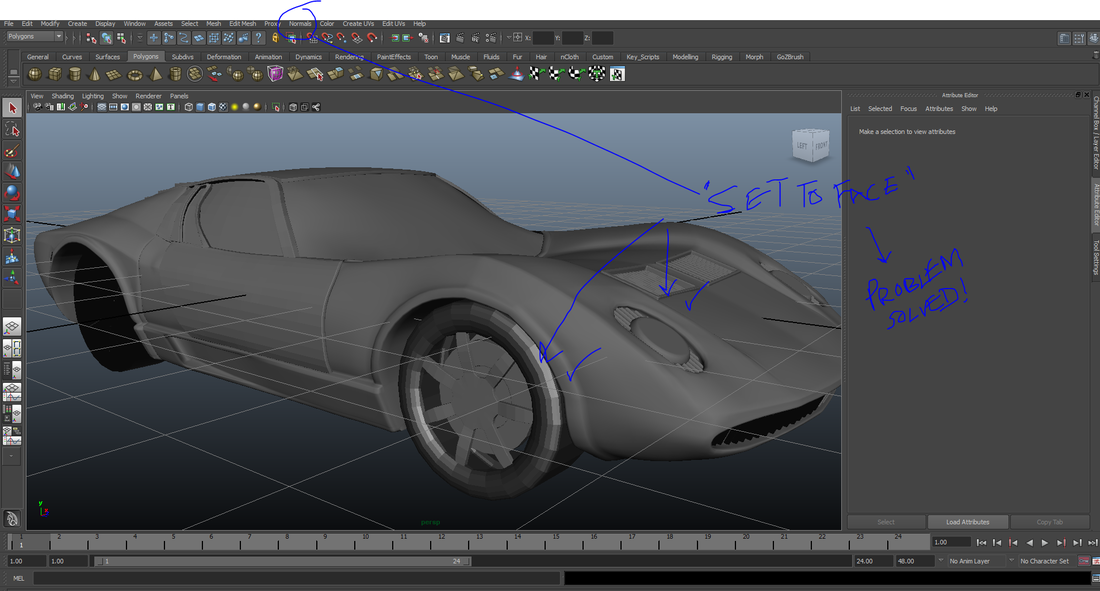
Cinema 4D also highlighted some issues with the normals. As I'd mirrored the geometry, some of the faces had duplicated, but hadn't flipped. So I had to set the normals to face in order to correct this issue.
Cinema 4D also highlighted some issues with the normals. As I'd mirrored the geometry, some of the faces had duplicated, but hadn't flipped. So I had to set the normals to face in order to correct this issue.

animation for Shot #2 ... From rough to refined
Getting the perspective right on this shot was HASSLE. I had to call Andreas because we forgot to measure the scene, and I needed the length and width of the hallway, and a few other measurements to calculate the ground plane, and match it up, so that the car could be animated in the correct perspective.
I created a cube with the same dimensions as the Welly in order to calculate how far the car would have to move, and not end up clipping through. I also measured the distance from the camera to the wellies to ensure a constant factor was in place.
I was trying to think of a quick way to animate the car. I started creating a curve, and tried to get the model to move along it originally. Nice idea, but the process of tweaking it was pretty frustrating.
Animating in maya made me realise how rusty I had become since the 1st year!
Anyway, I found a great way to animate my car. I'd key the main positions and rotations, adjust the curve in the graph editor to get the car to swing around, rather than the line be linear... then I found this really cool way of seeing a physical line illustrating the path of the geometry. It was called "Set motion Path", and basically allows me to see the path, and keys. It even allows me to tweak the tangents!
Will definitely use it again in future!
Final Animation for shot #2
Shaded (Vray) unrendered Turn-around
Wire-frame Turn Around
2D wheel and motion test
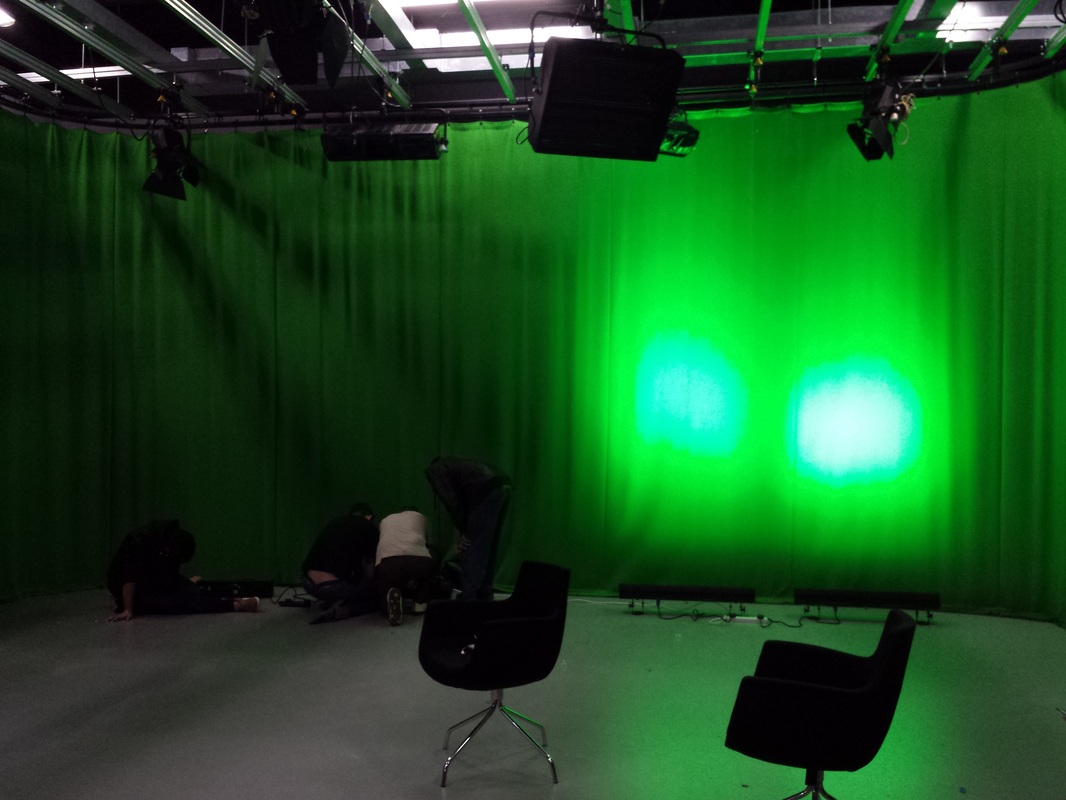
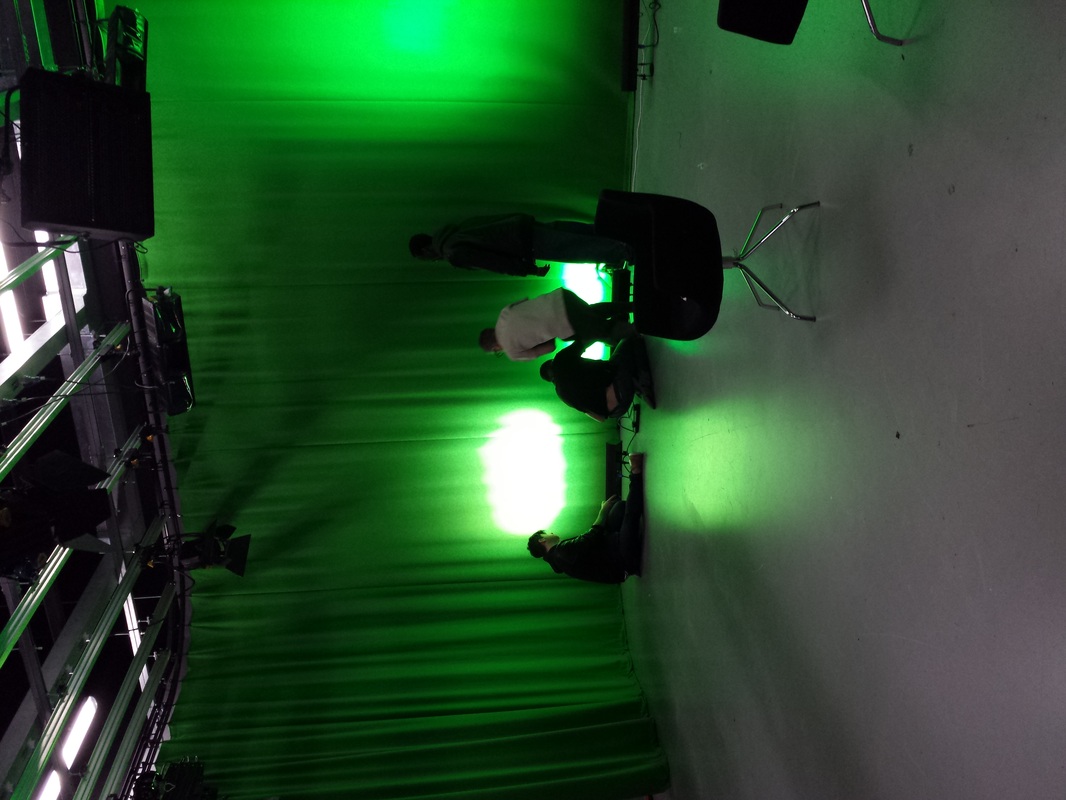
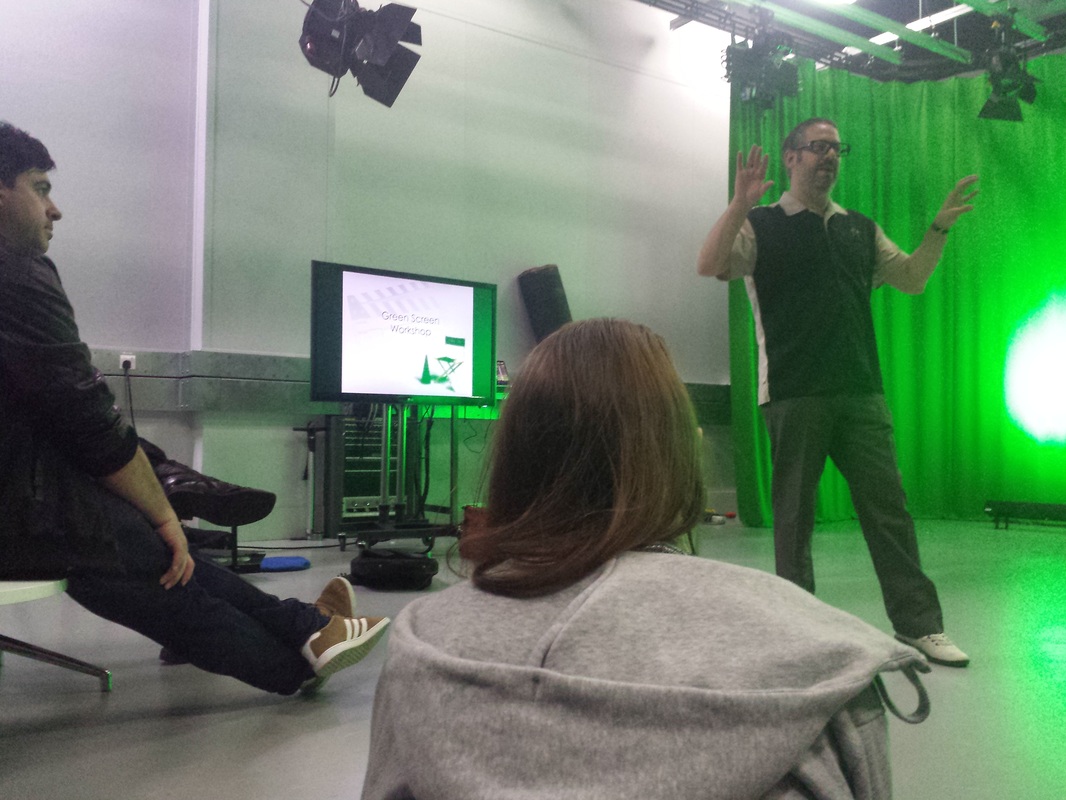
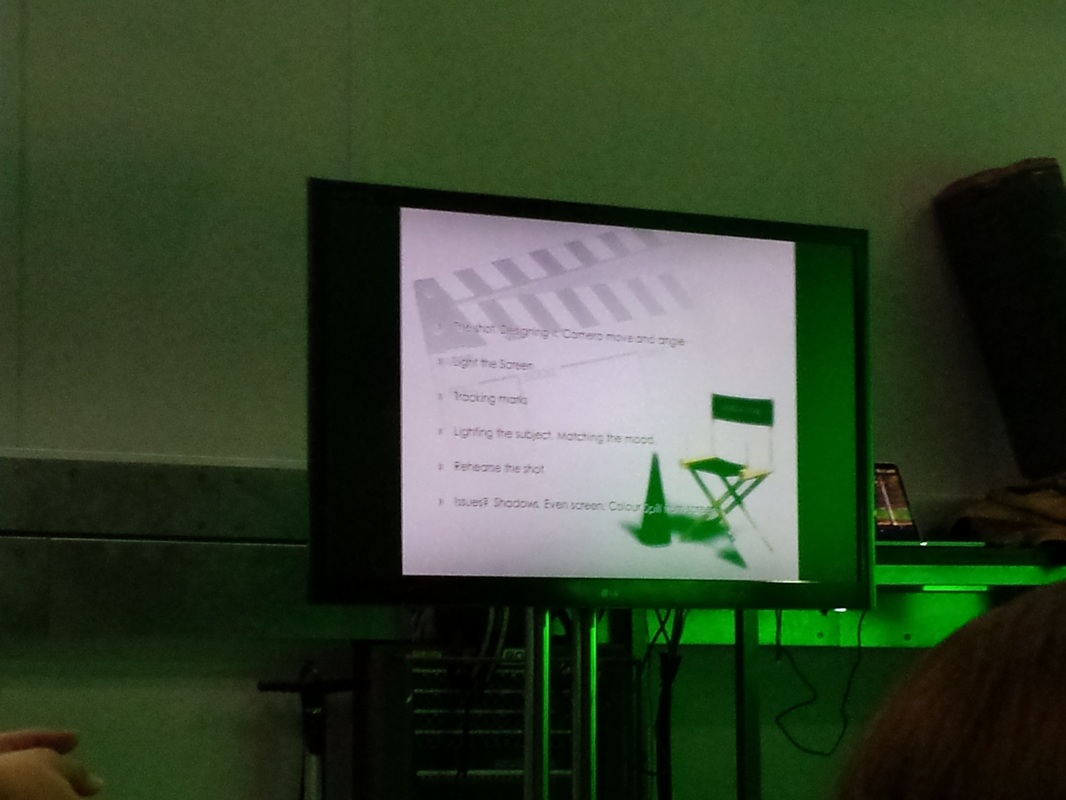
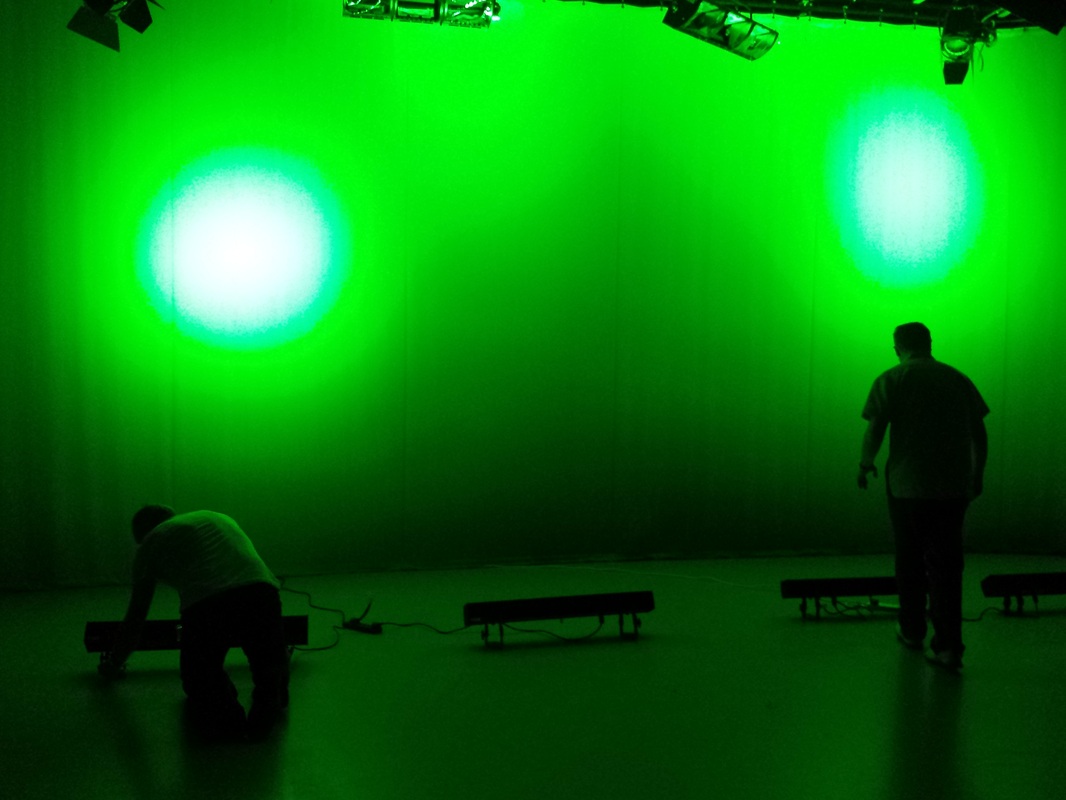
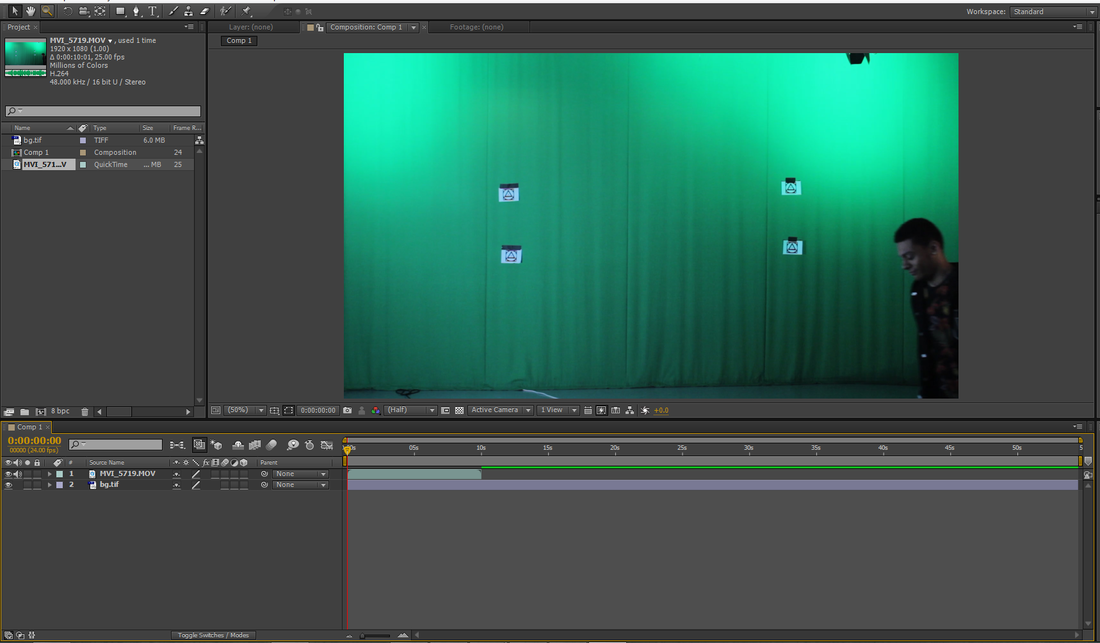
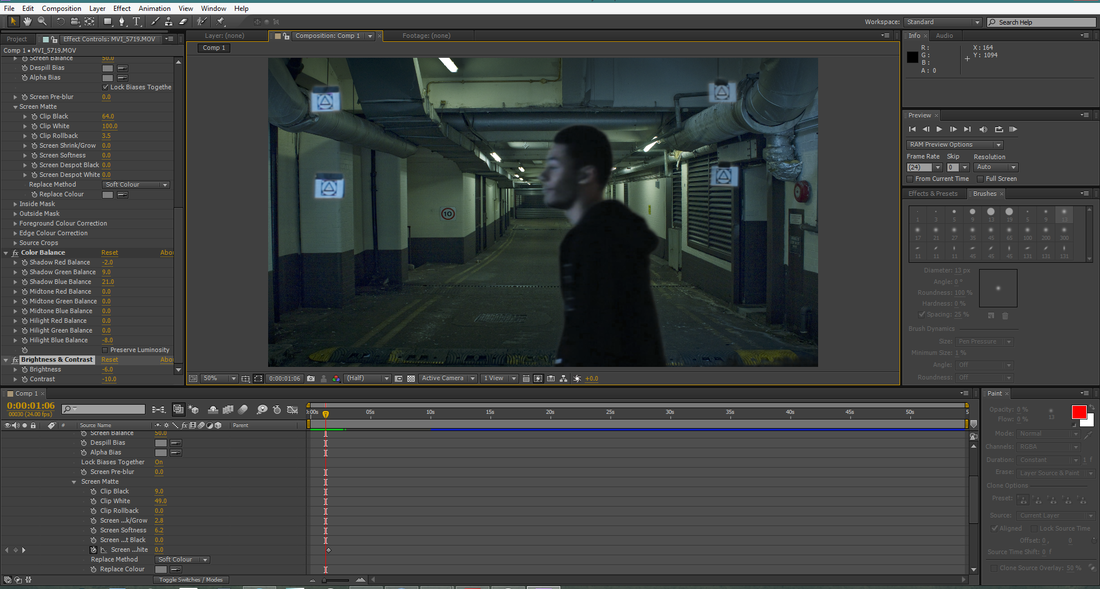
Green Screen Workshop
Overview:
To integrate CG elements along with Live action actors,the actors are shot in front of the blue screen or green screen.After the shoot the green screen is replaced with CG elements.If you want a part of actors body to be replaced with CG elements,the particular portion of the body will be wrapped with green screen.
To integrate CG elements along with Live action actors,the actors are shot in front of the blue screen or green screen.After the shoot the green screen is replaced with CG elements.If you want a part of actors body to be replaced with CG elements,the particular portion of the body will be wrapped with green screen.