Unit Feedback
Hate to begin with a negative, but it has to be said. I don't think I was able to work to my full potential this term. My time management was poor due to external work/projects/developing my animation/board reel,.... but worst of all, I didn't stick with one idea. I kept changing my mind when it came to the design of my environment. I realise now how this has dramatically affected my work, and didn't help with my fear of approaching Maya alone. I did manage to get some comp help from Alister, but everyone else had paired up, and were busy with projects. So I found tackling the heavy load in one go really put me off.
This project scared me. There was a lot to take into consideration. Dynamics, Lighting, Rendering, Compositing, Modelling, texturing, etc...
...And as a traditional artist, I found this overwhelming... So I think I subliminally kept changing my ideas and designs as an excuse to stay in the concept phase. Because that's what I enjoy most!
I started blocking out my original model, and became hugely discouraged when I received contradicting advise from multiple individuals and tutorials. I didn't know whose guidance to take, and I just backed away and hid in a hole for a few weeks, not touching my model.
It's strange, because I'm not the kind of individual to give up...
Yet, I managed to make the final model of my design in two days! TWO DAYS! That's pretty quick! (especially for someone as intimidated by Maya as me).
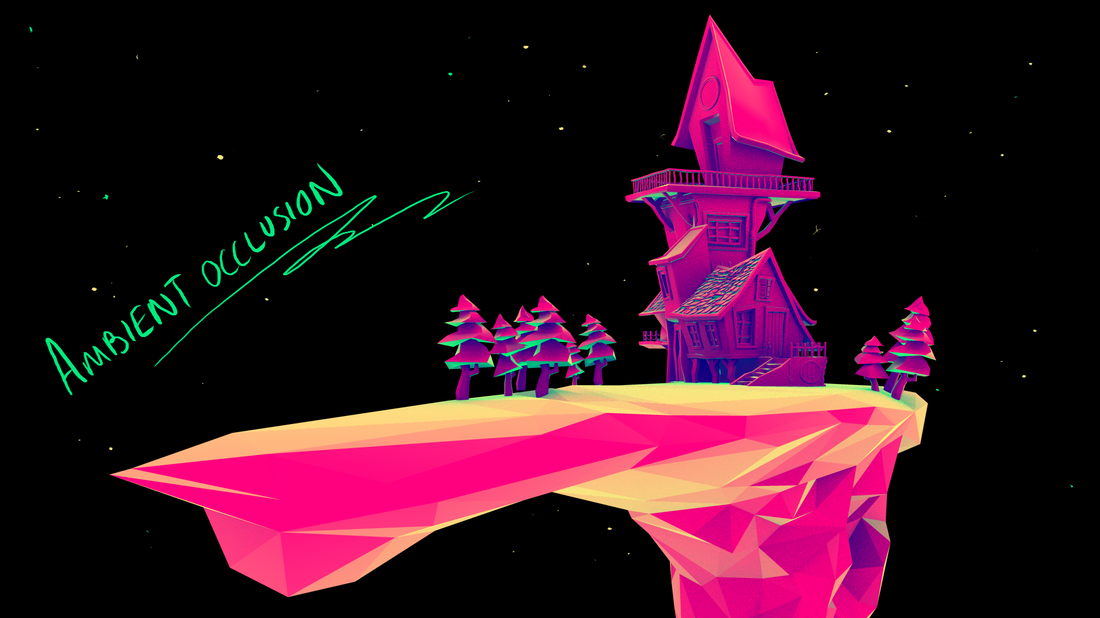
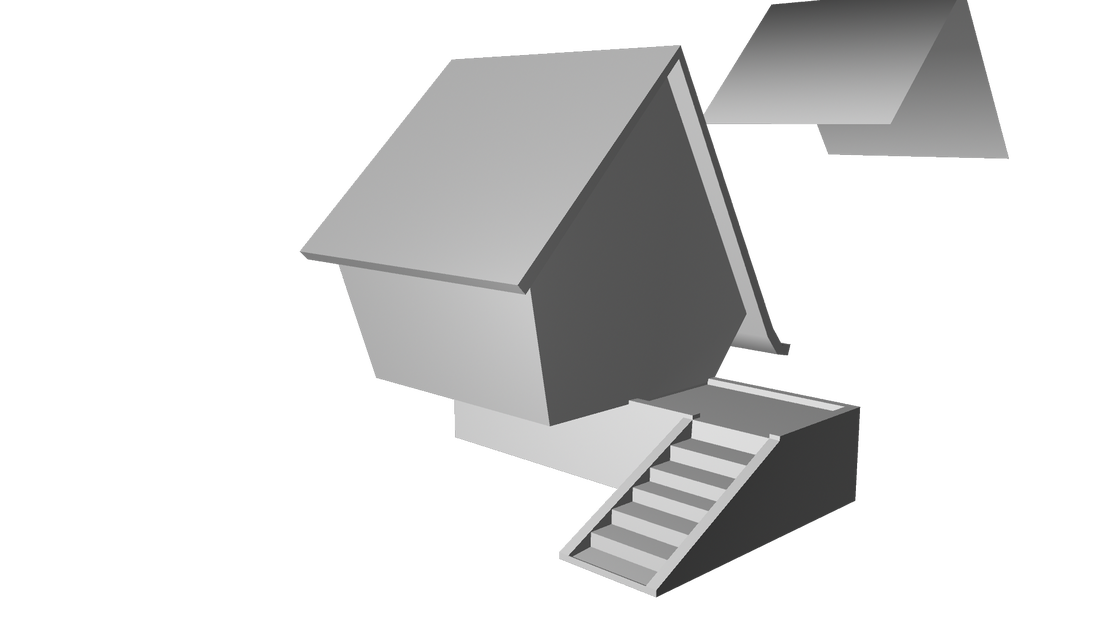
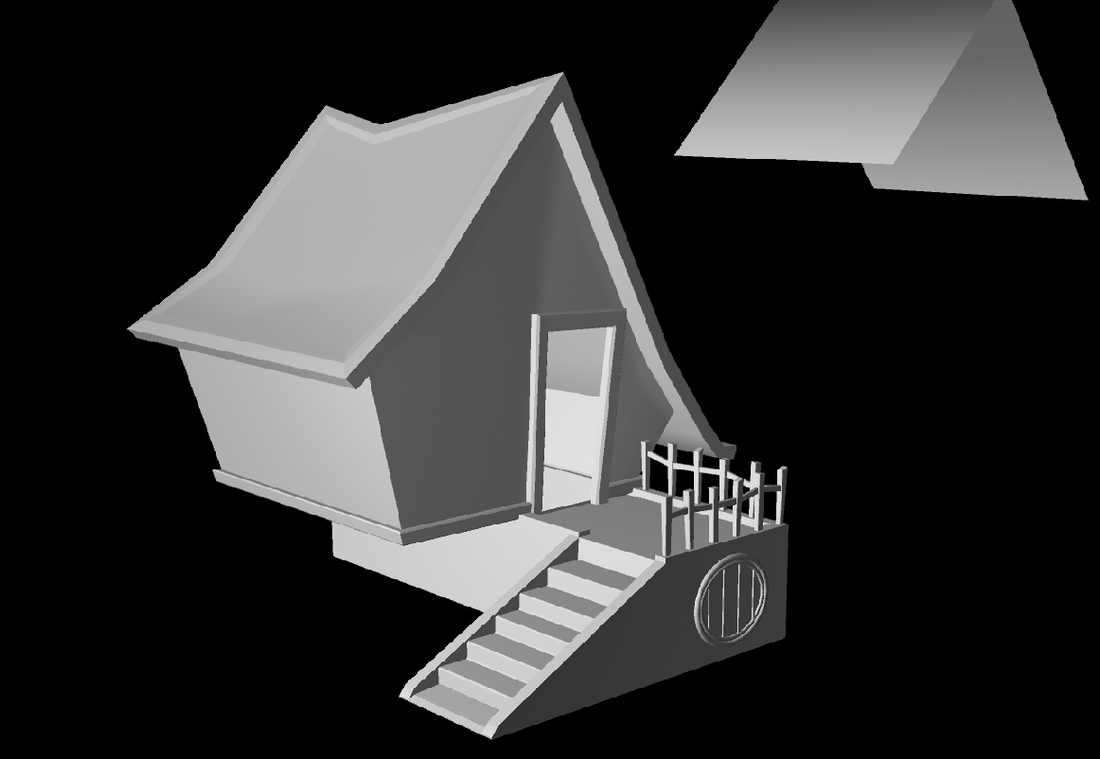
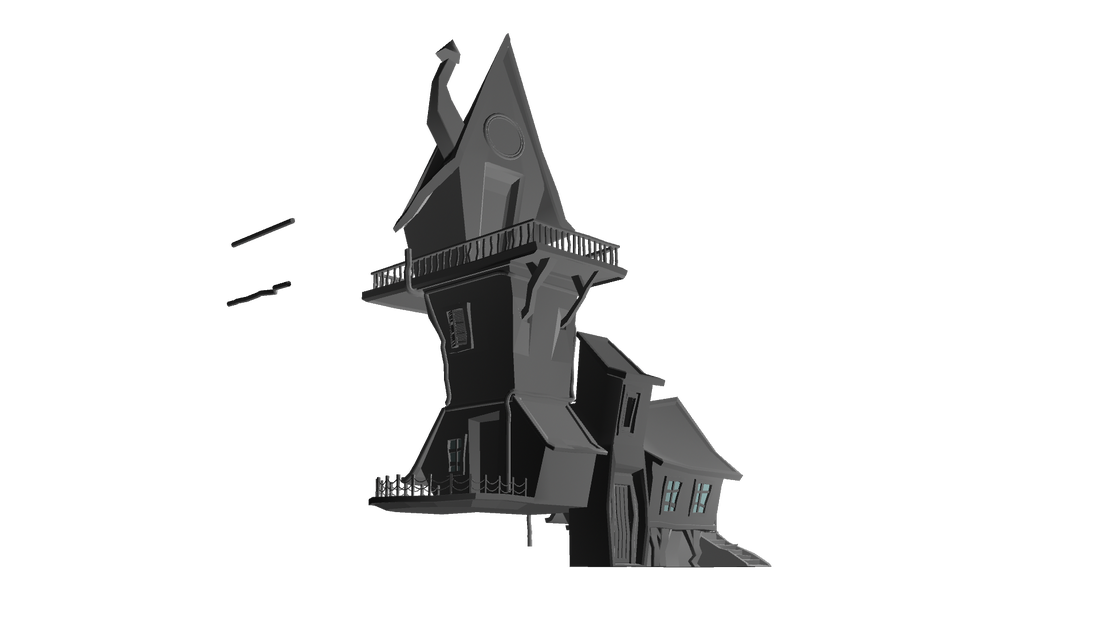
I regret not having stuck with a design weeks in advance. I could have produced so much more. However, I am pleased with my model for the most part. I especially love the Ambient Occlusion render. It's very graphic design-esque.
Admittedly, I was struggling with such simple tools, to the point where I decided to purchase a Digital Tutors licence. Literally in the last 3 days, and it helped me by a HUGE degree. I wouldn't have been able to even achieve a final render if it weren't for some good guidance, and thorough explanation from their tutorials. I just wish I'd gone for it earlier.
This will hopefully help me through next term, and I will be practising throughout the Easter holidays. I will be prepared to tackle term 3 with more knowledge than ever, and more importantly...Confidence.
I also found out that after all the trouble I went through on zbrush and maya to achieve that low poly look... Graphic designers use Cinema 4D to create those graphics and sculpts. Apparently it's pretty straightforward too. If only I'd known this weeks ago....
Oh well, I now have a copy of C4D, and intend to learn how to make those beautiful environments....the RIGHT WAY.
You live and you learn.
This project scared me. There was a lot to take into consideration. Dynamics, Lighting, Rendering, Compositing, Modelling, texturing, etc...
...And as a traditional artist, I found this overwhelming... So I think I subliminally kept changing my ideas and designs as an excuse to stay in the concept phase. Because that's what I enjoy most!
I started blocking out my original model, and became hugely discouraged when I received contradicting advise from multiple individuals and tutorials. I didn't know whose guidance to take, and I just backed away and hid in a hole for a few weeks, not touching my model.
It's strange, because I'm not the kind of individual to give up...
Yet, I managed to make the final model of my design in two days! TWO DAYS! That's pretty quick! (especially for someone as intimidated by Maya as me).
I regret not having stuck with a design weeks in advance. I could have produced so much more. However, I am pleased with my model for the most part. I especially love the Ambient Occlusion render. It's very graphic design-esque.
Admittedly, I was struggling with such simple tools, to the point where I decided to purchase a Digital Tutors licence. Literally in the last 3 days, and it helped me by a HUGE degree. I wouldn't have been able to even achieve a final render if it weren't for some good guidance, and thorough explanation from their tutorials. I just wish I'd gone for it earlier.
This will hopefully help me through next term, and I will be practising throughout the Easter holidays. I will be prepared to tackle term 3 with more knowledge than ever, and more importantly...Confidence.
I also found out that after all the trouble I went through on zbrush and maya to achieve that low poly look... Graphic designers use Cinema 4D to create those graphics and sculpts. Apparently it's pretty straightforward too. If only I'd known this weeks ago....
Oh well, I now have a copy of C4D, and intend to learn how to make those beautiful environments....the RIGHT WAY.
You live and you learn.
Compilation of Work from this term
I edited together the chaos of this term. It may have been a mess, but I've learned more about maya in this term, than all the others combined.
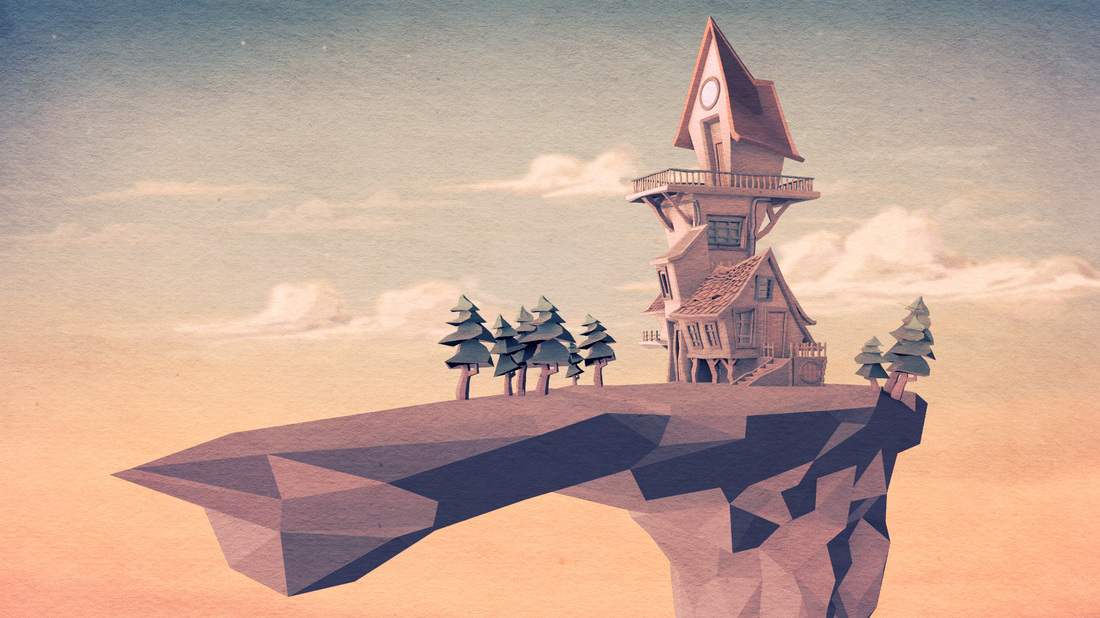
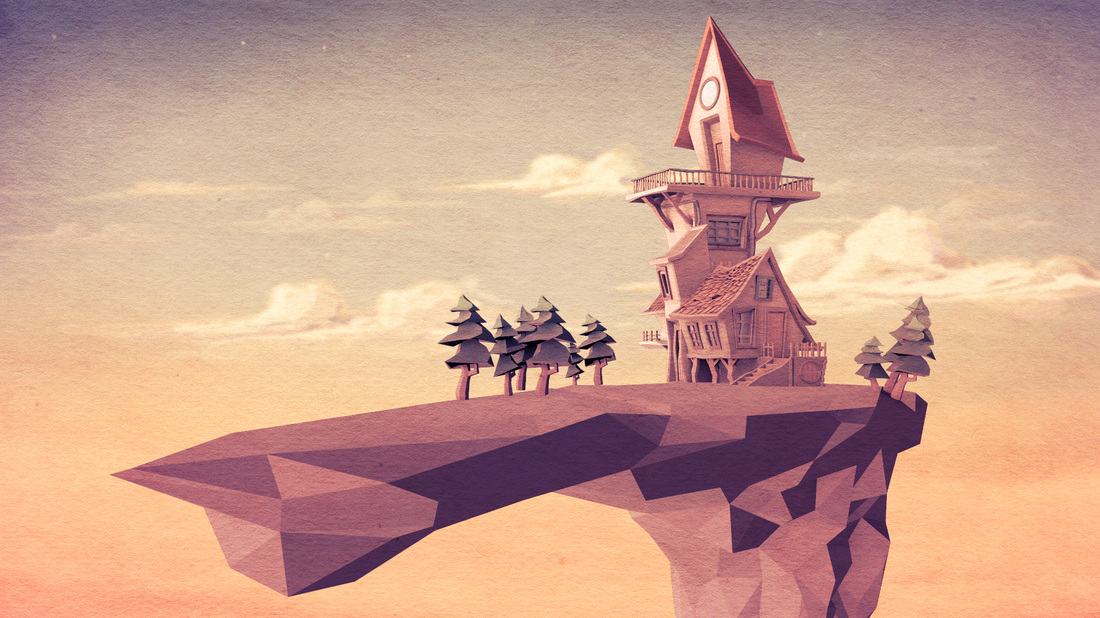
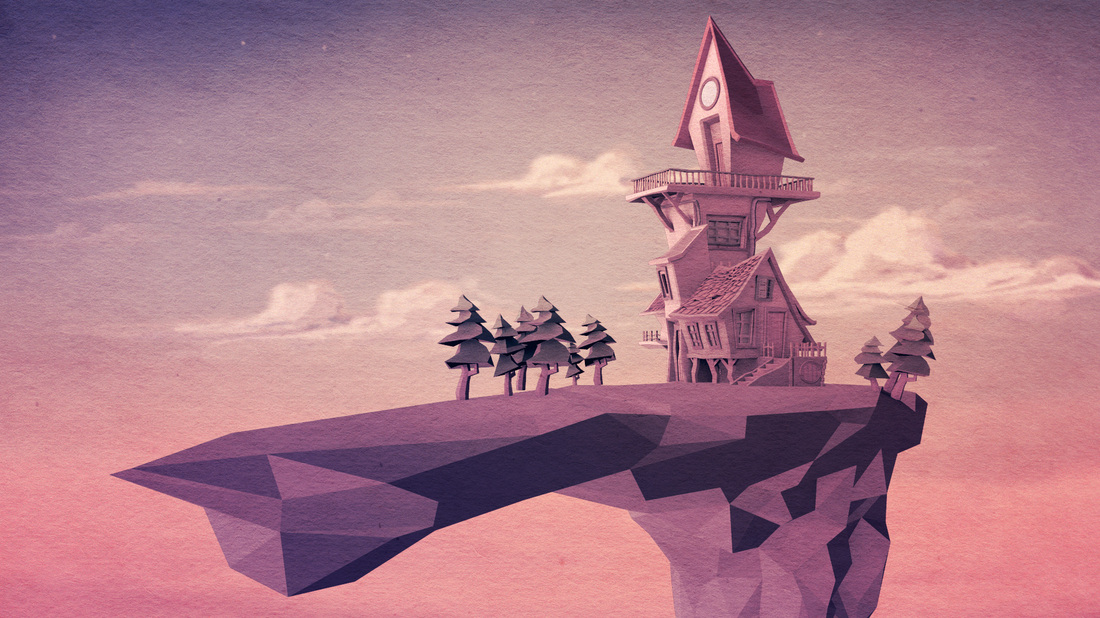
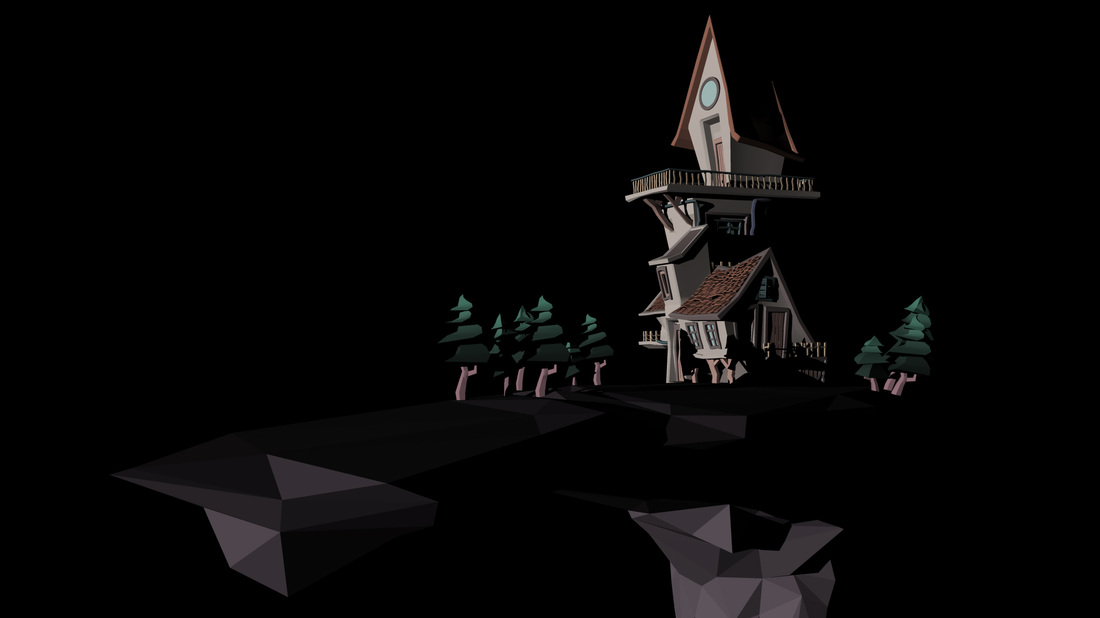
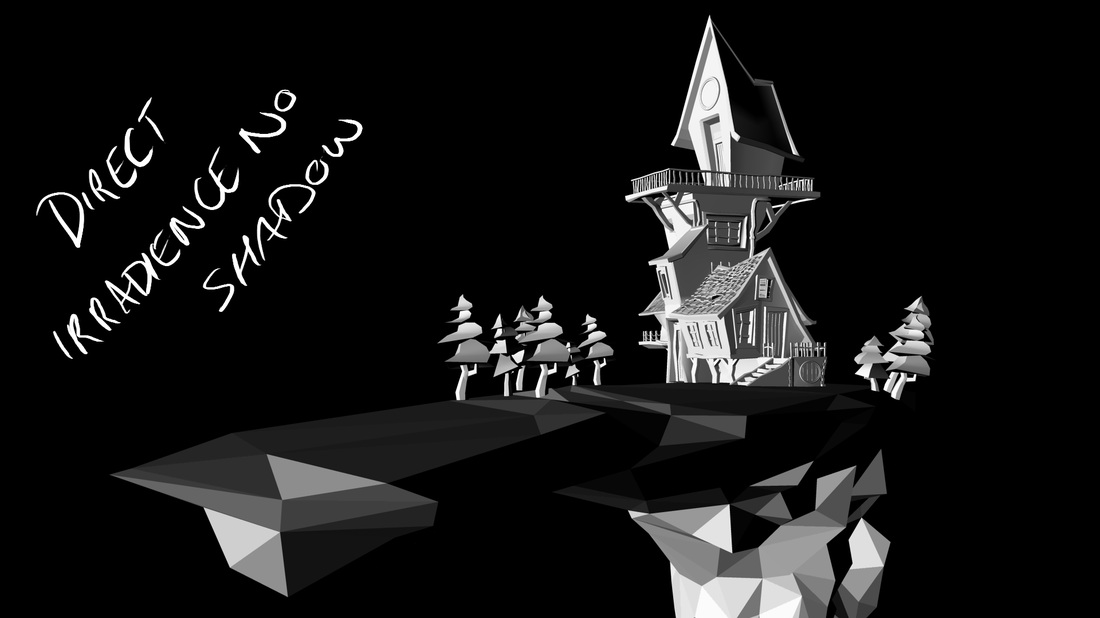
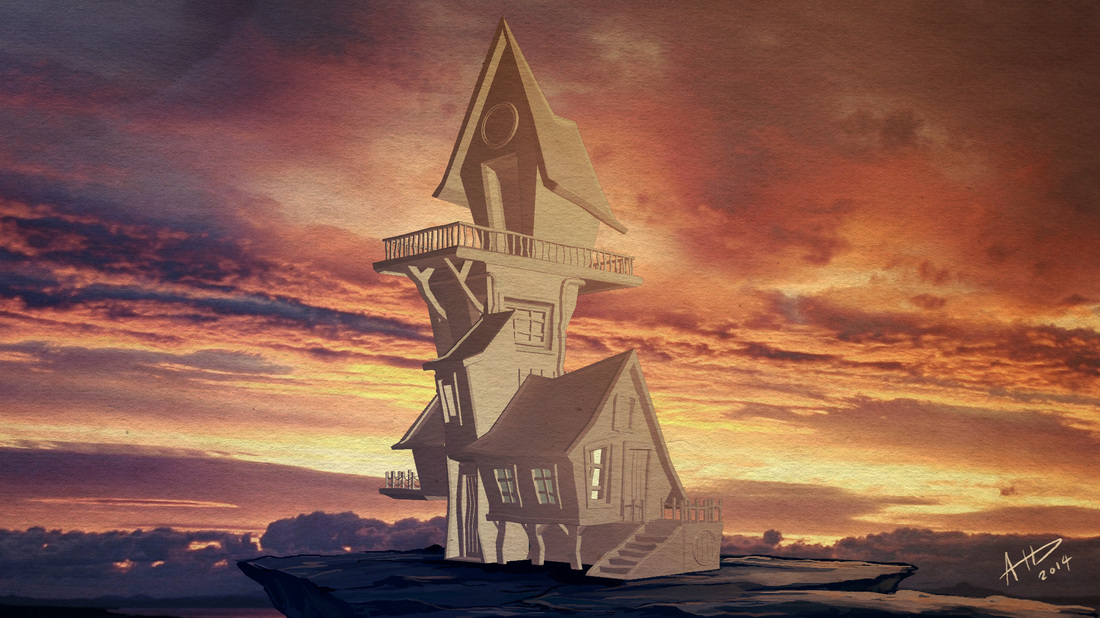
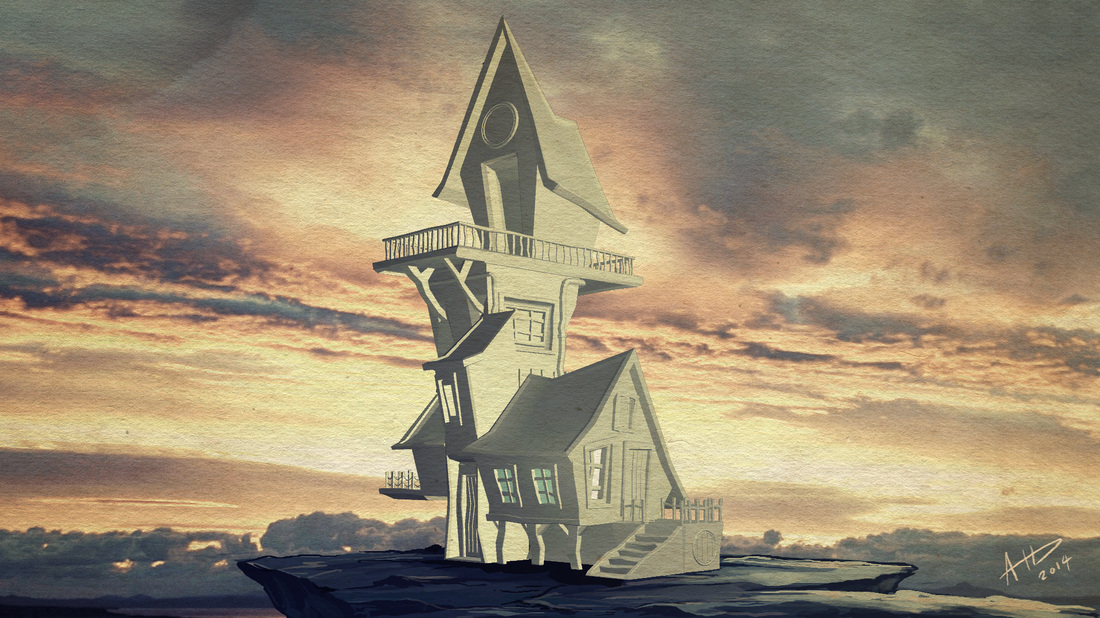
Final Renders with alternative lighting
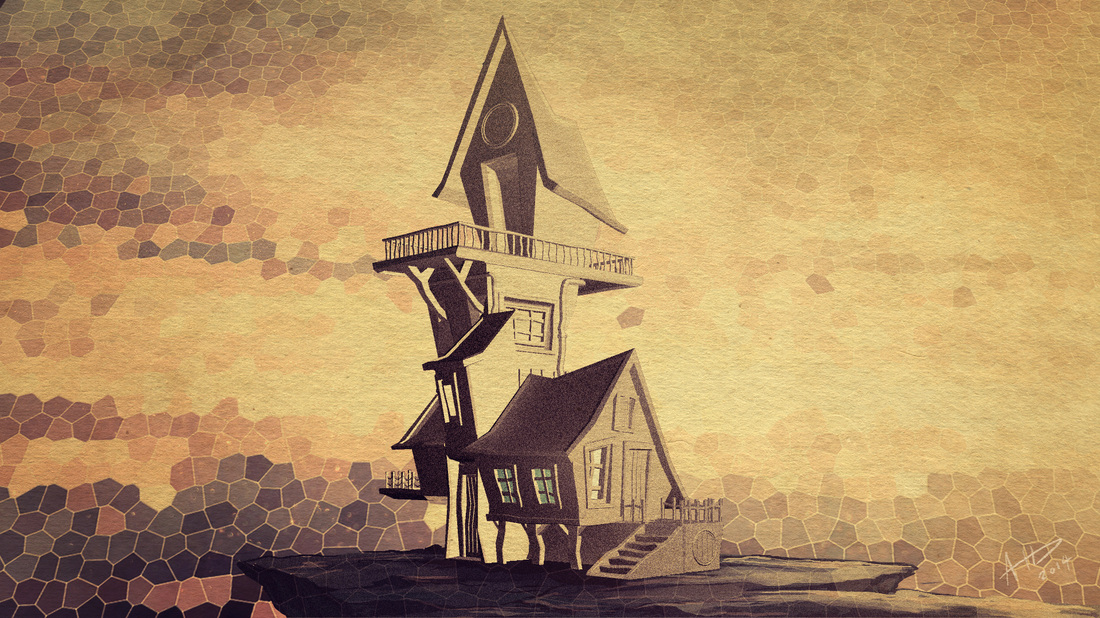
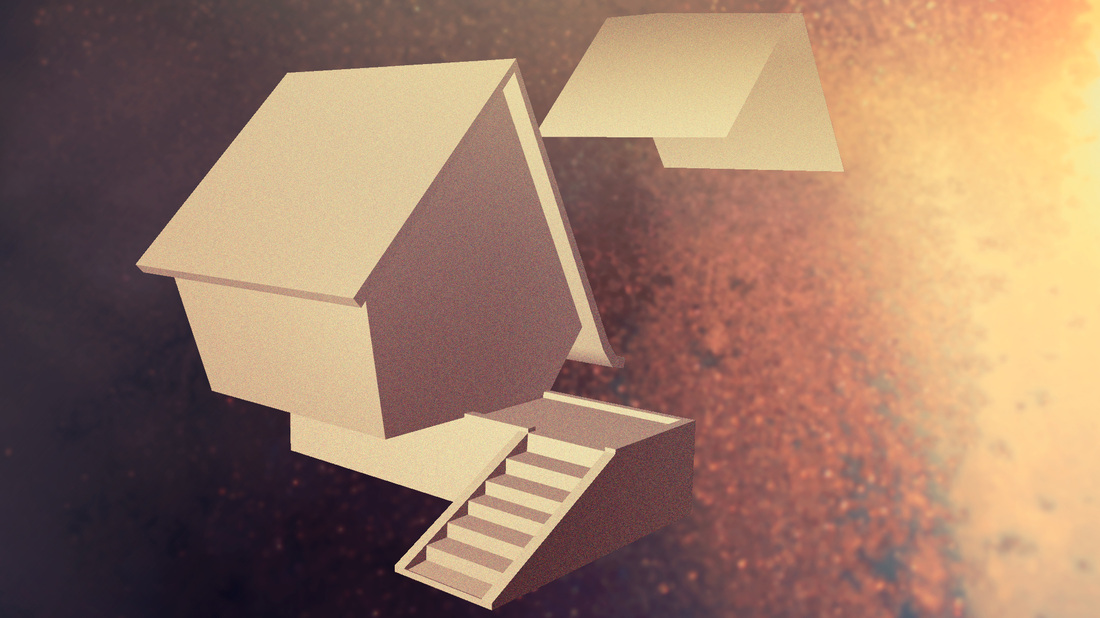
This is my final frame render...well variations of it anyway. I tried editing the final composition in AE and PS to achieve some different versions to choose from.
The colour grading and comp was done in Nuke.
The colour grading and comp was done in Nuke.

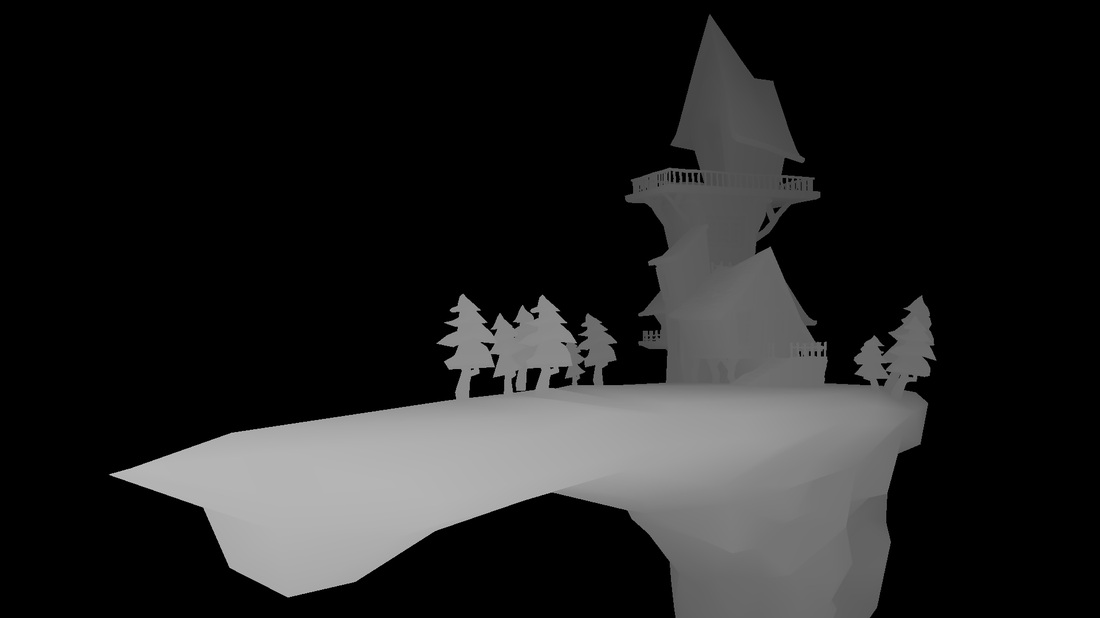
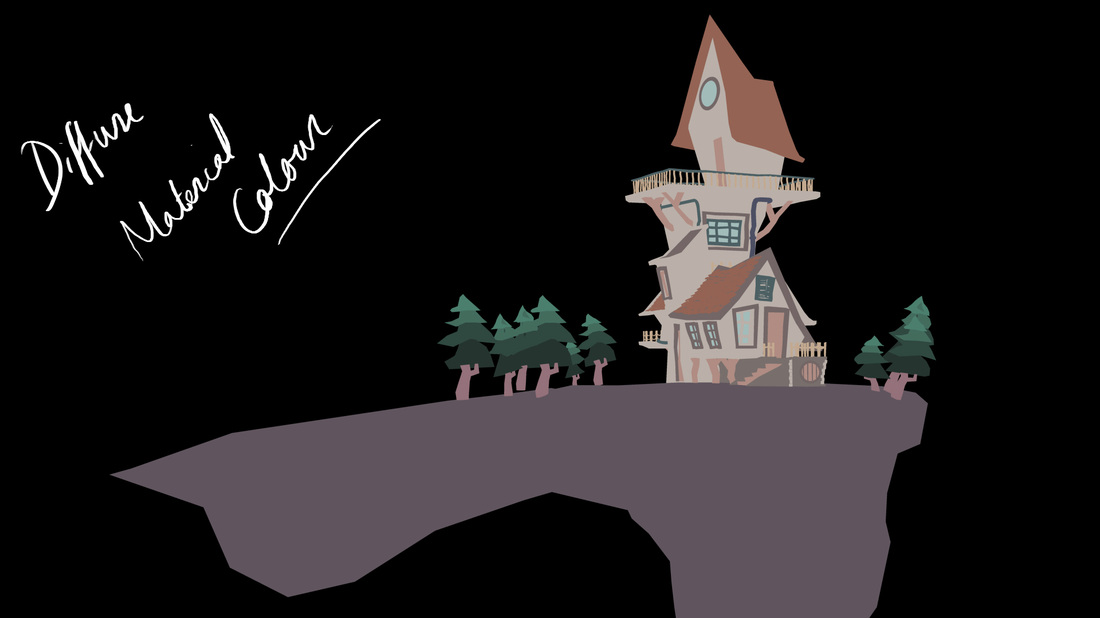
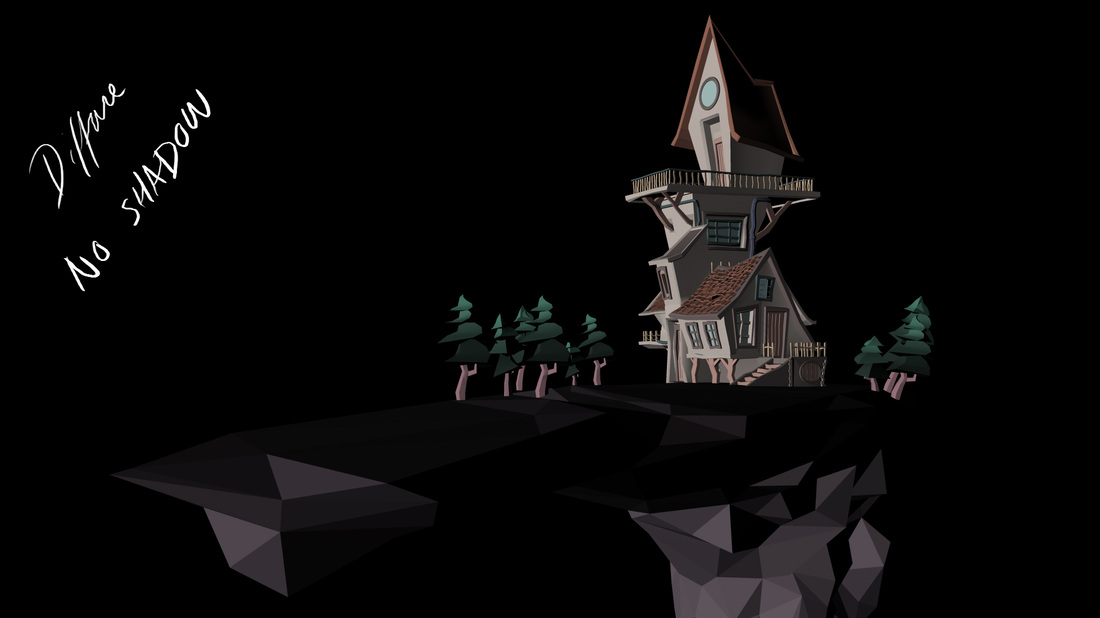
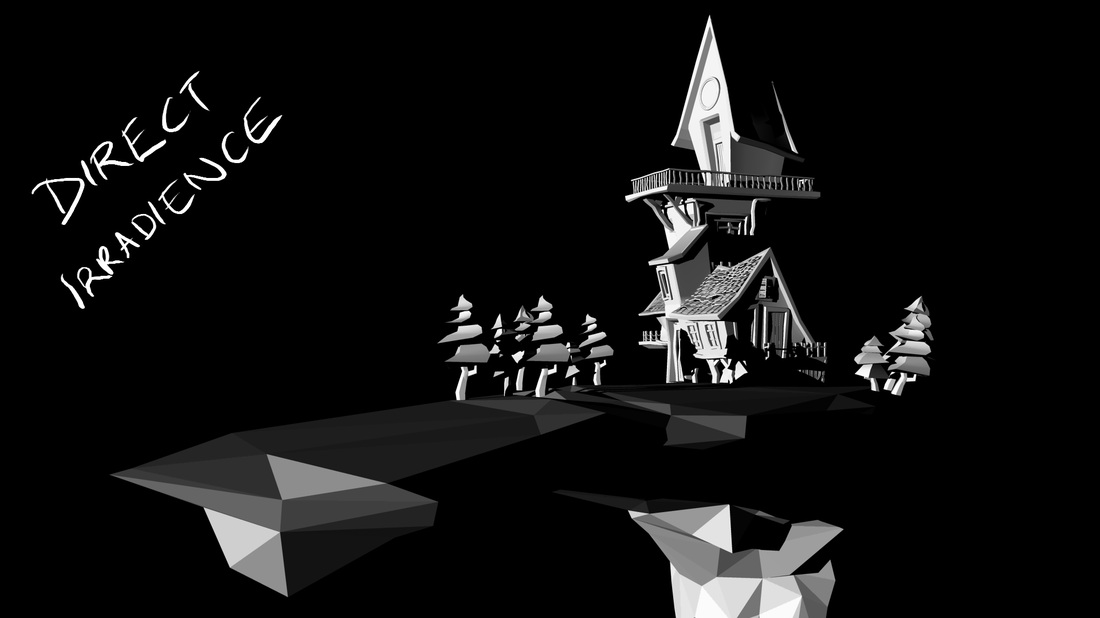
Render Passes
These are some examples the render passes created through Maya, and edited in Nuke (thanks to some help from Alister)


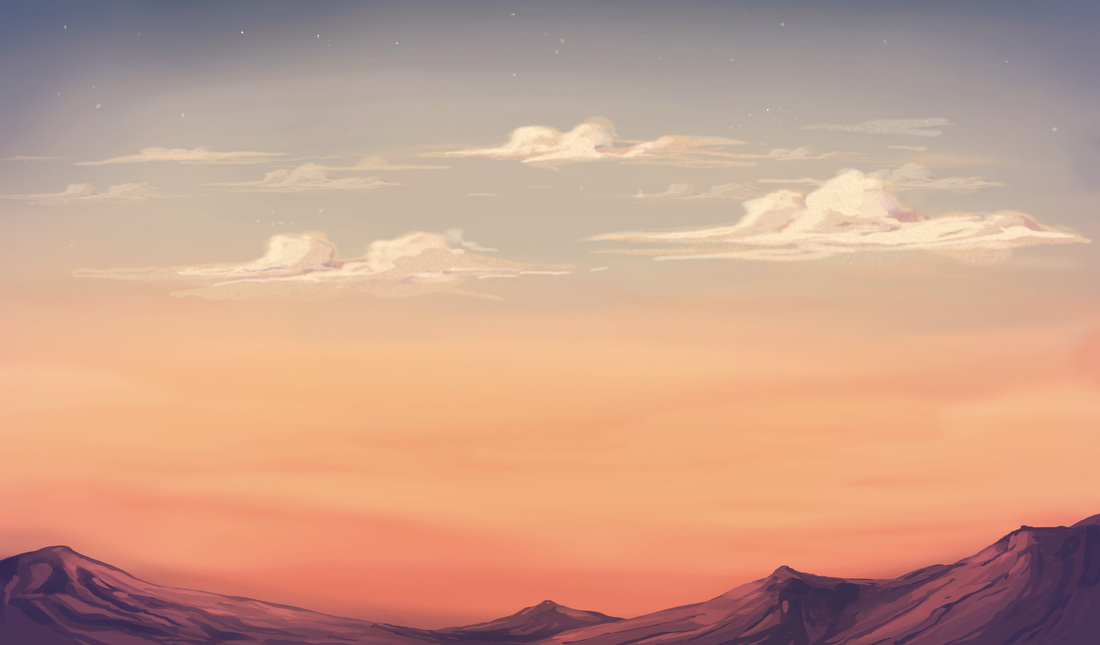
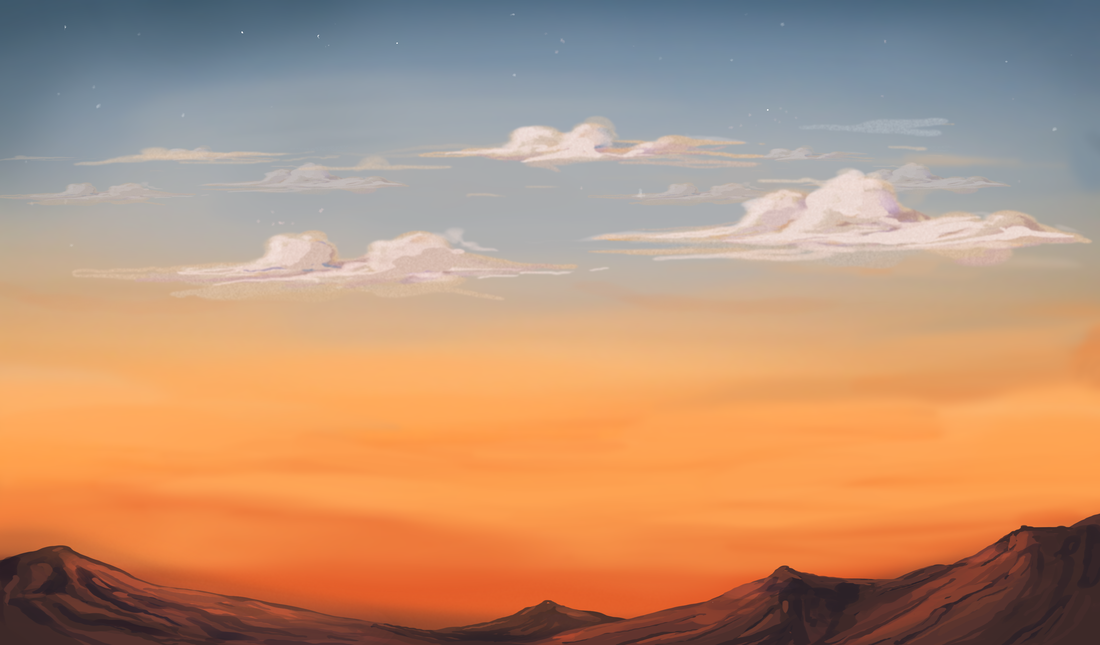
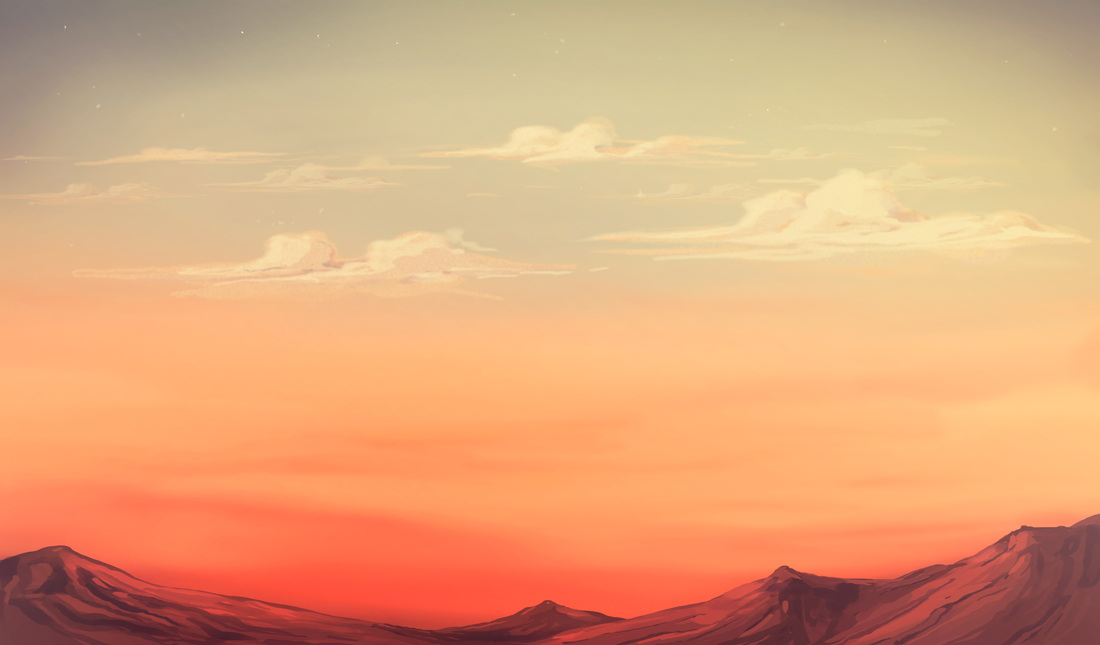
Matte Paintings (for backdrop)
I needed a quick matte painting to complete my final frame. So I painted and evening light scene, and added some haze and lighting effects to give a few versions to choose from.
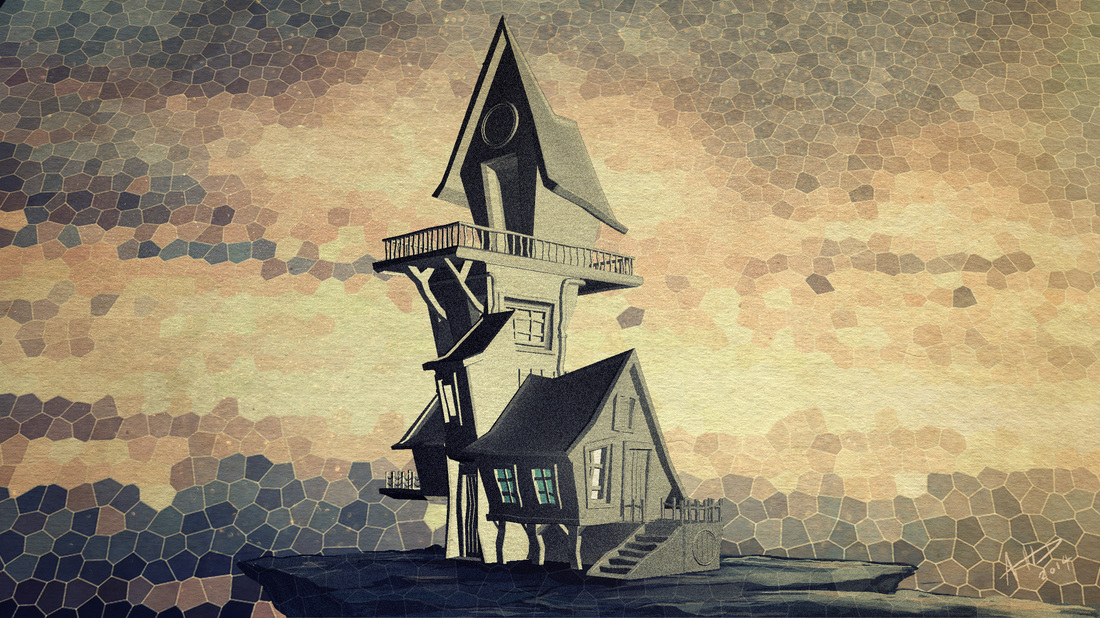
Clubhouse test Renders
I wanted to see if I could achieve the paper texture/grain in comp, so before I went any further, I took one of my recent model renders and started playing around with lighting and colour grading in Photoshop and After Effects.

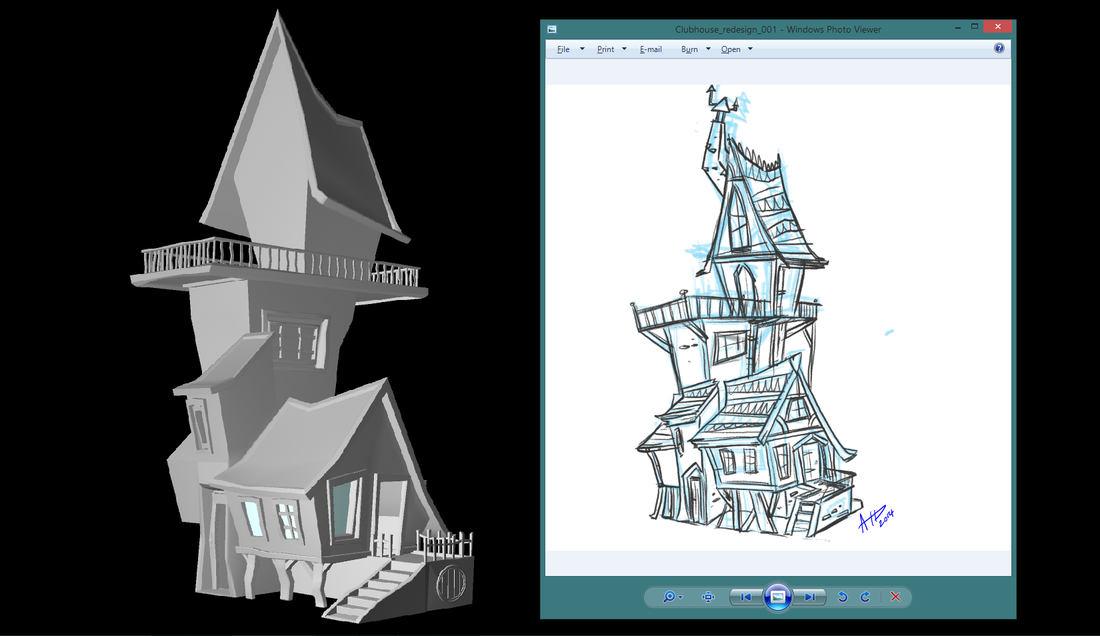
Re-designing the Clubhouse.
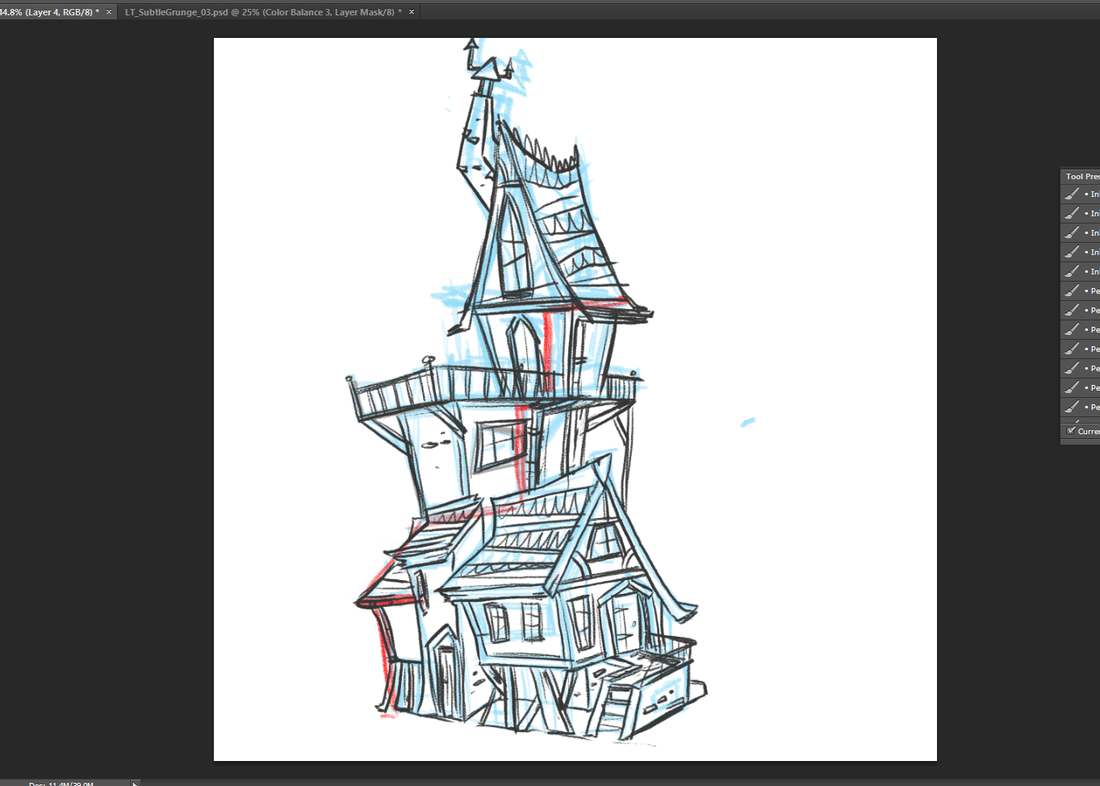
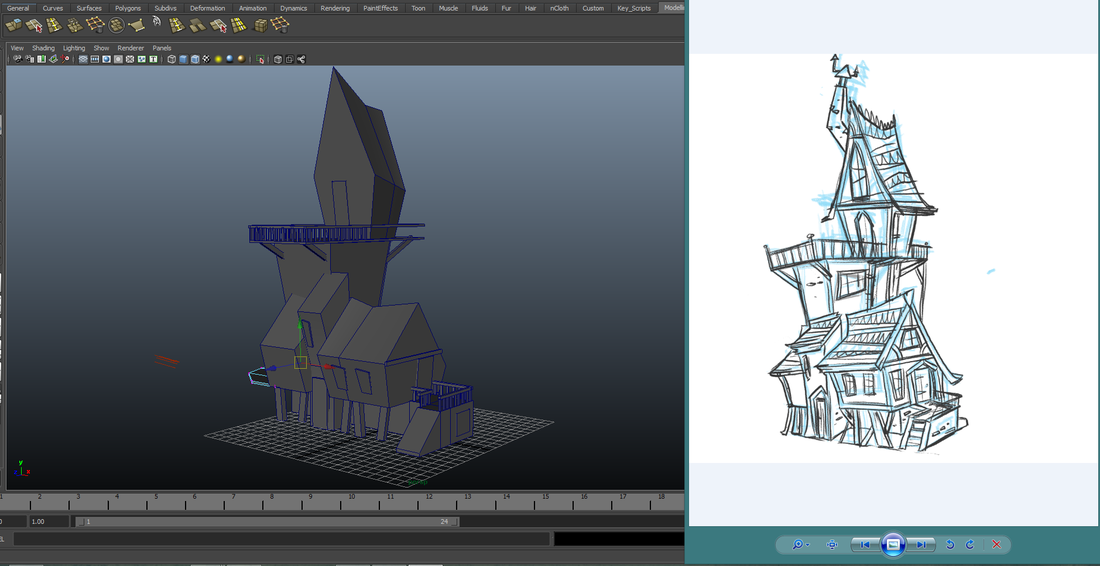
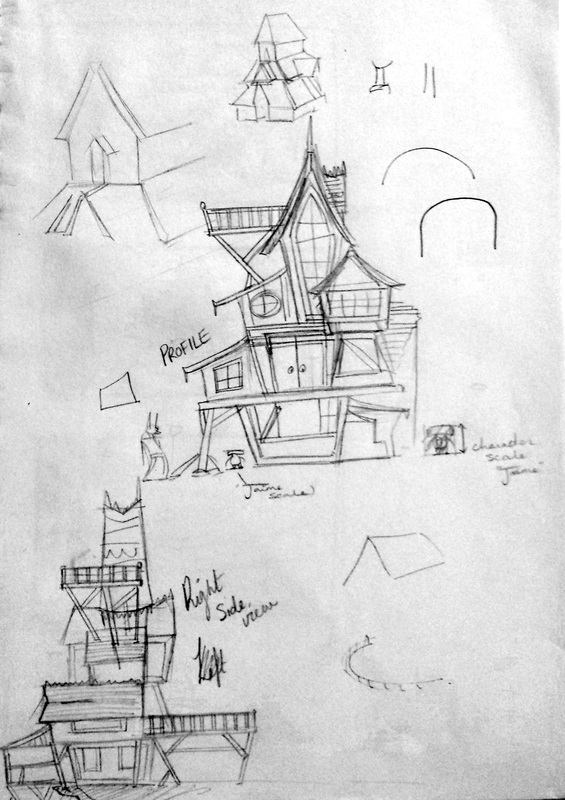
So after fighting with my brain for the millionth time. I decided the clubhouse needed a re-design. The one I began blocking out originally felt completely uninteresting. I need a building with character!
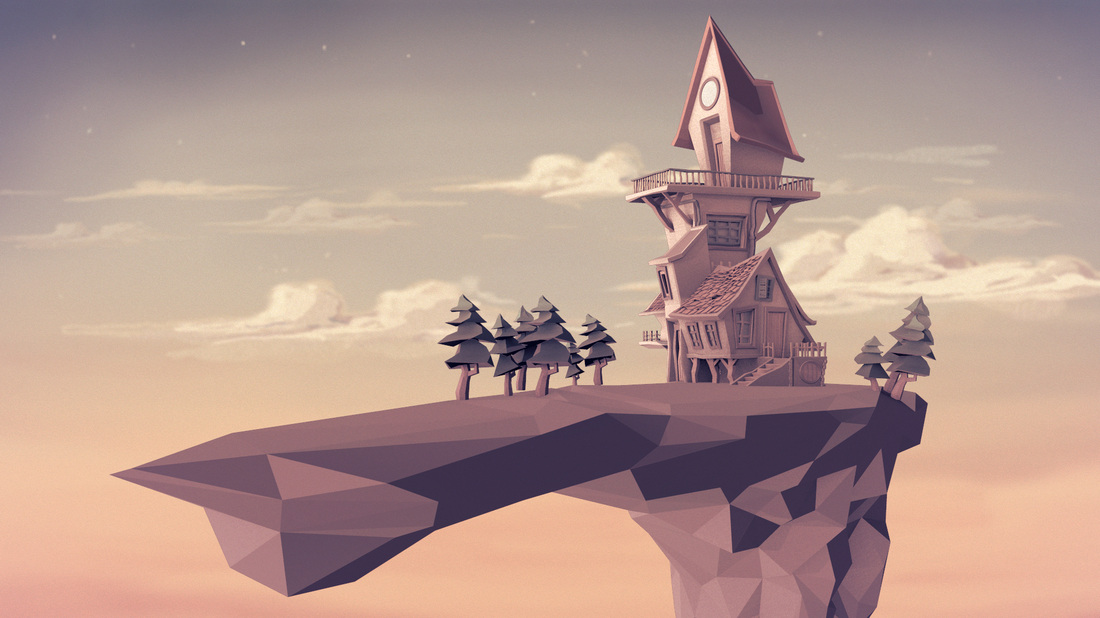
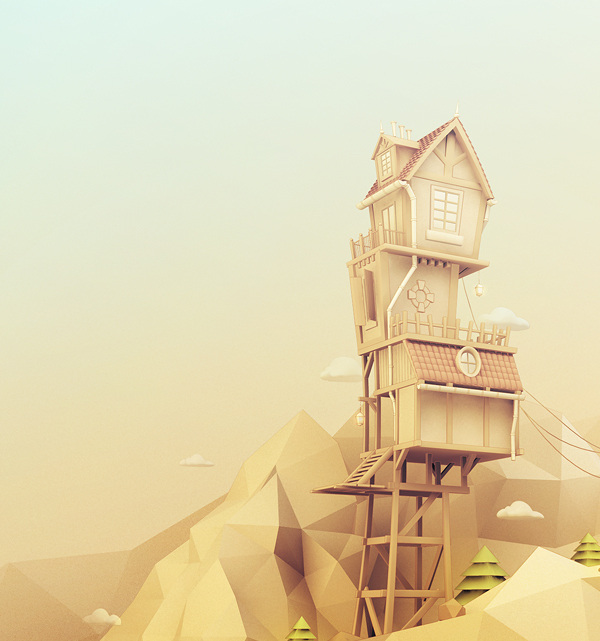
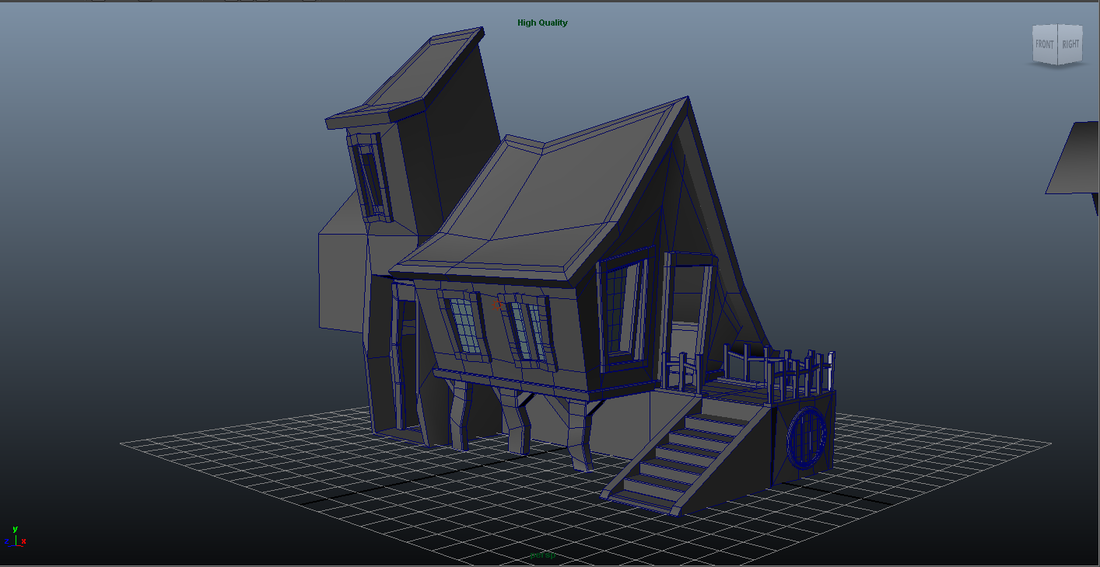
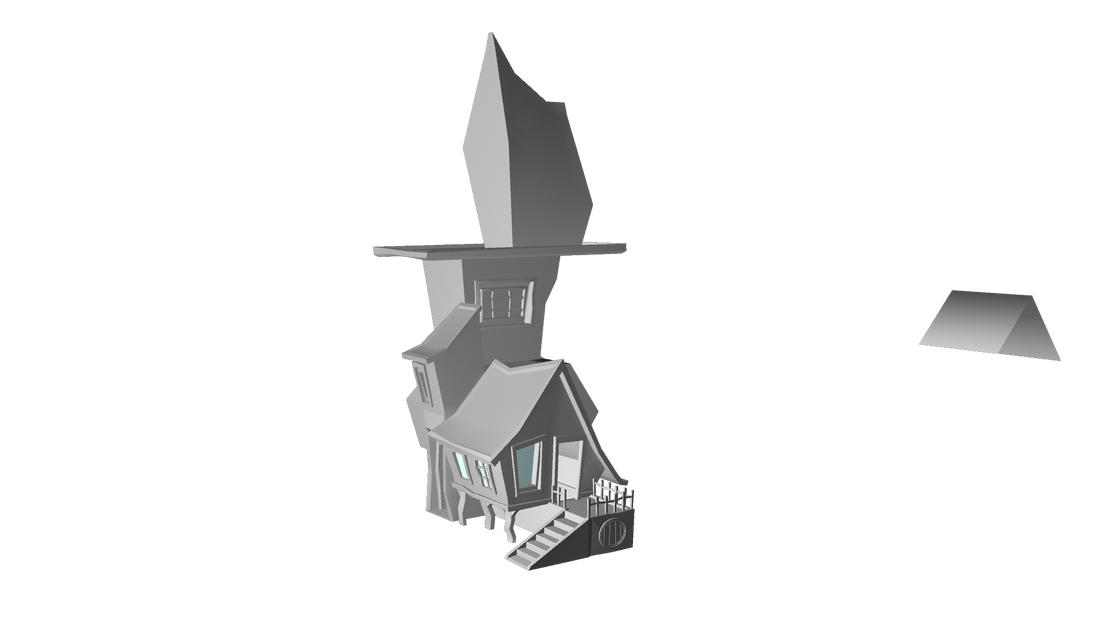
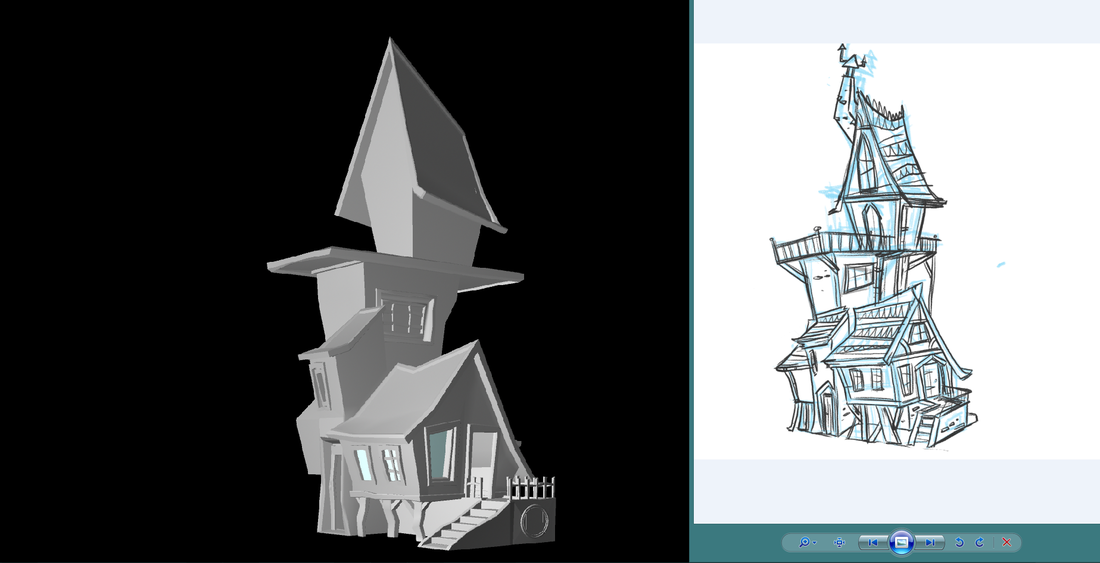
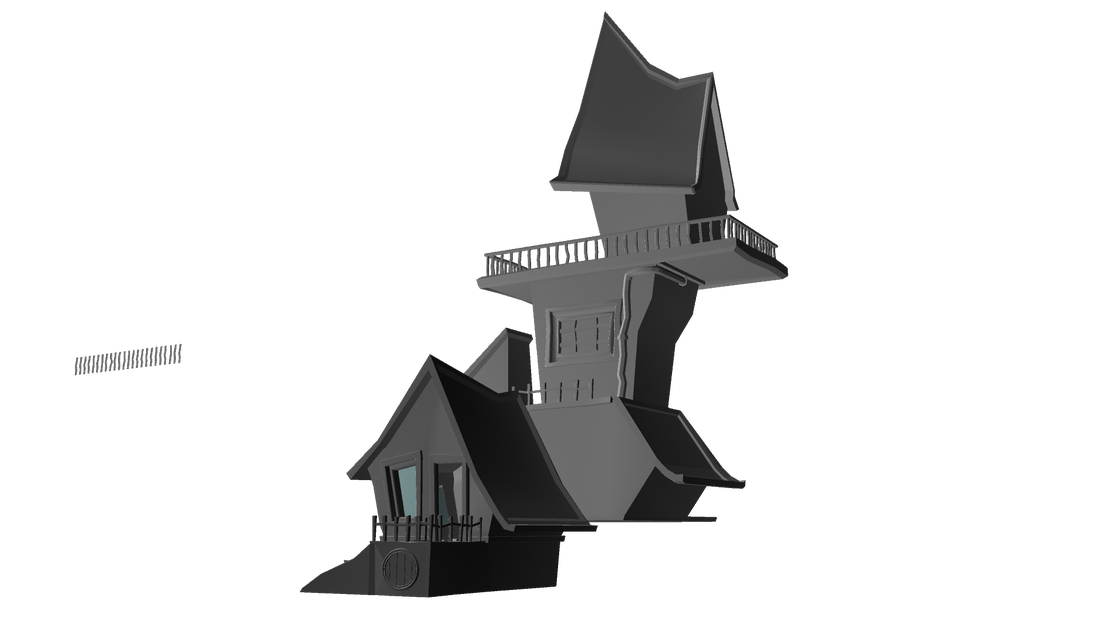
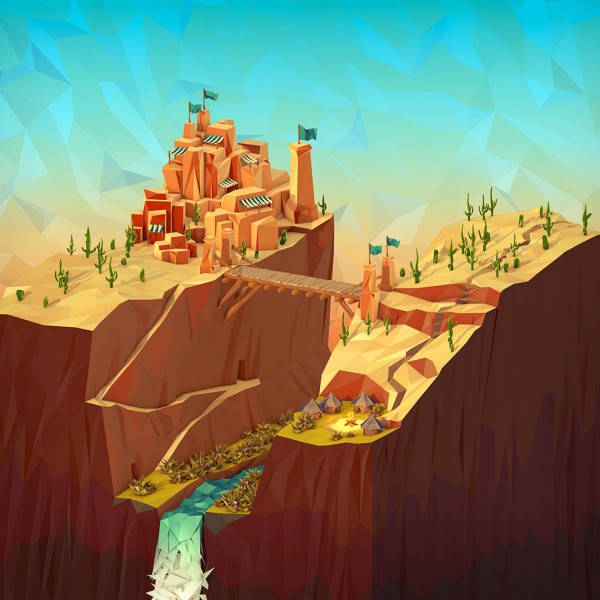
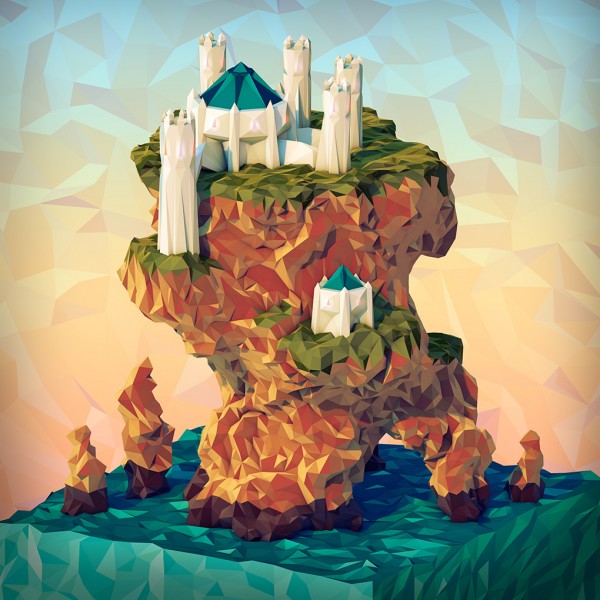
So, drawing inspiration from the beautifully simplistic model below, I (re!)approached redesigning my building....for the final time! I need to actually make this one, before I run outta time.
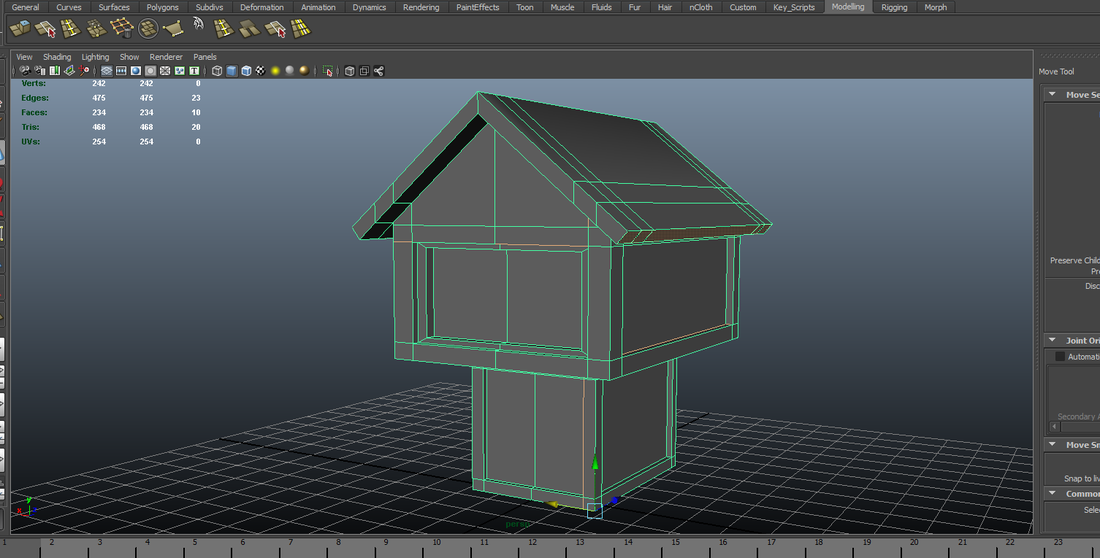
I was originally interested in making my building look like a low poly game model, but featuring hand painted textures, to add my flair of creativity. This unfortunately didn't work out, as I was so lost with the UV mapping, I didn't make any progress. So I turned to low poly, of the 'graphic design' variety to achieve a final model. This way I can use simple shaders to achieve the block colour, and work in comp later to add texture and grain, like the image below.
I love the 'tri' poly look!
Link to image ref: http://www.behance.net/gallery/Wallpaper/3661775
So, drawing inspiration from the beautifully simplistic model below, I (re!)approached redesigning my building....for the final time! I need to actually make this one, before I run outta time.
I was originally interested in making my building look like a low poly game model, but featuring hand painted textures, to add my flair of creativity. This unfortunately didn't work out, as I was so lost with the UV mapping, I didn't make any progress. So I turned to low poly, of the 'graphic design' variety to achieve a final model. This way I can use simple shaders to achieve the block colour, and work in comp later to add texture and grain, like the image below.
I love the 'tri' poly look!
Link to image ref: http://www.behance.net/gallery/Wallpaper/3661775
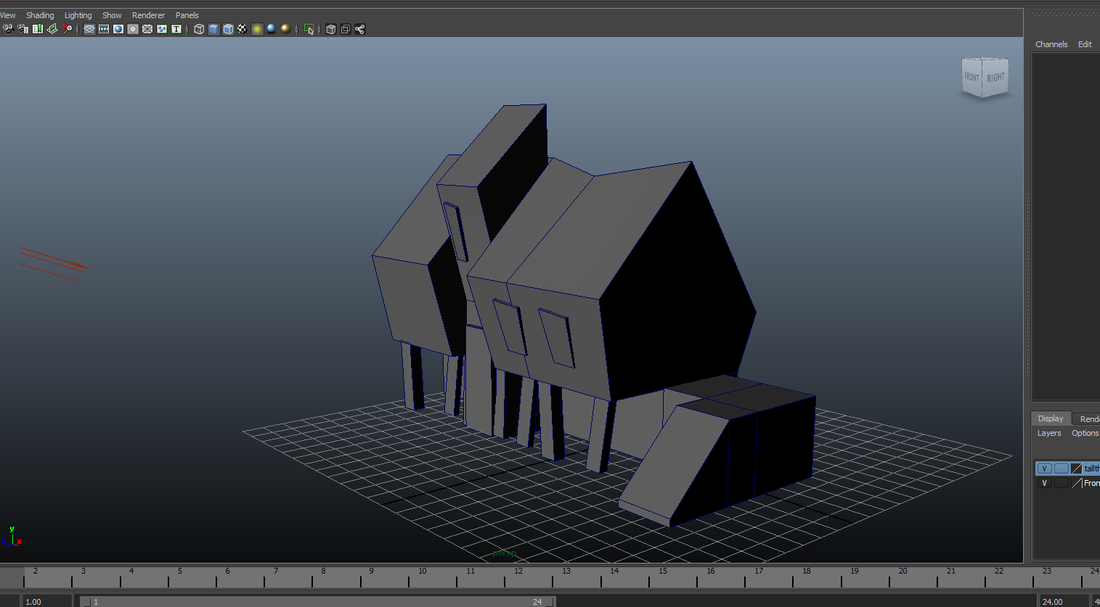
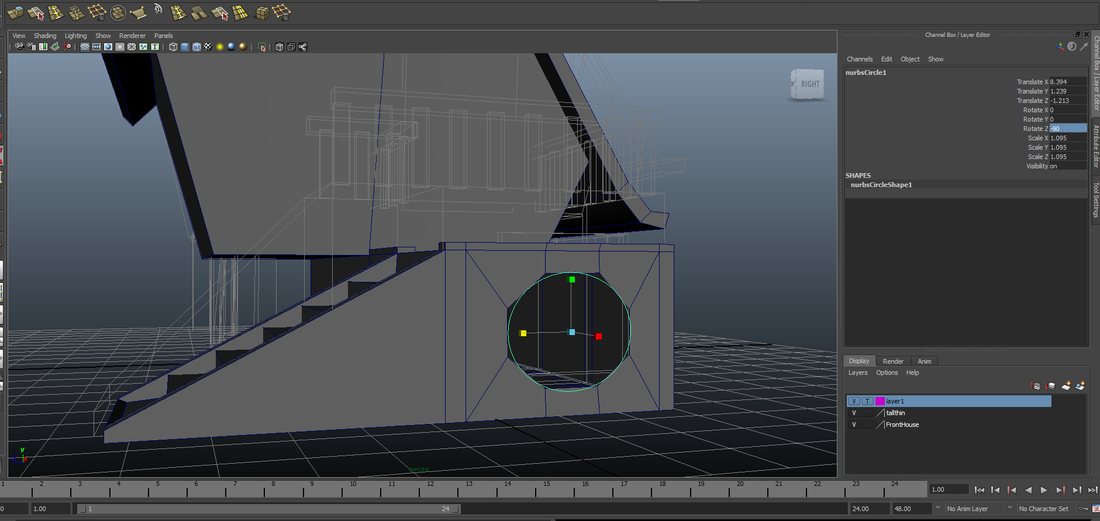
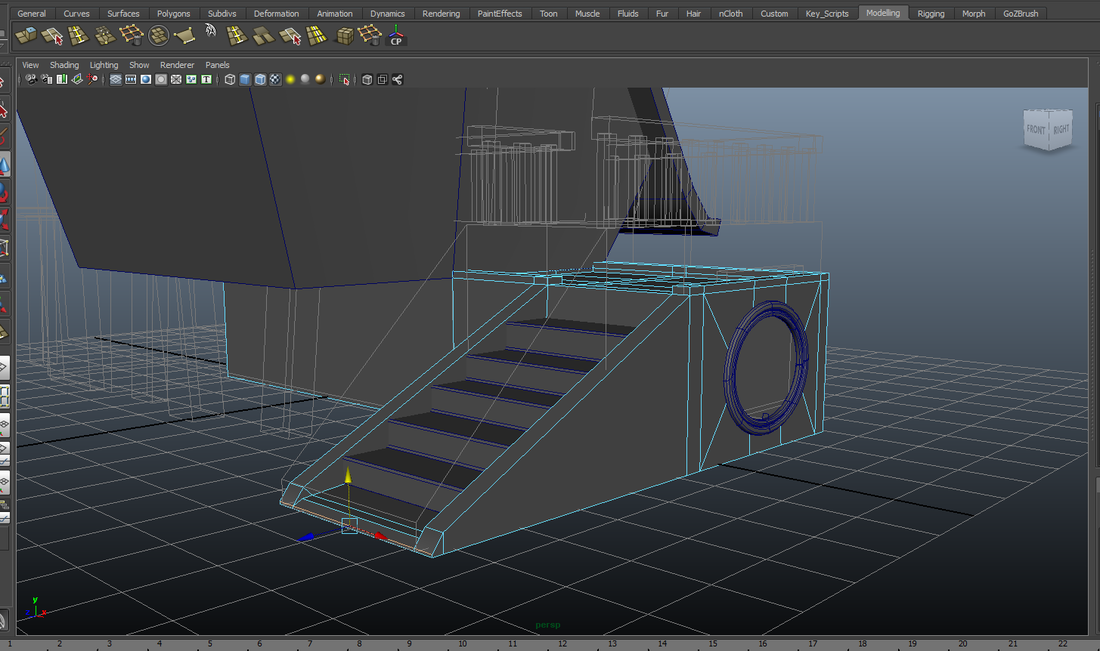
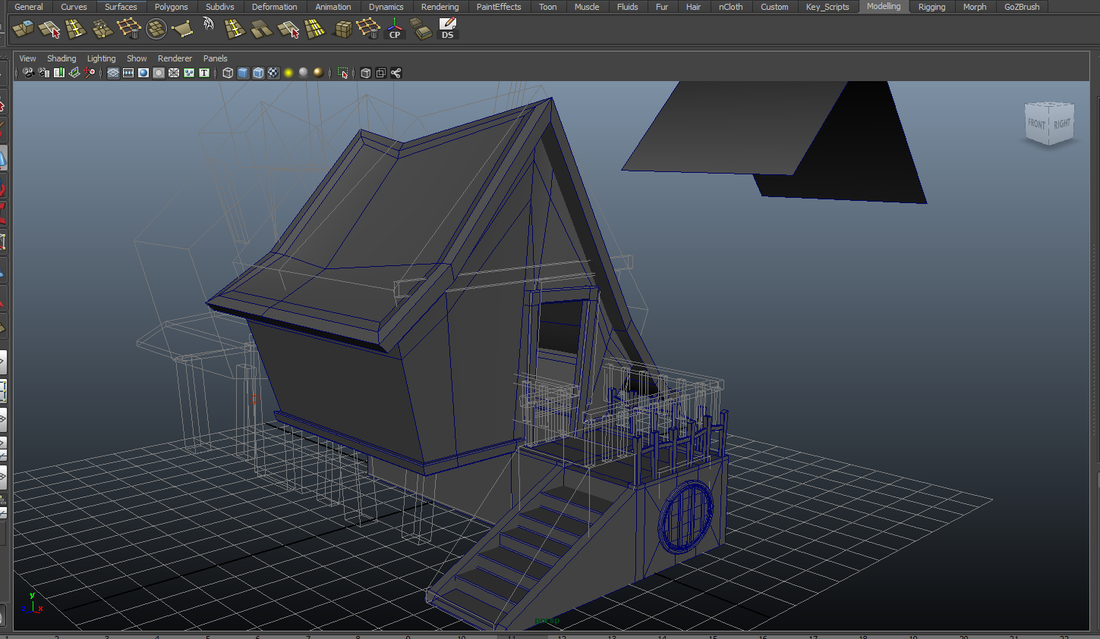
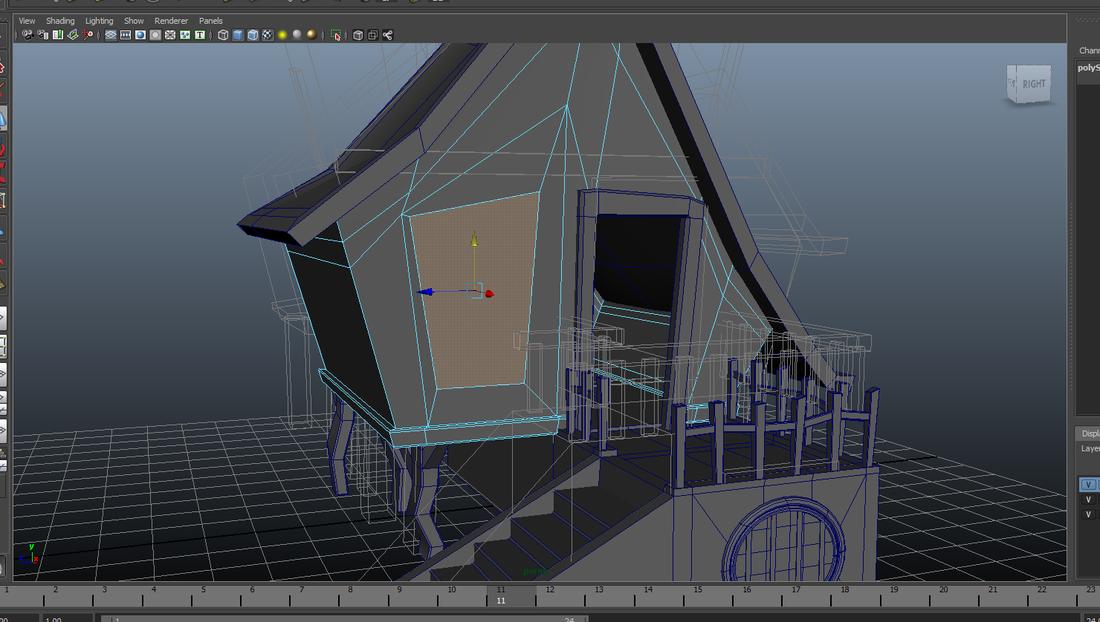
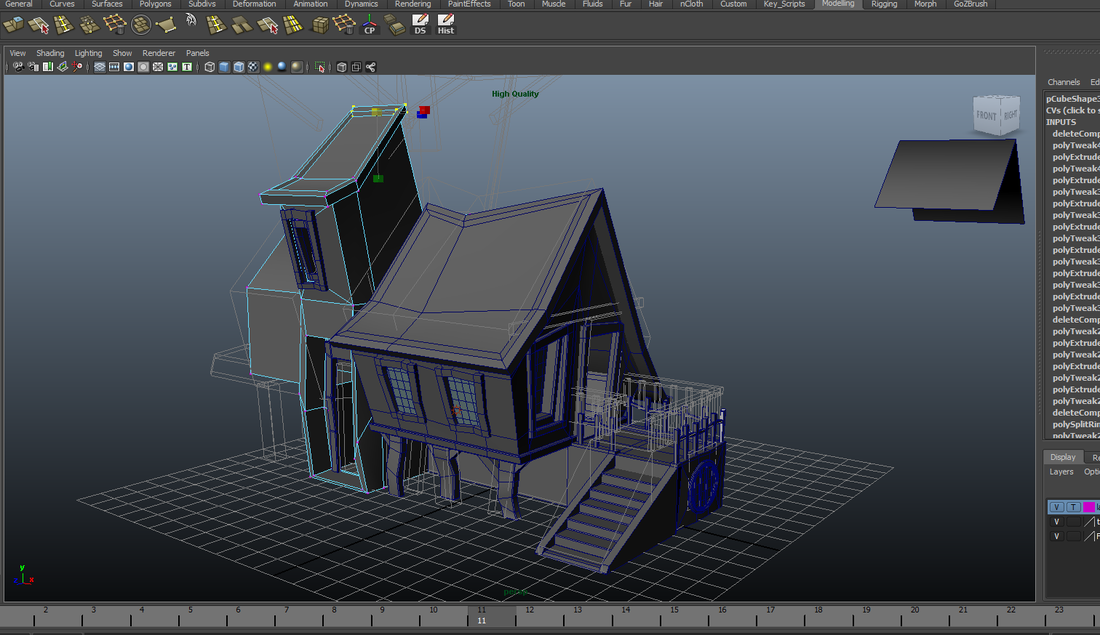
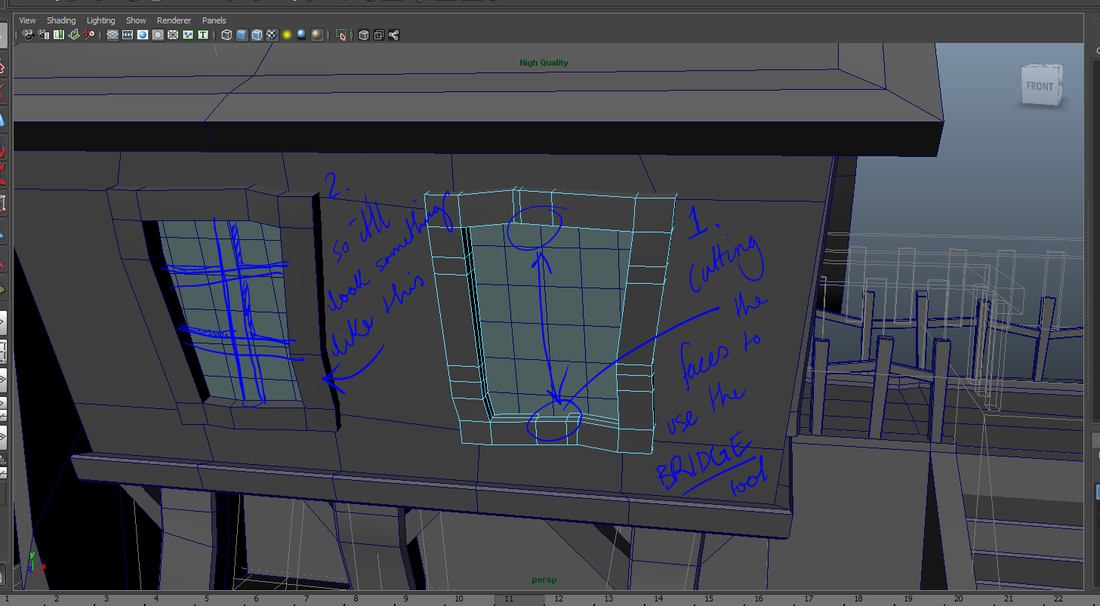
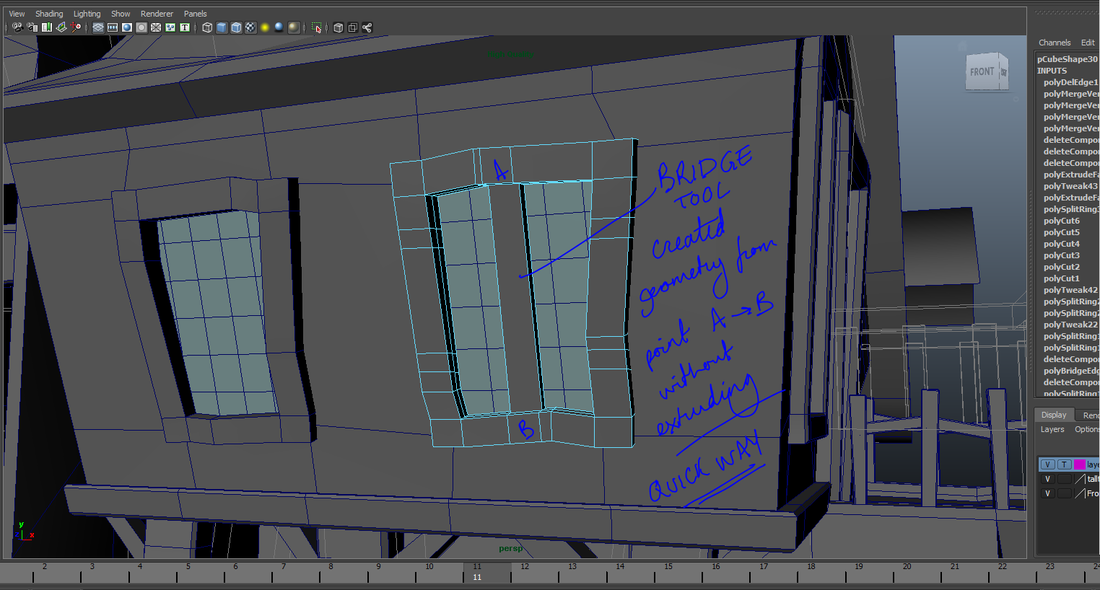
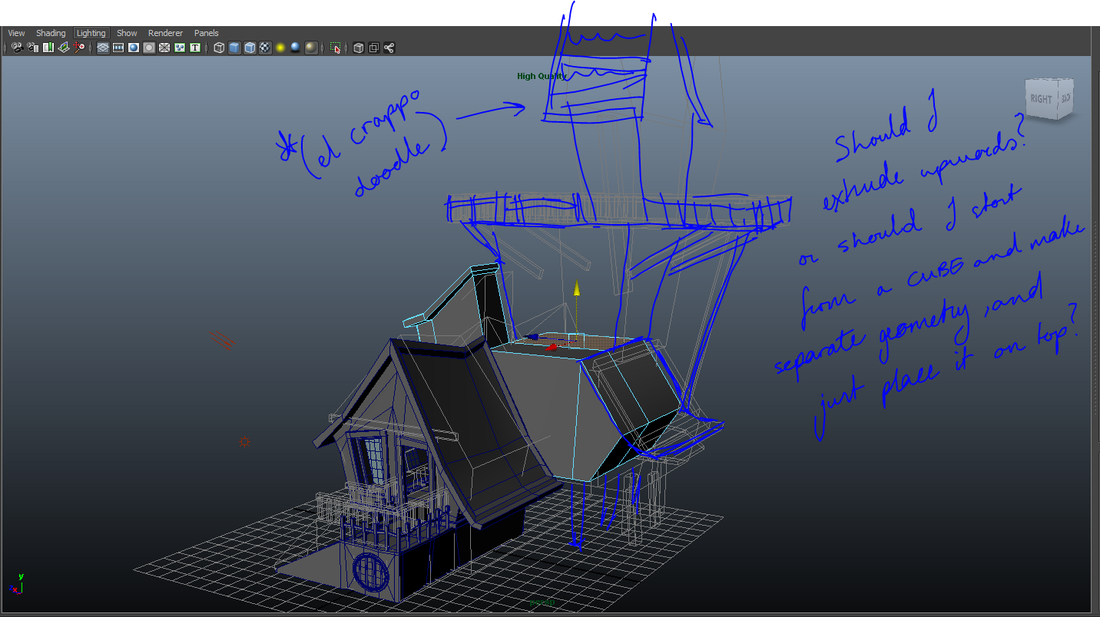
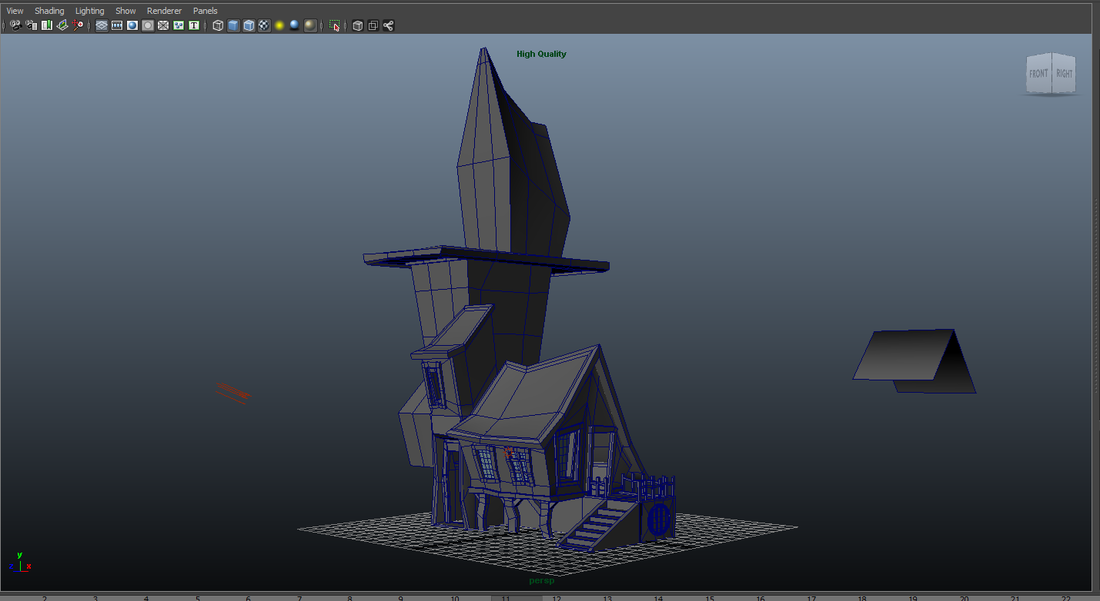
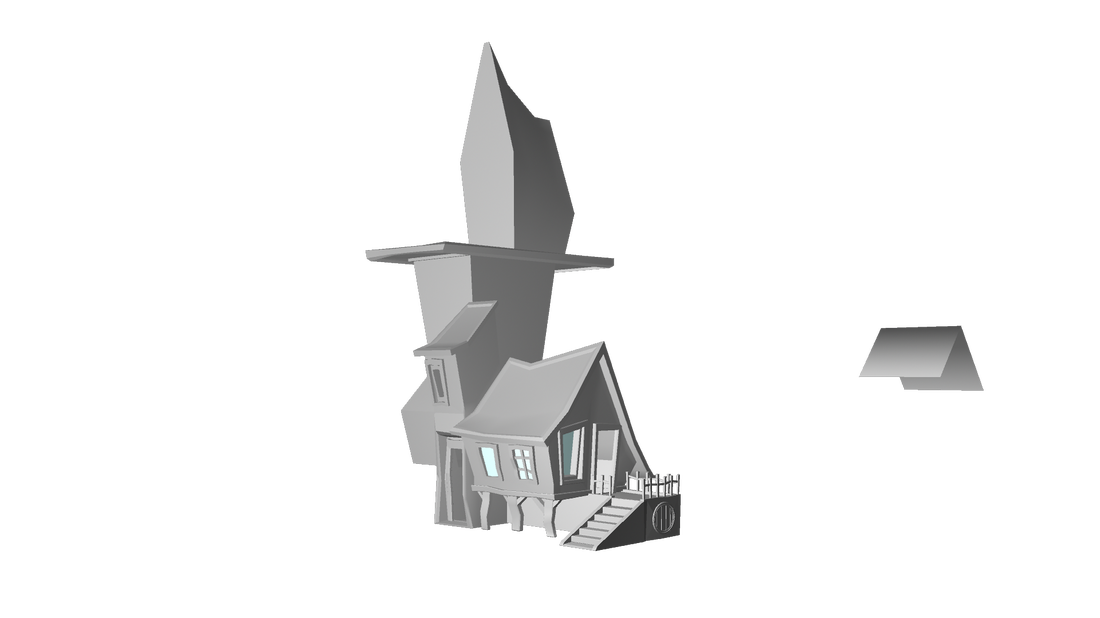
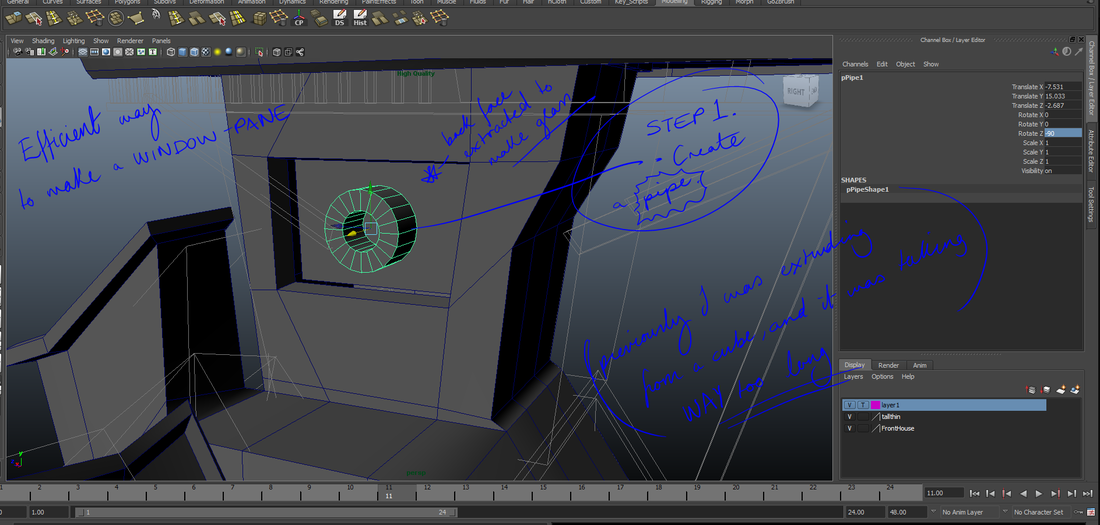
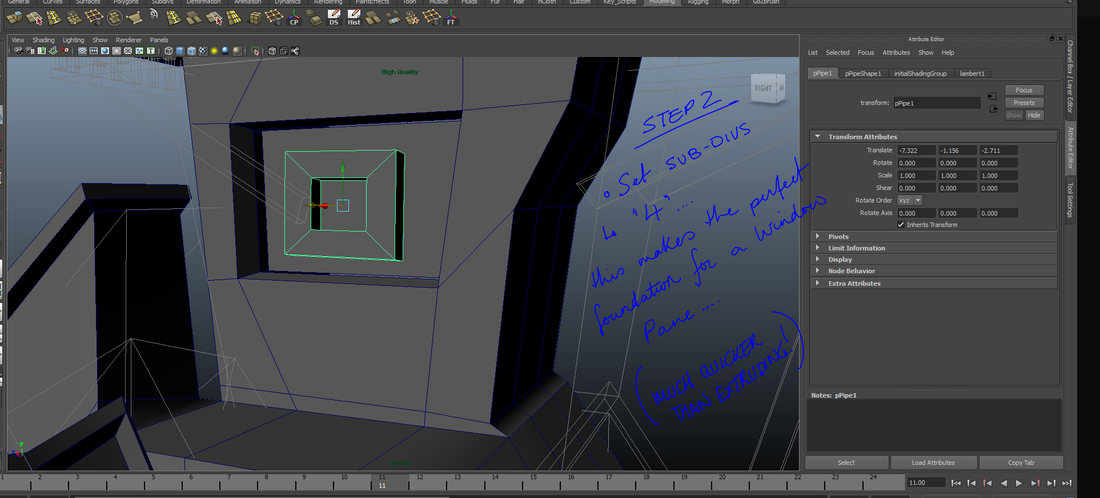
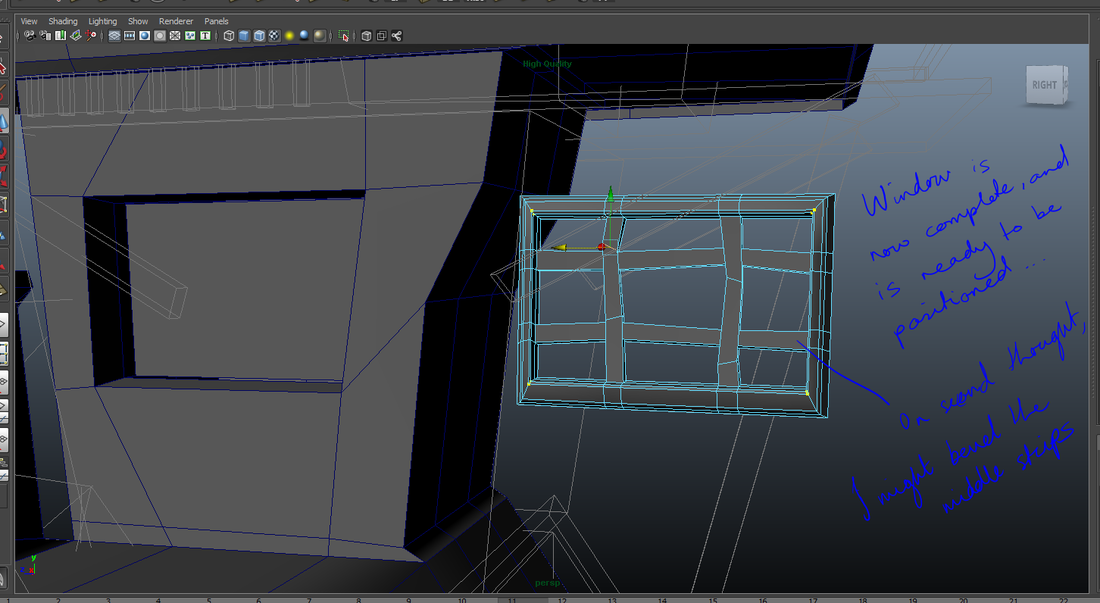
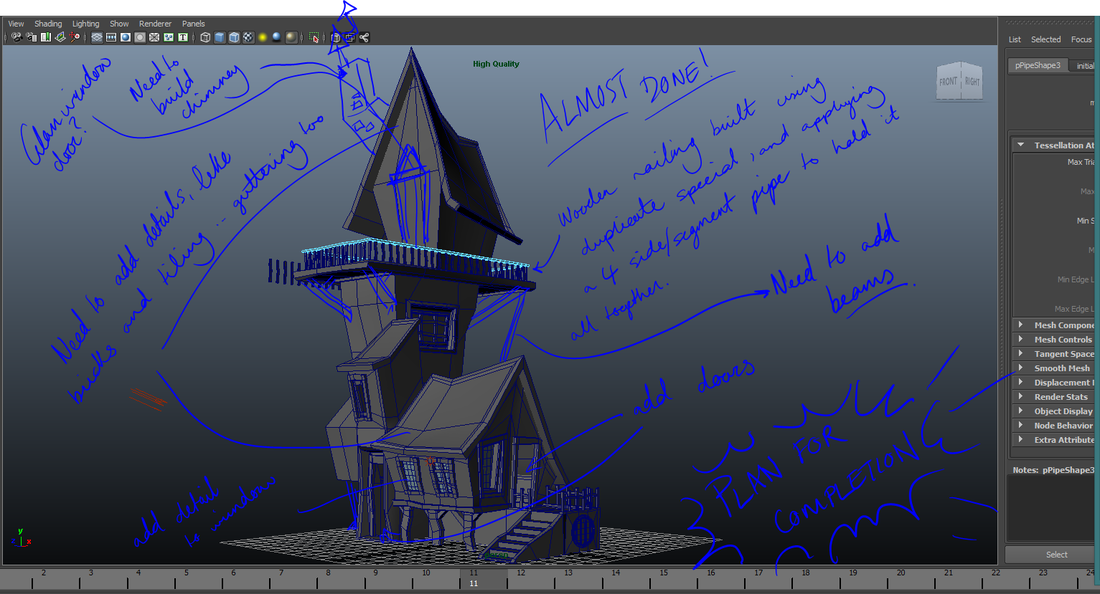
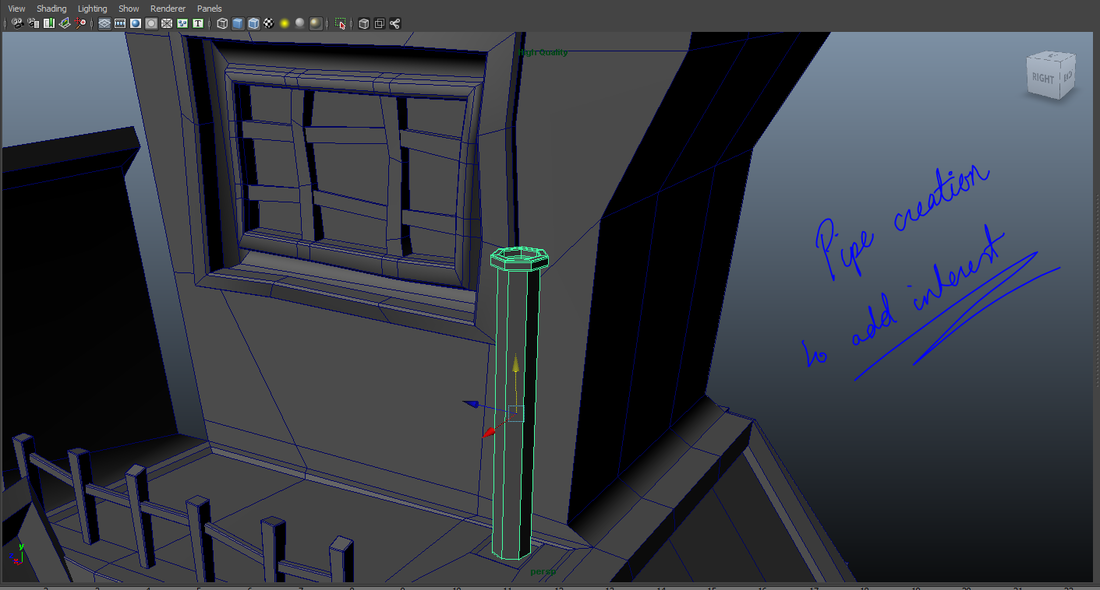
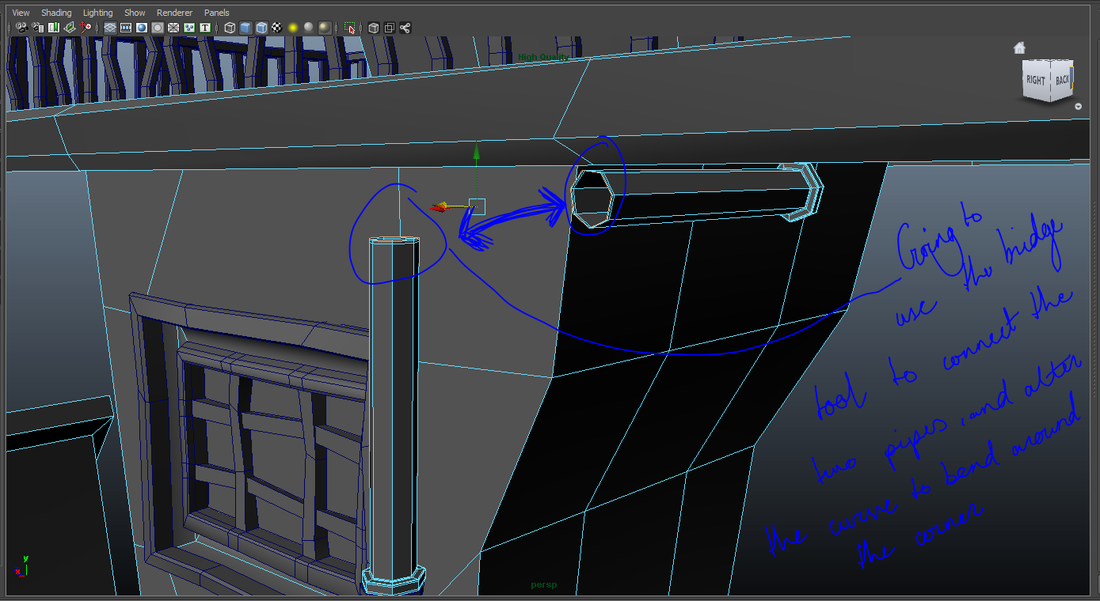
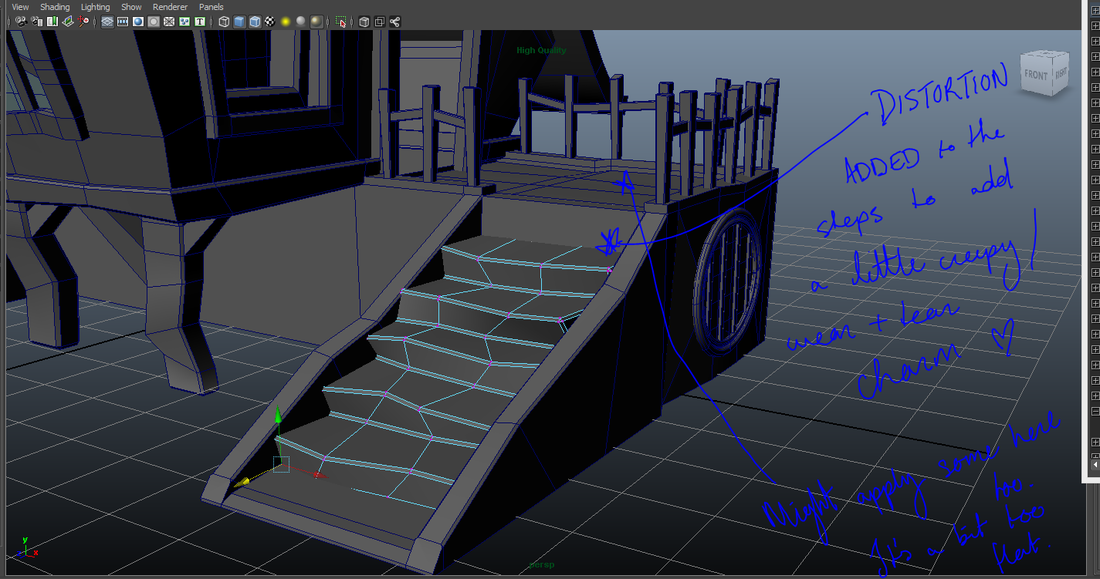
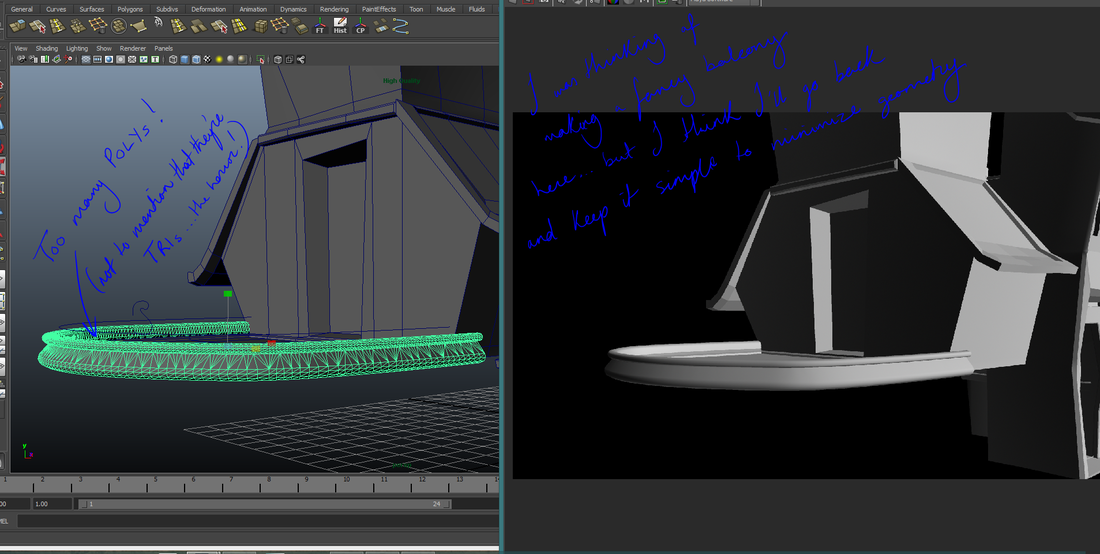
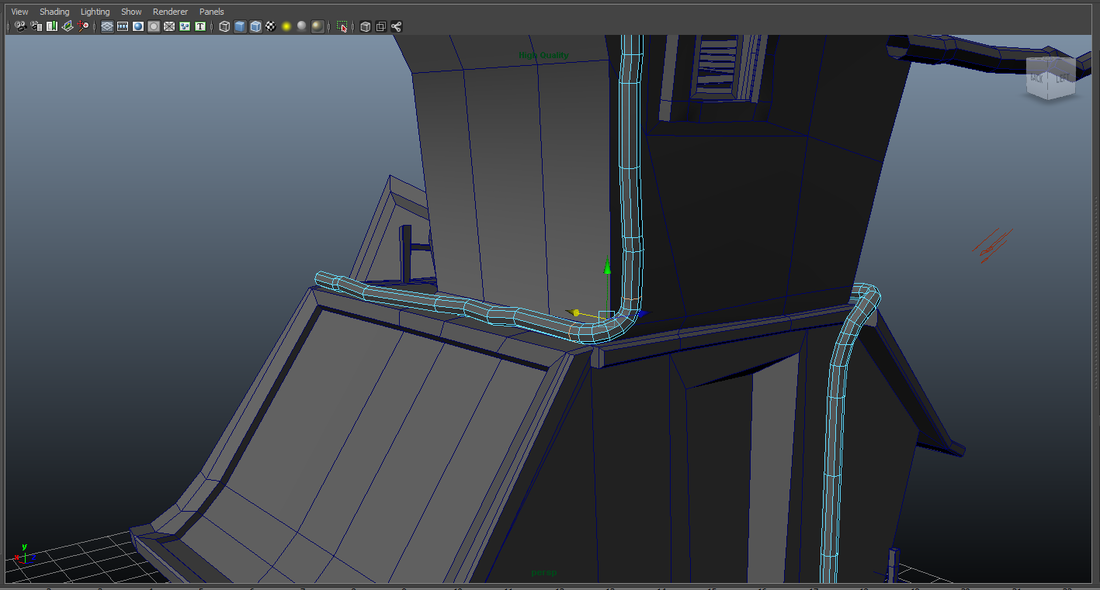
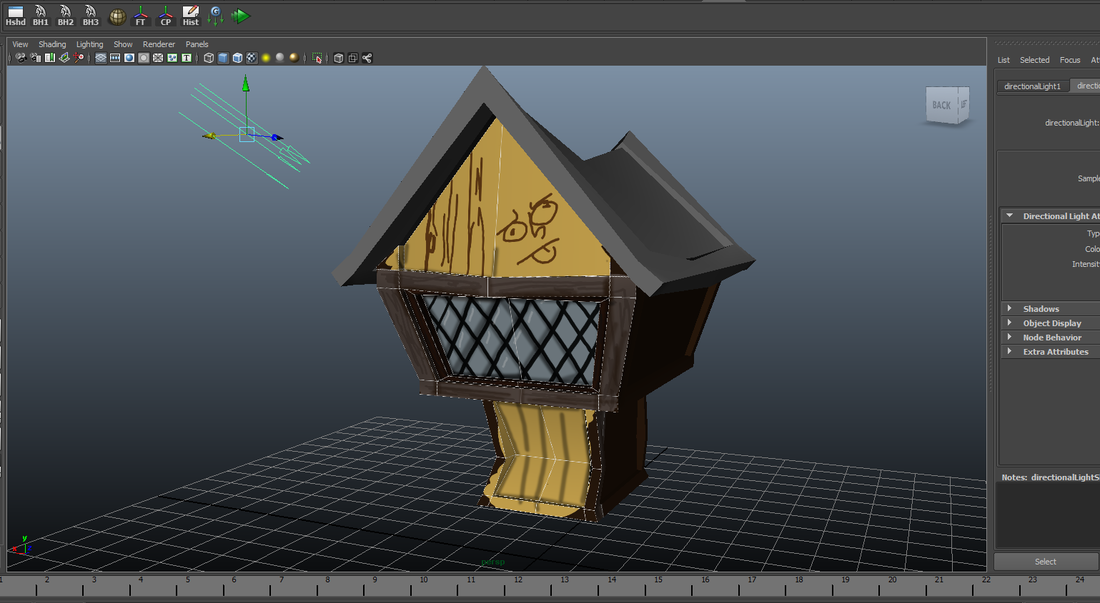
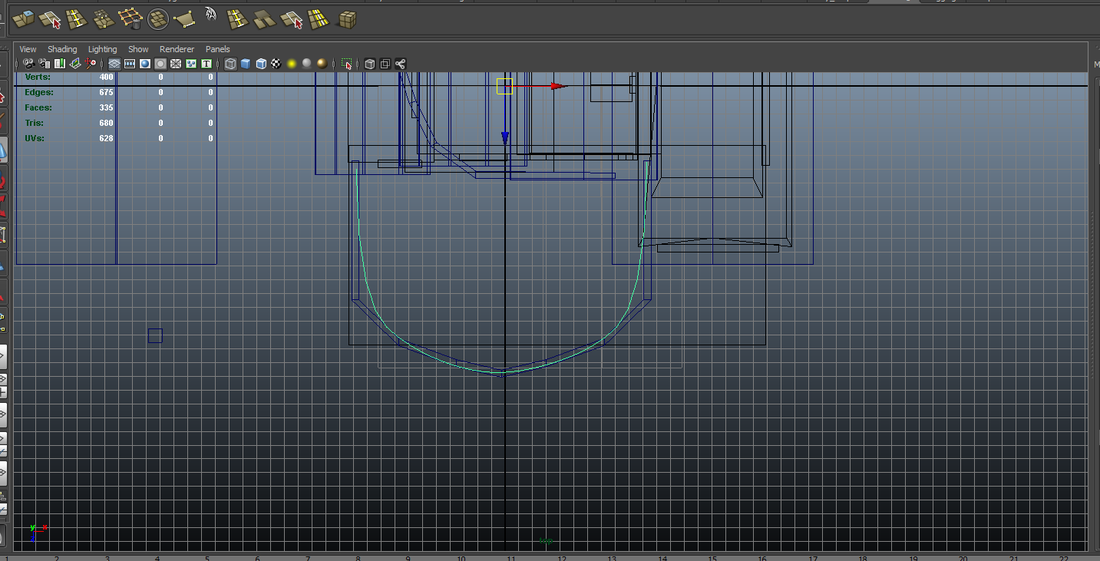
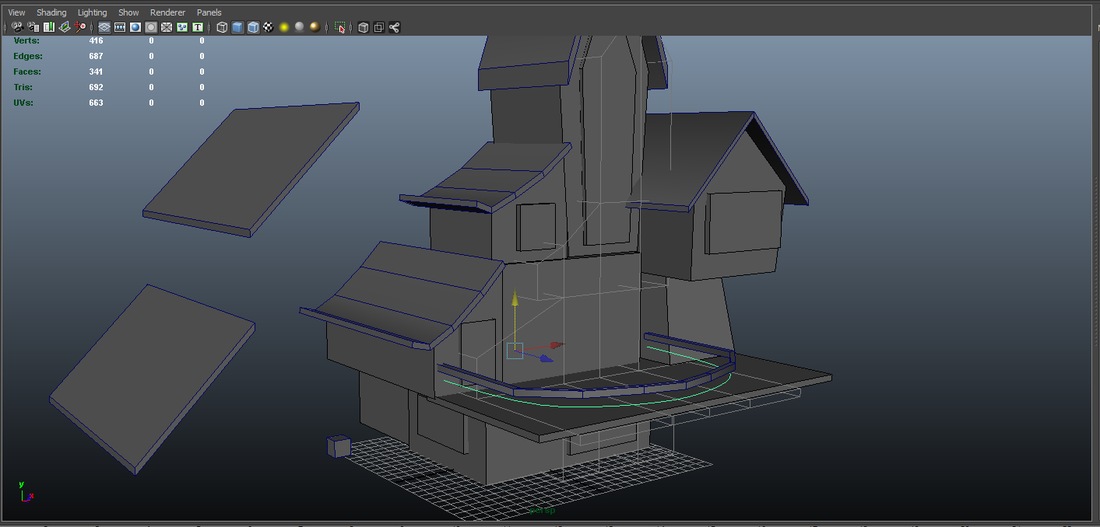
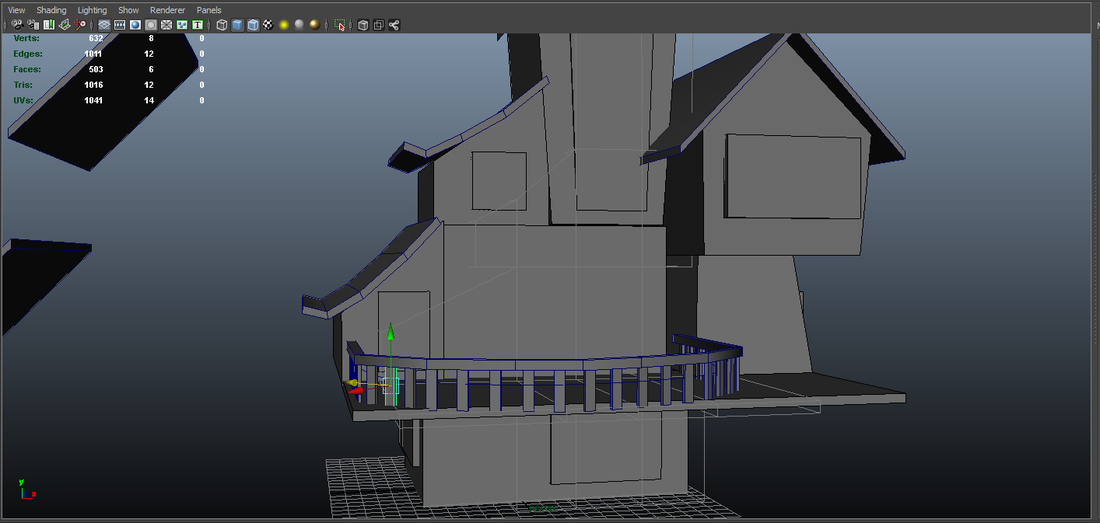
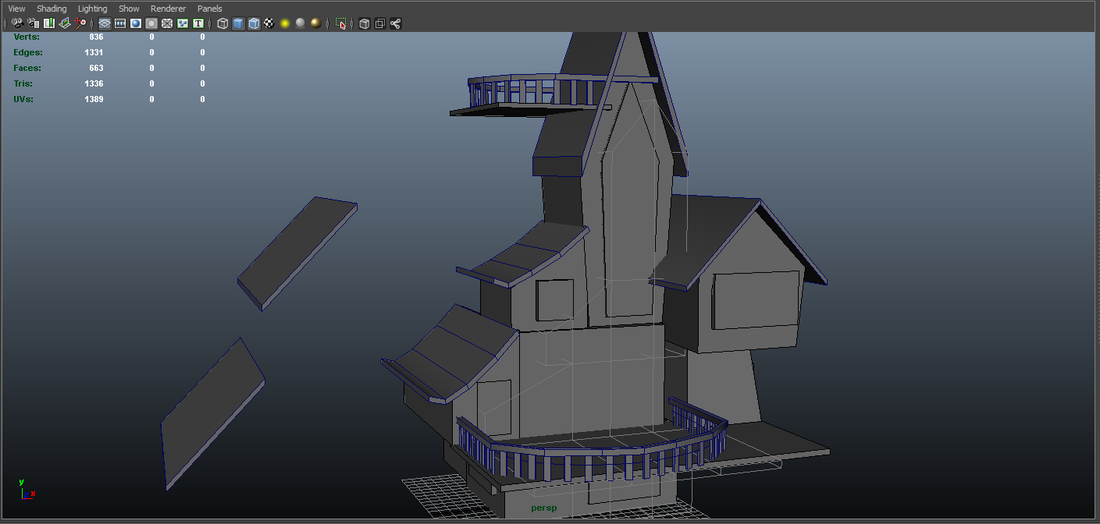
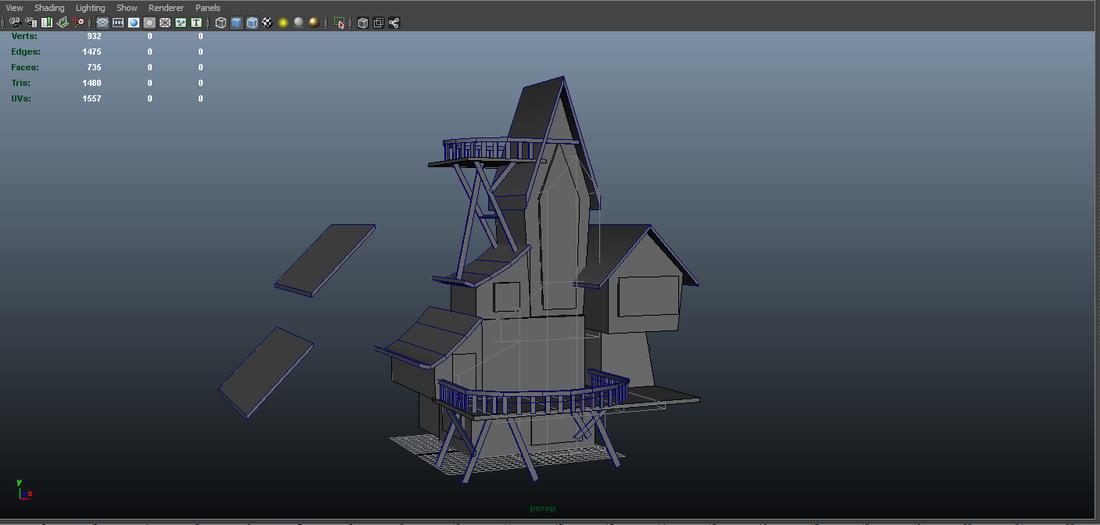
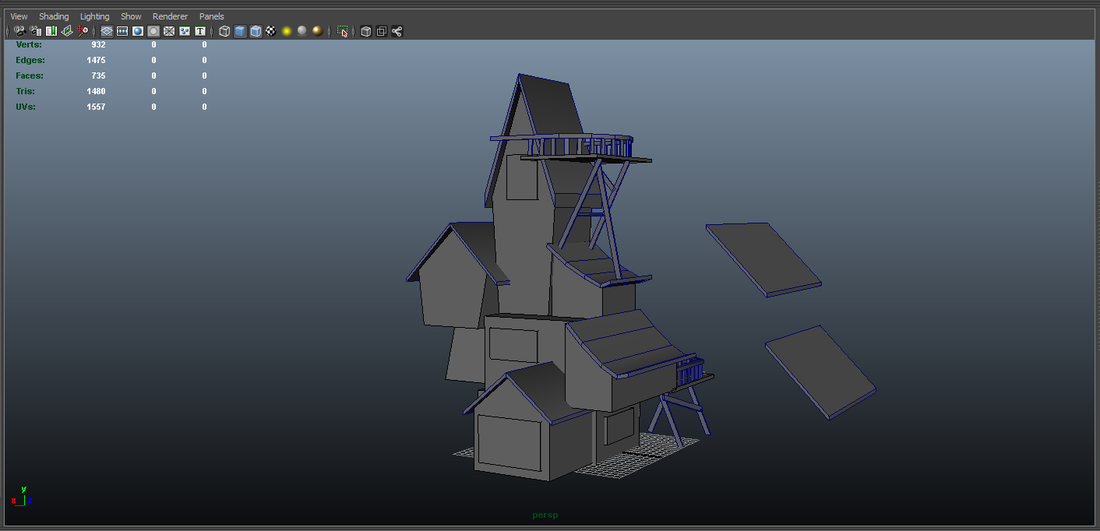
Below, I've tracked my progress from concept to final model. I've written some notes along the way of new things discovered...things like using the bridge tool efficiently...and optimising the use of duplicate special.


Unconventional Inspiration
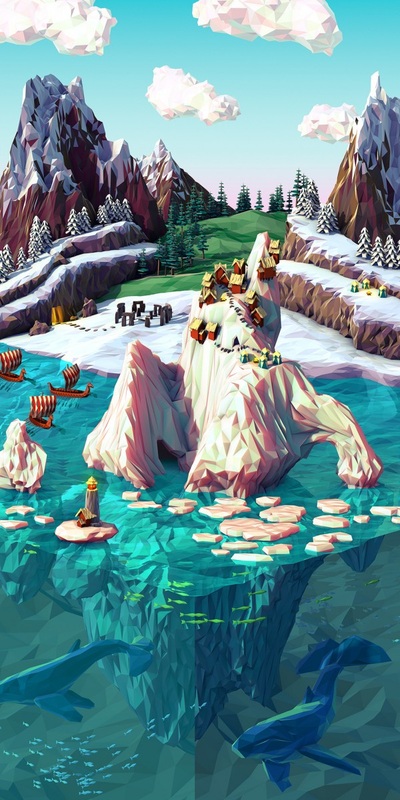
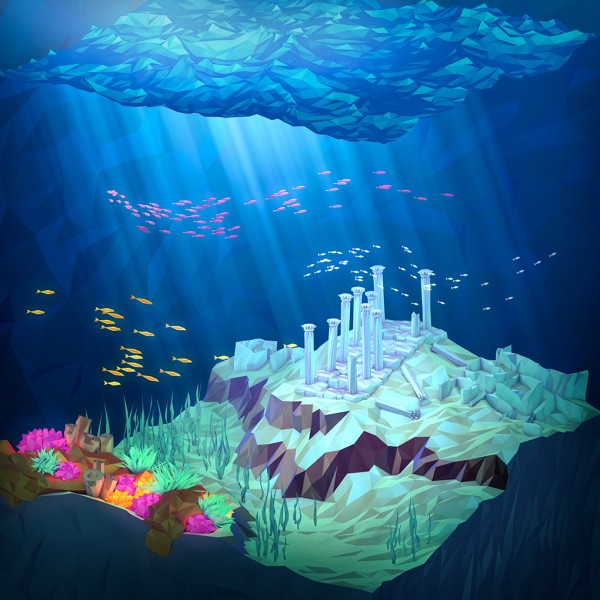
I love this look. The low poly, graphic design approach. Although, I need to work out how artists manage to achieve this look.
I like it because it's different. Everyone else is wanting to look photo-realistic... I think this is so much more creative and expressive! This is what I want to make! I may be changing my idea AGAIN, but wow.... I love this style.
I like it because it's different. Everyone else is wanting to look photo-realistic... I think this is so much more creative and expressive! This is what I want to make! I may be changing my idea AGAIN, but wow.... I love this style.

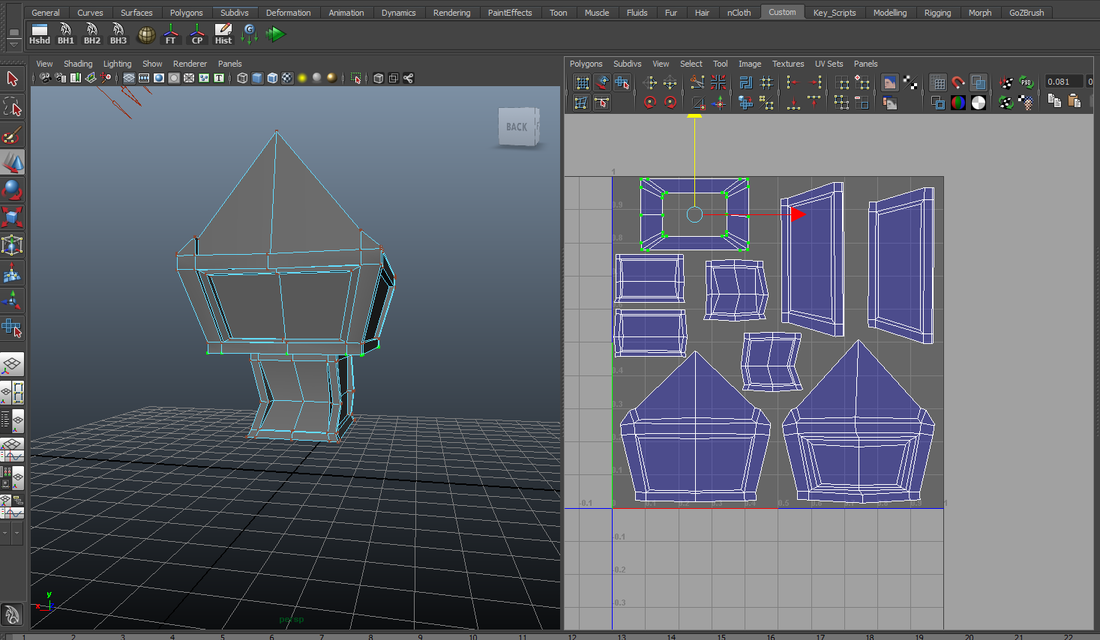
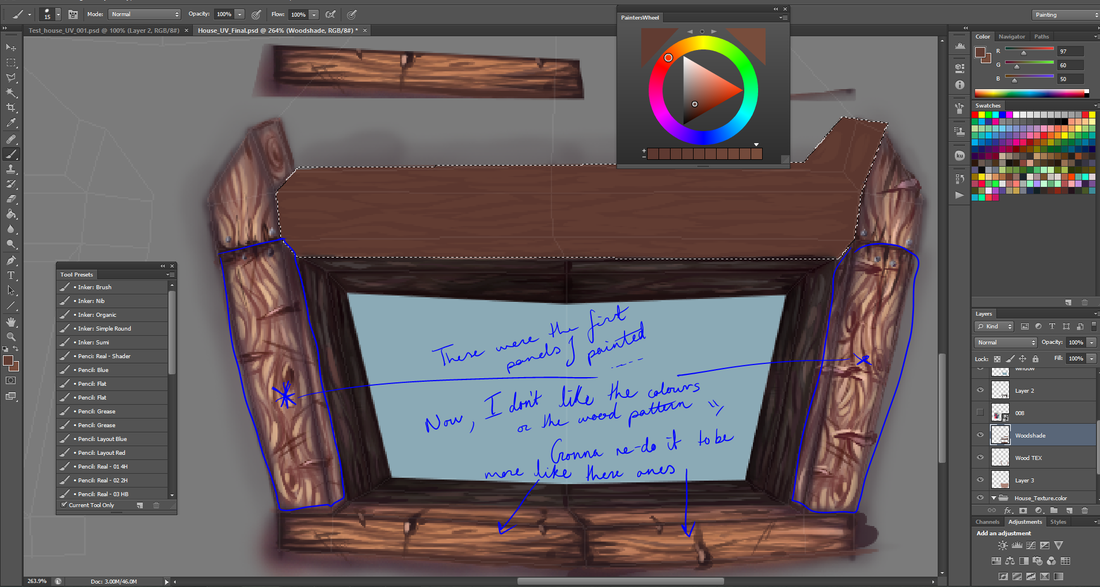
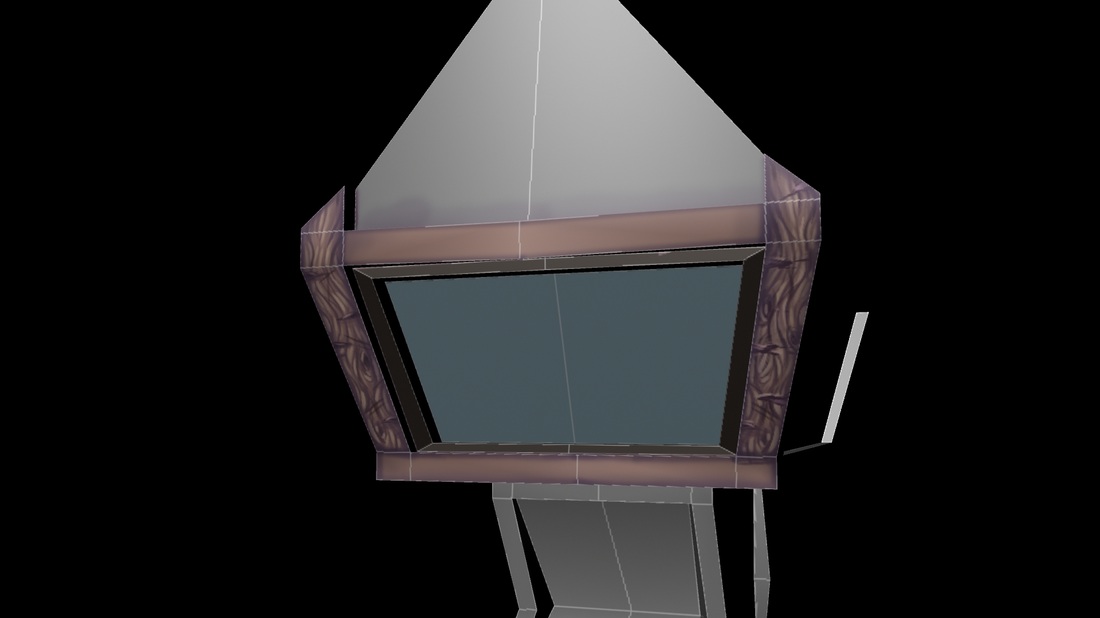
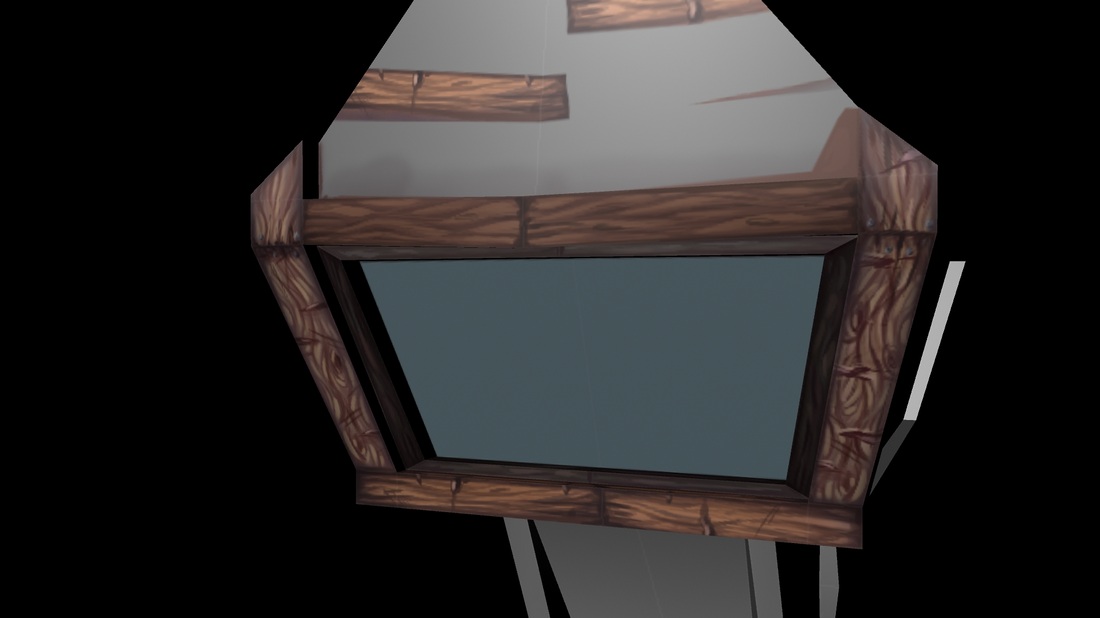
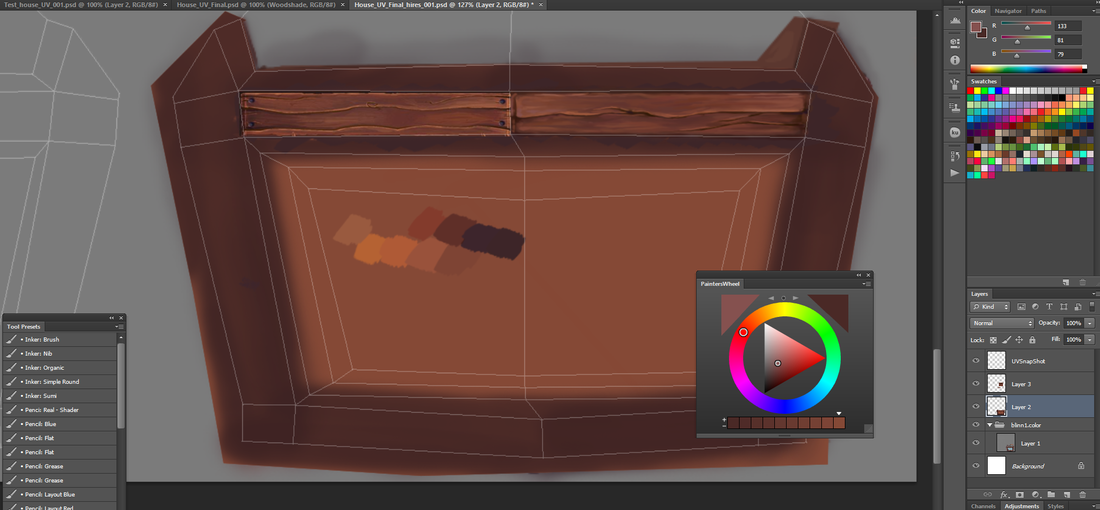
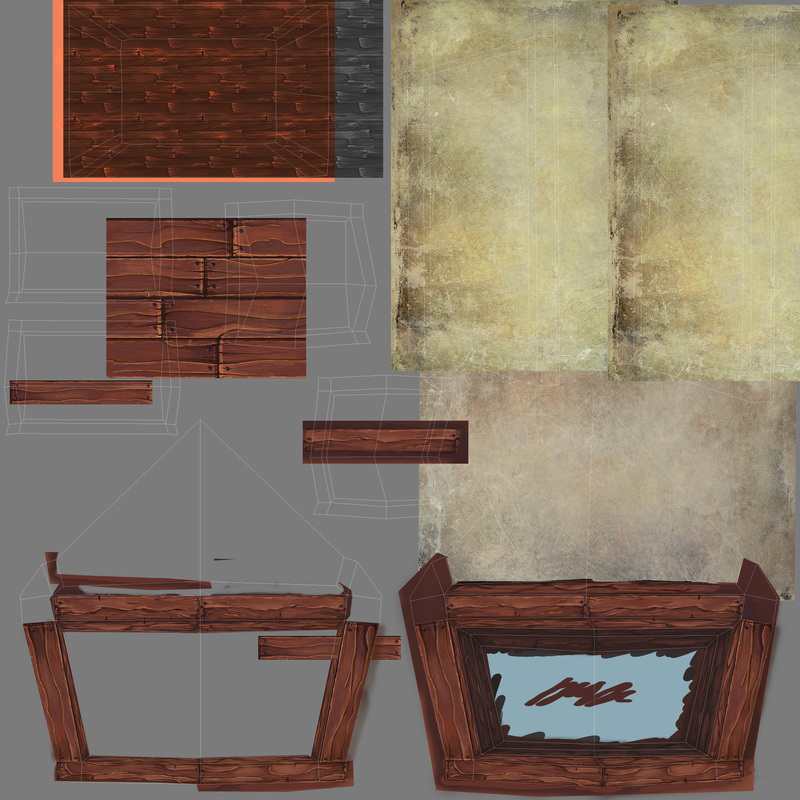
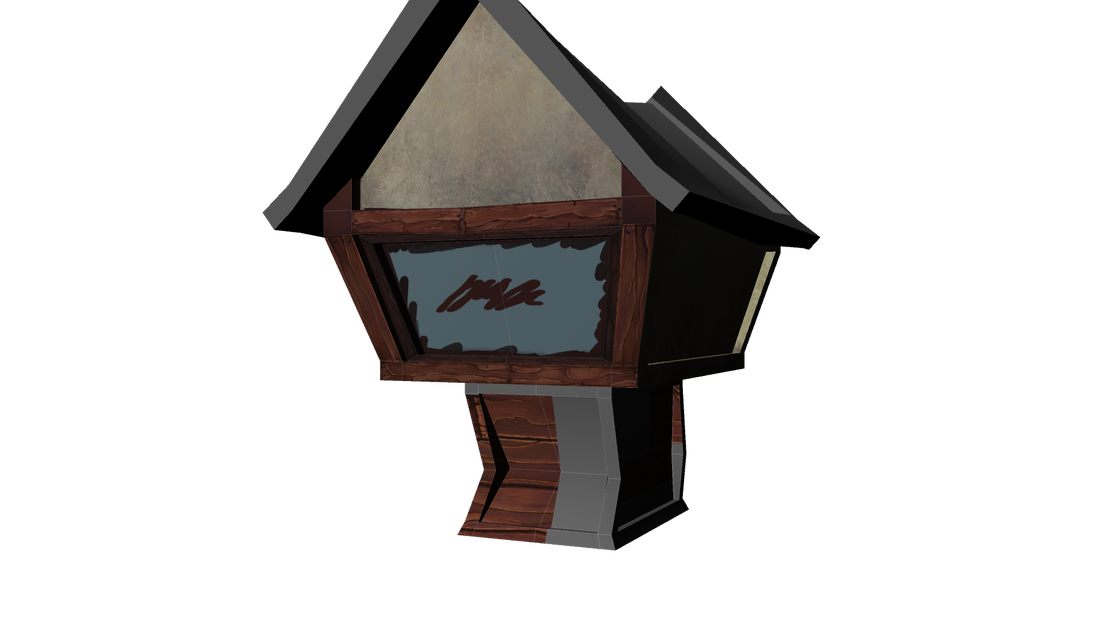
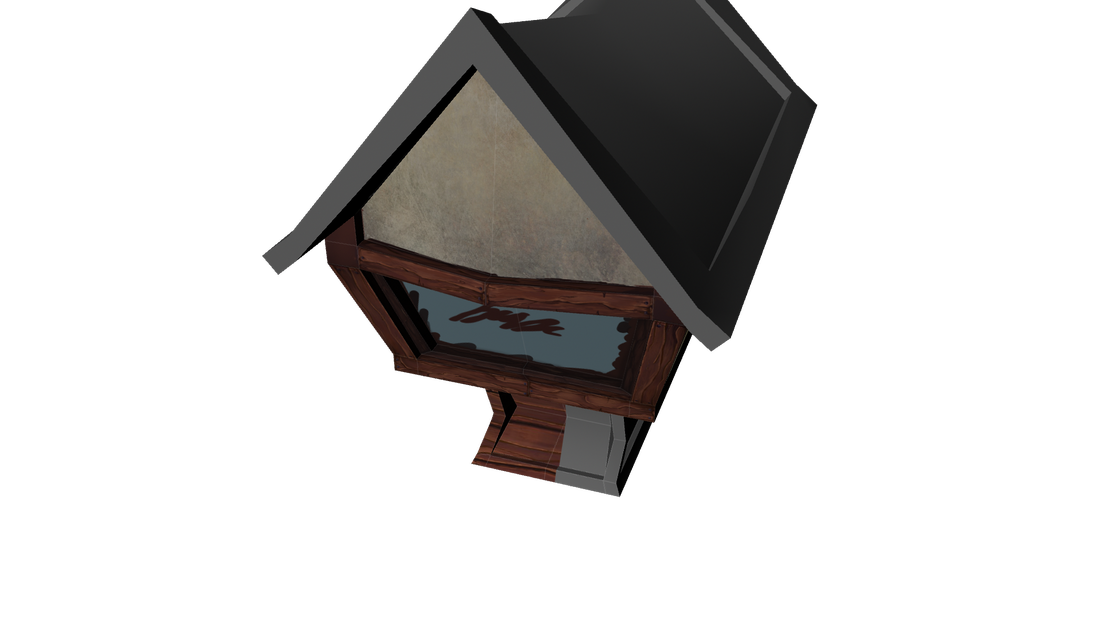
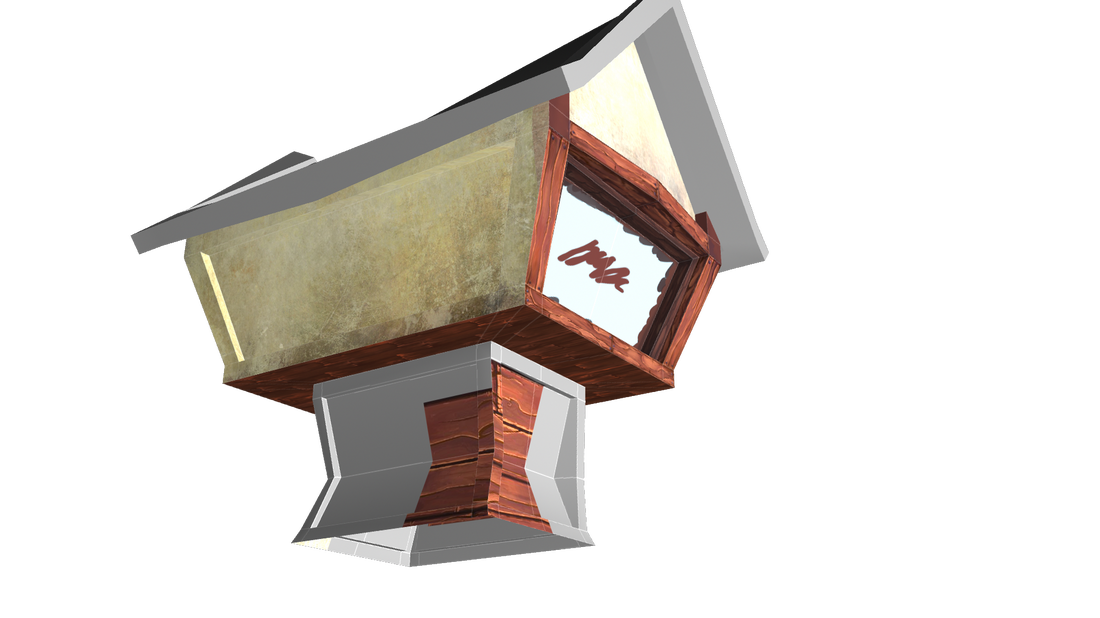
UV Mapping/Texturing a part of the mansion.
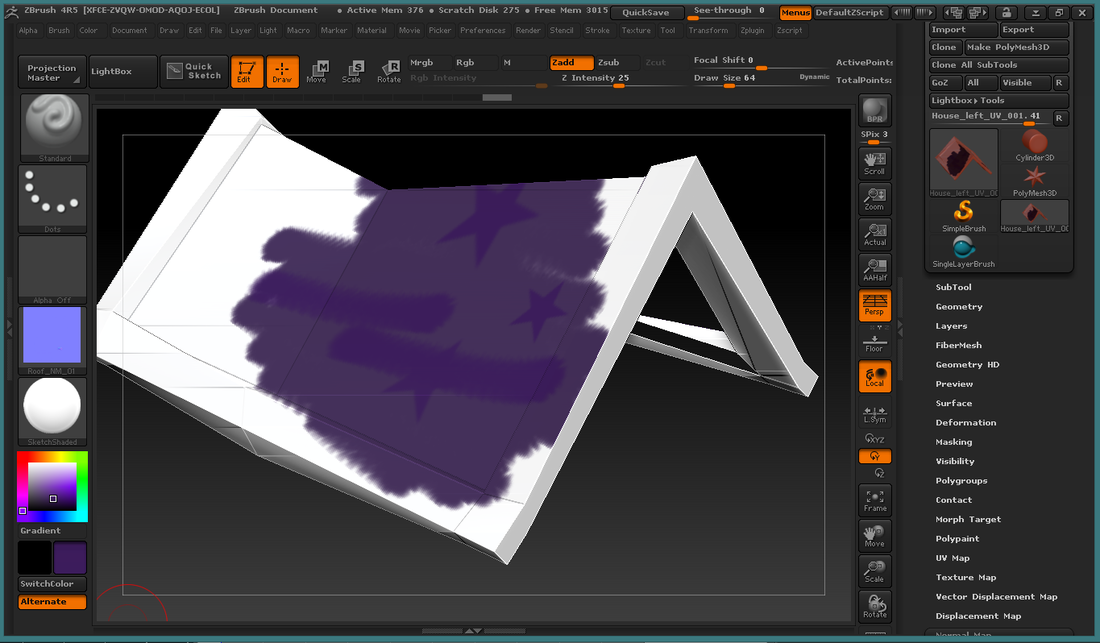
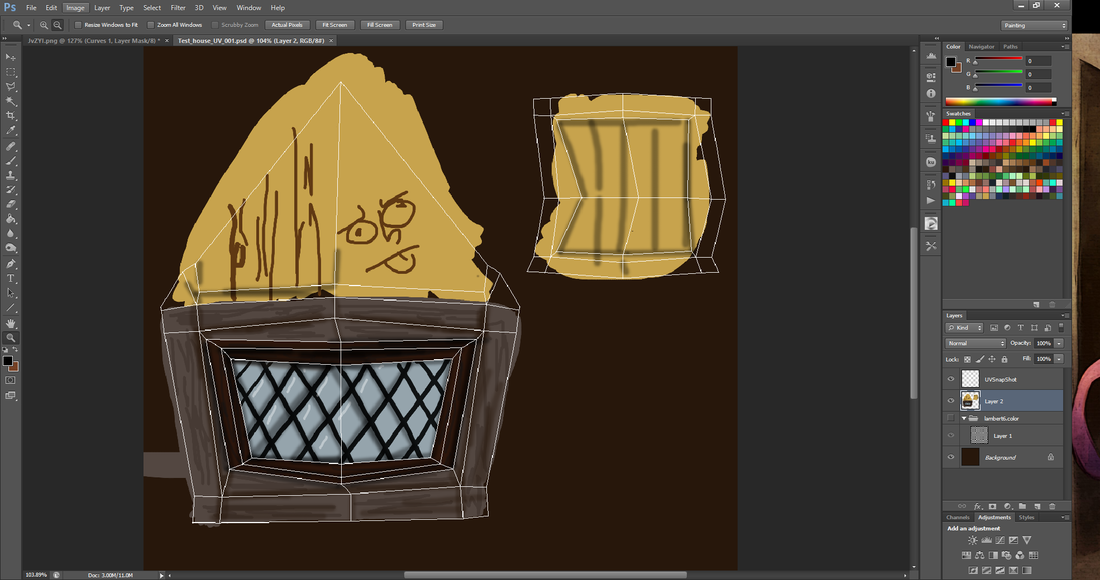
From my original design on the old mansion-turned-clubhouse, I took a section of the building to distort, and fully texture. I didn't have time to complete it, but at least I know I can make really nice hand painted textures... also creating a bump map in zbrush!

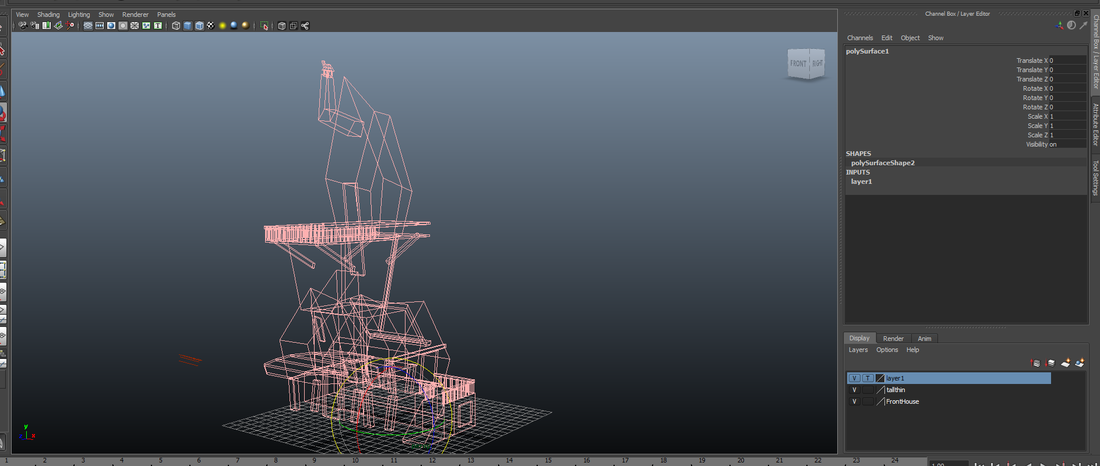
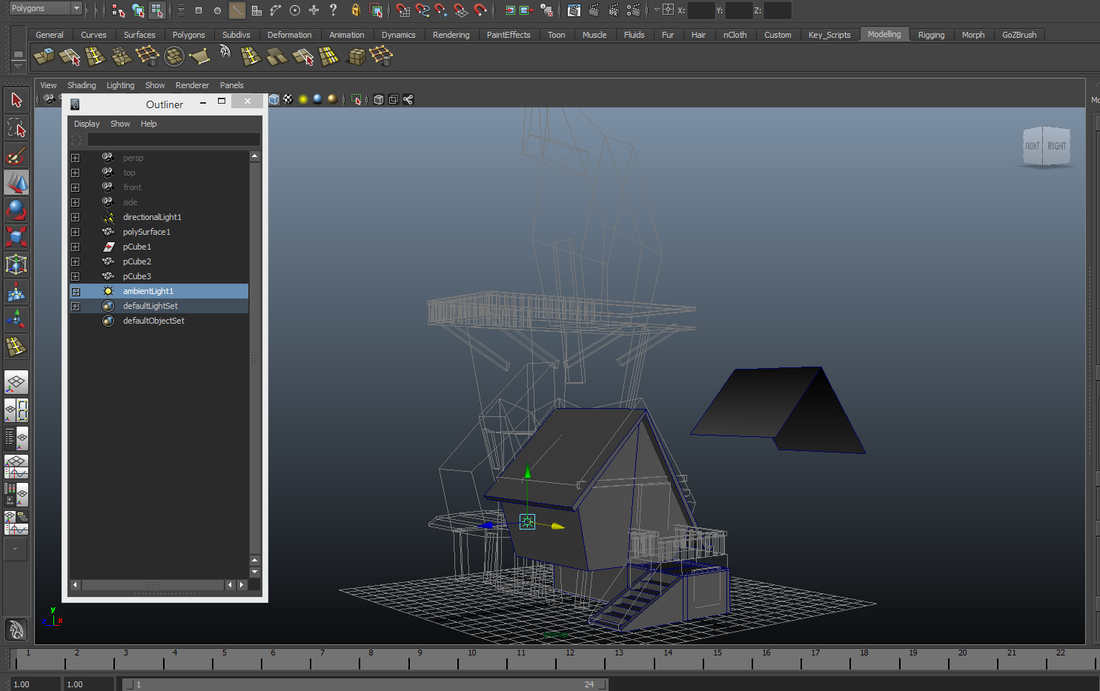
Blocking the Mansion/Clubhouse
I approached Andreas for advise with regard to building my model... I didn't get too far before falling behind again...
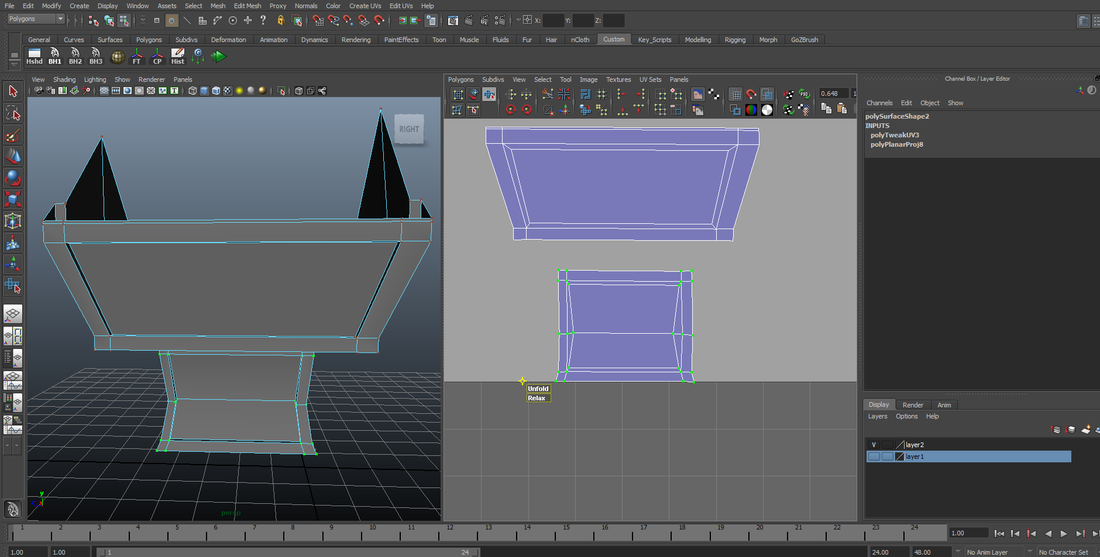
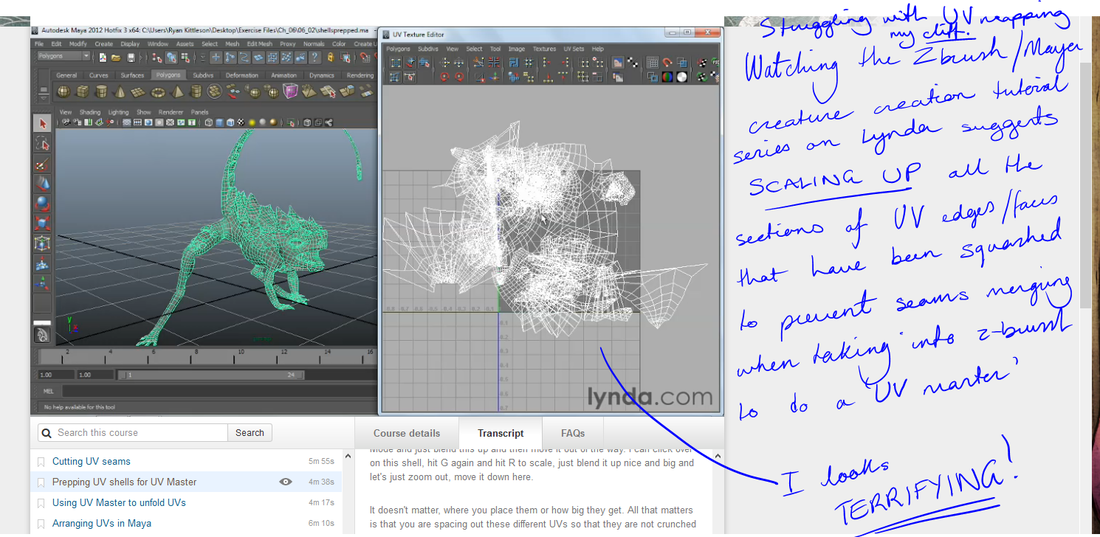
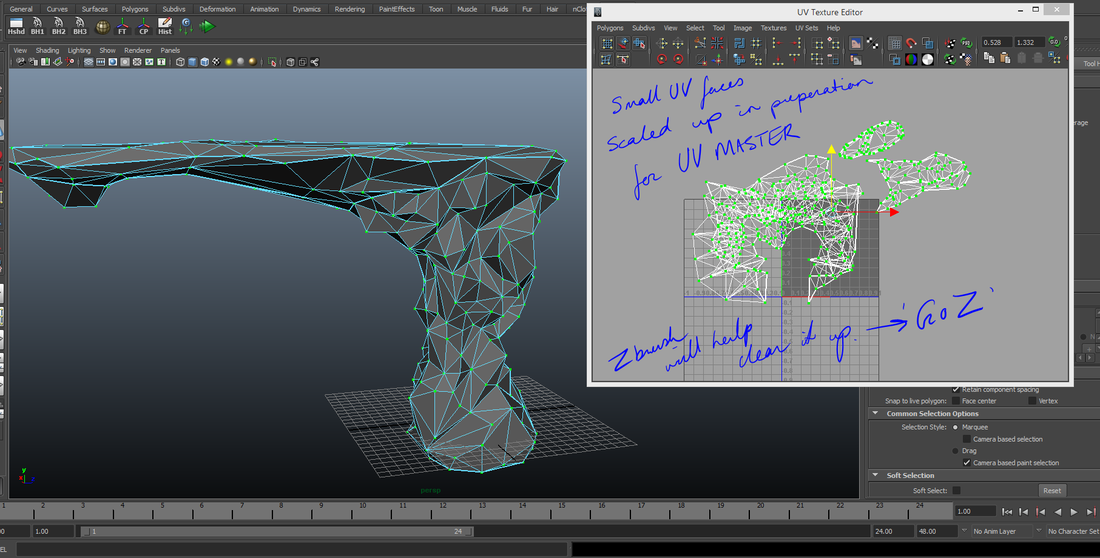
Taking the UV maps into Zbrush to unfold.
I was following yet another tutorial on how to unwrap UVs... (GOSH, everyone does it a different WAY! It's so frustrating for someone like me needing solid direction to actually understand it.)
...It suggested using the GO Z plugin to unwrap the UVs in Zbrush, then taking it back to Maya... it didn't really work... But at least I made an effort.
...It suggested using the GO Z plugin to unwrap the UVs in Zbrush, then taking it back to Maya... it didn't really work... But at least I made an effort.
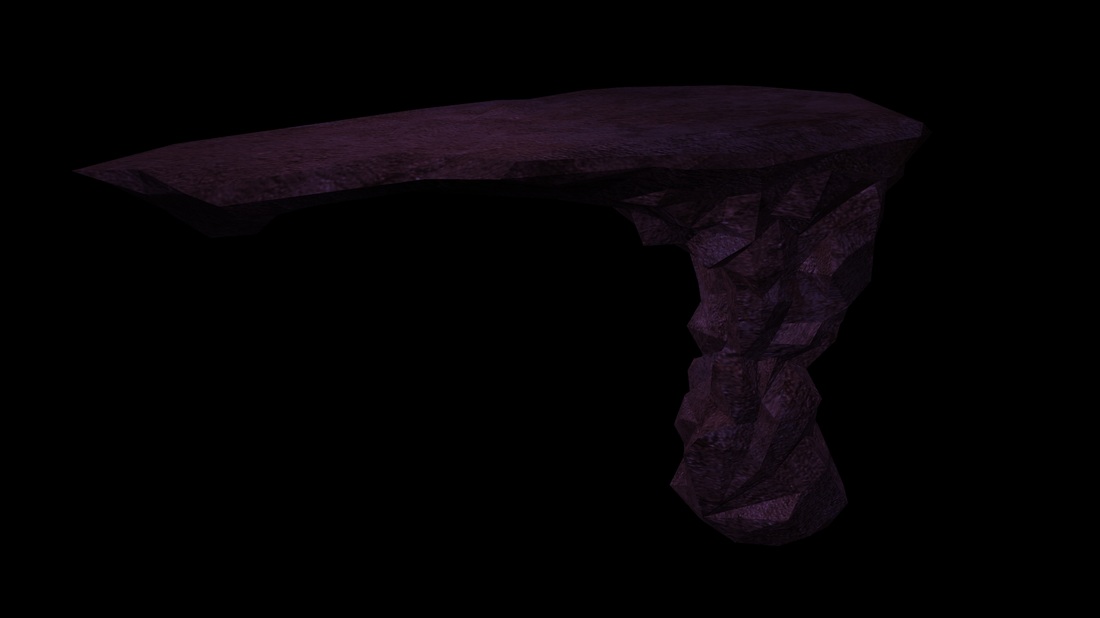
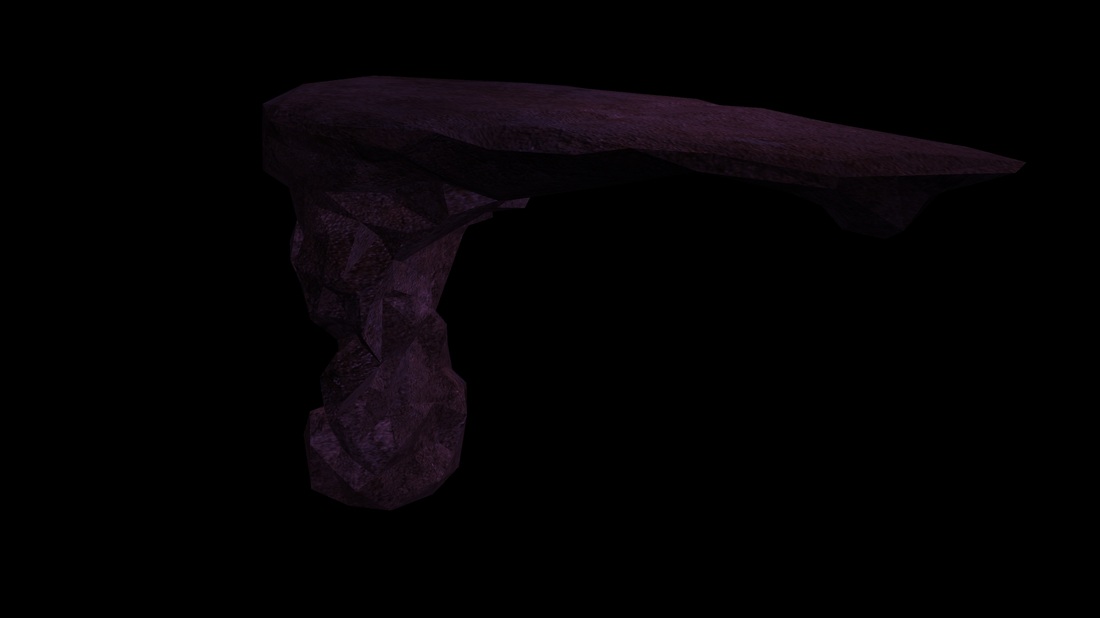
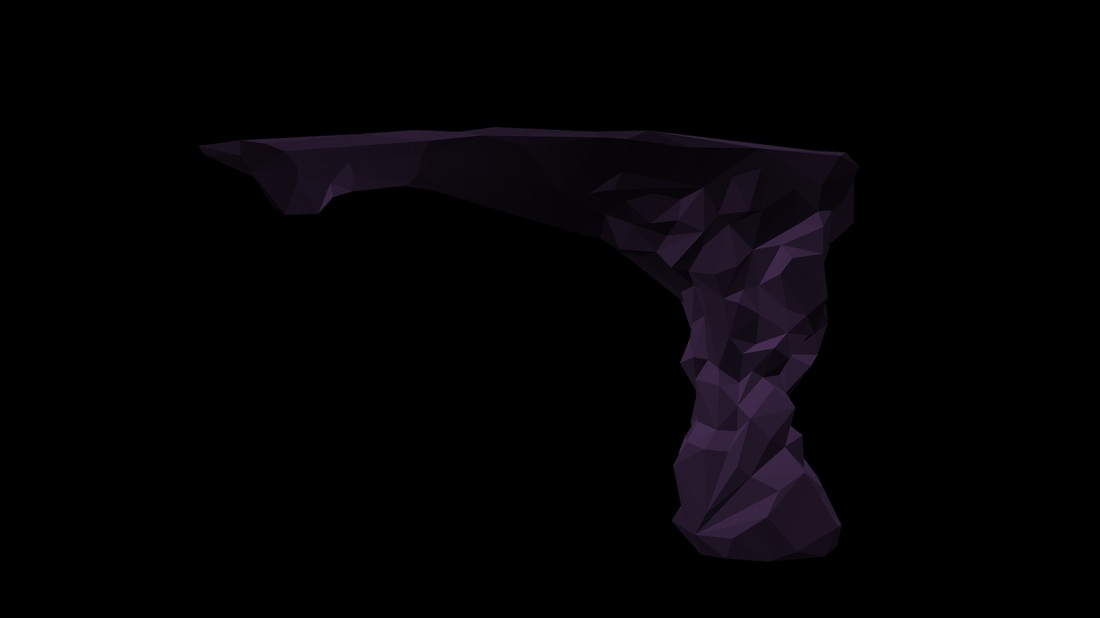
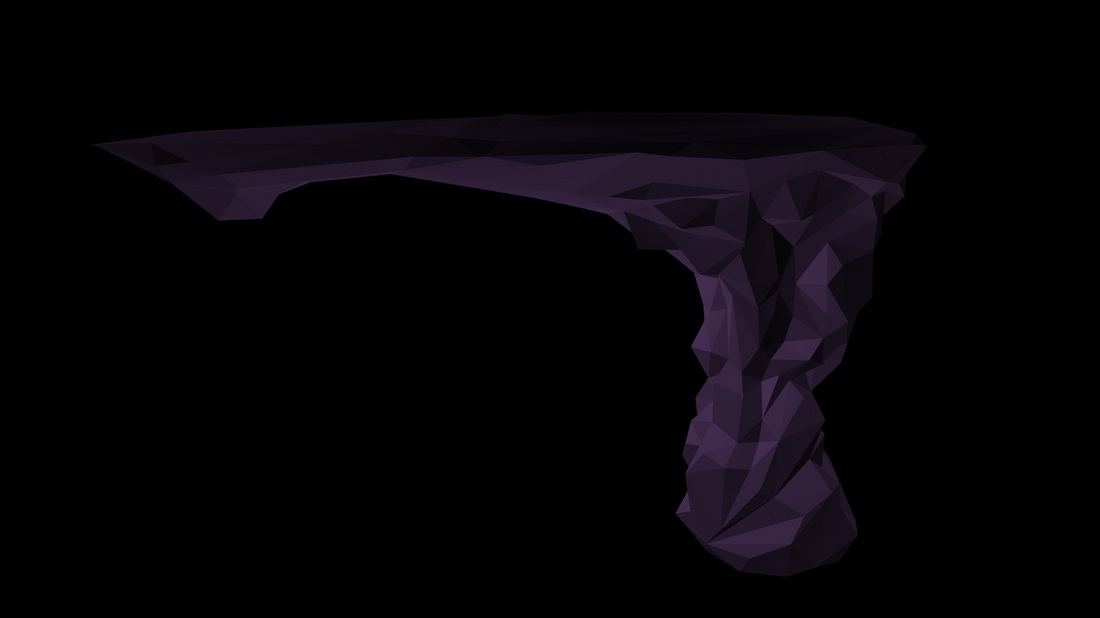
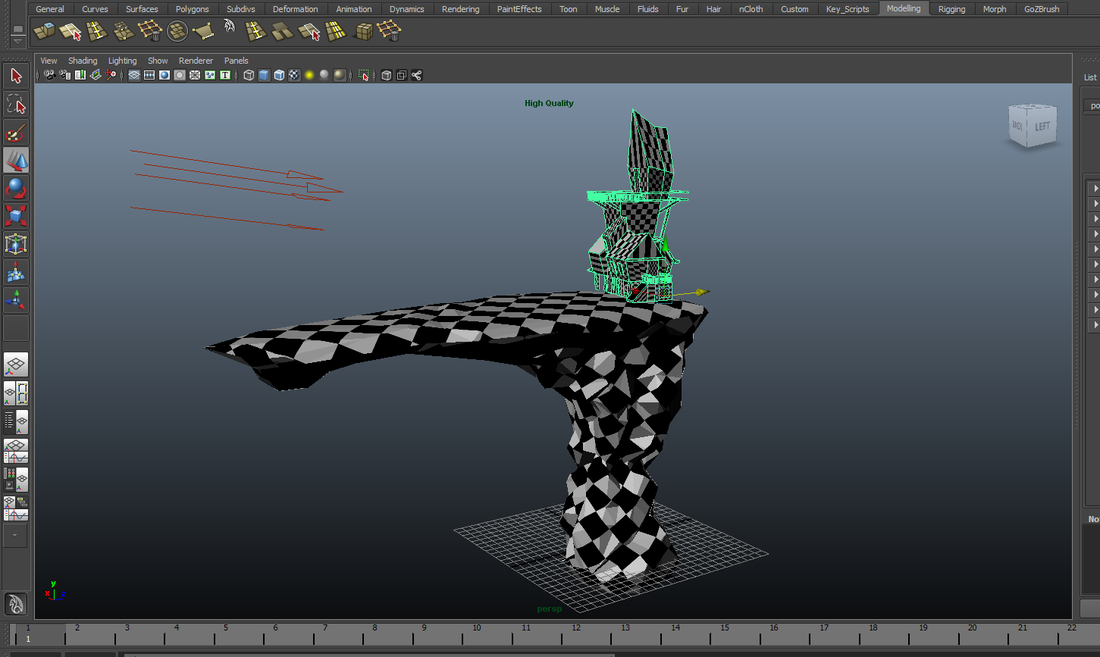
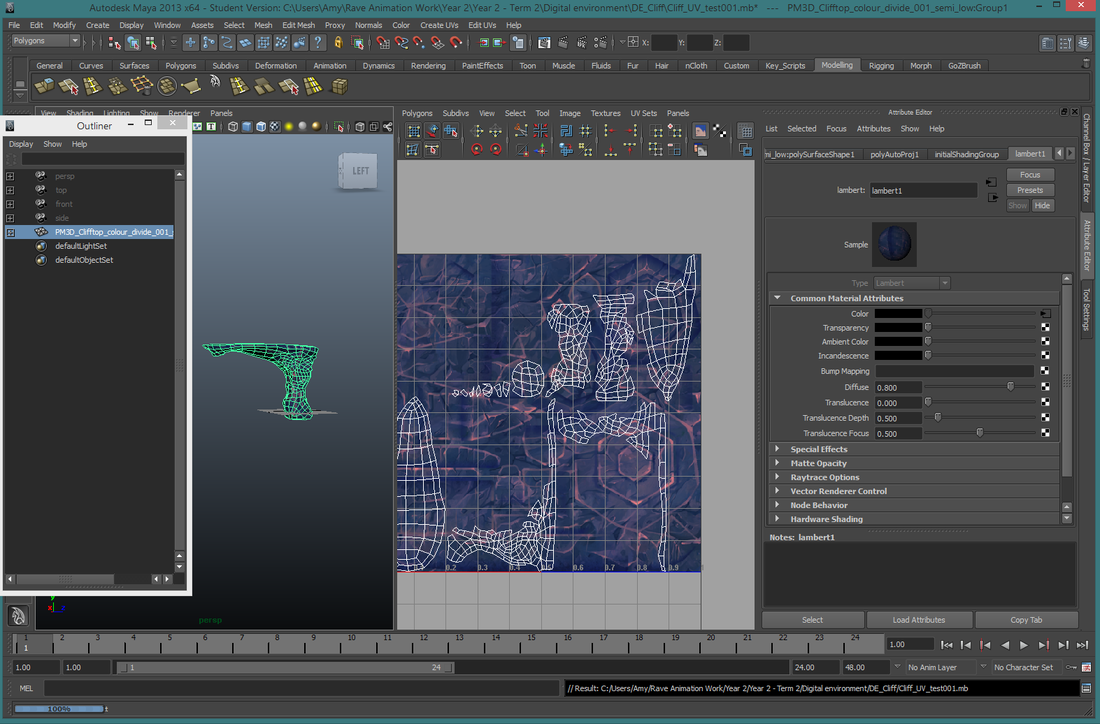
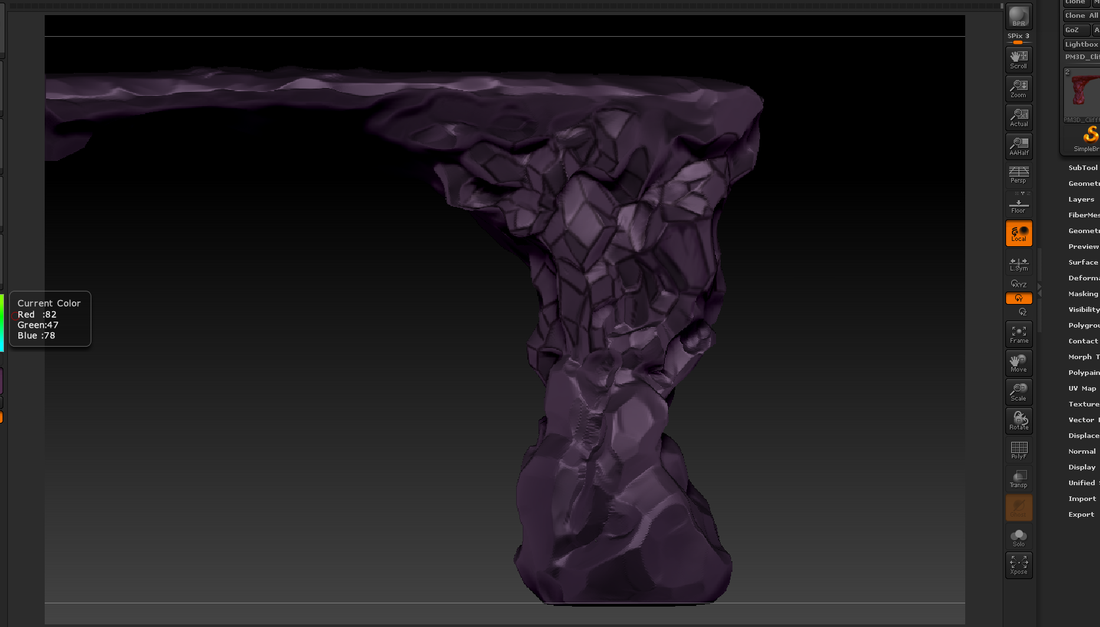
The original cliff sculpt
I was struggling with understanding how to UV map my cliff, and reducing the topology, but retaining the structure without causing it to smooth. I also tried painting it in zbrush...at the time I didn't realise that you have to go through a different process first in order to paint on a model... No wonder it looked awful!
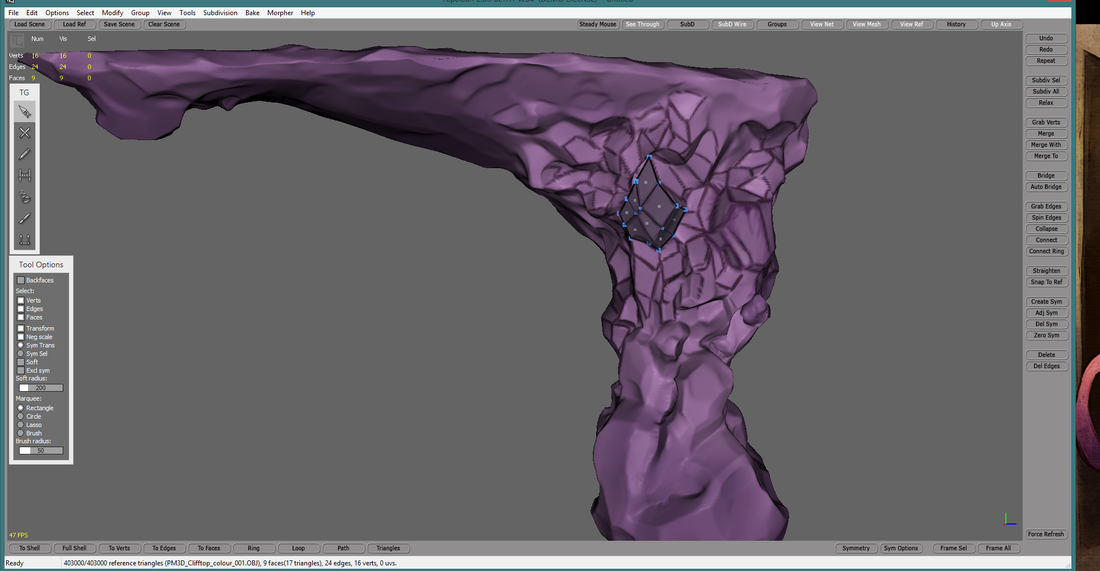
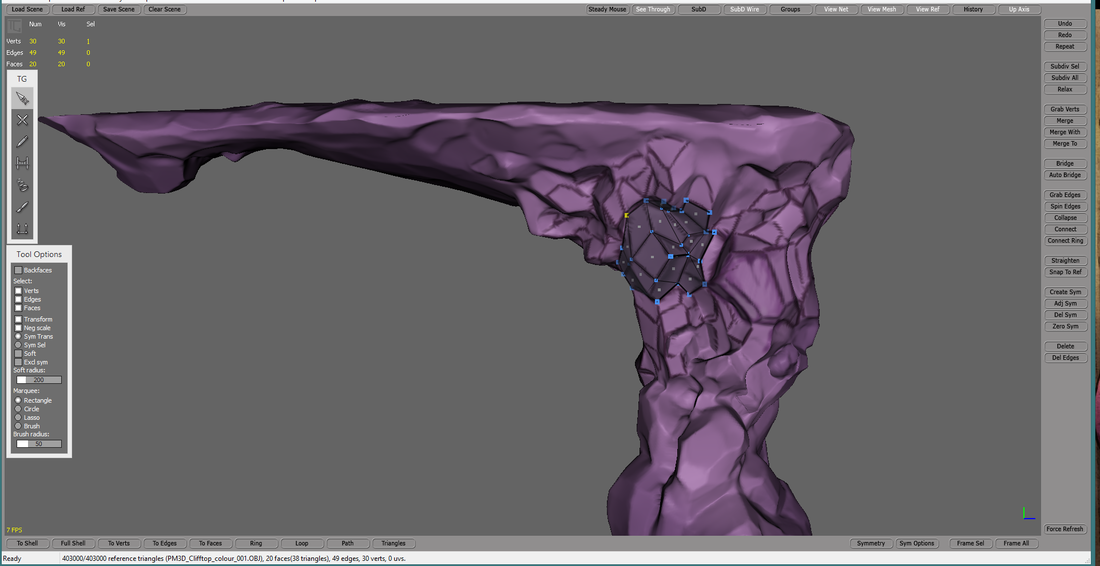
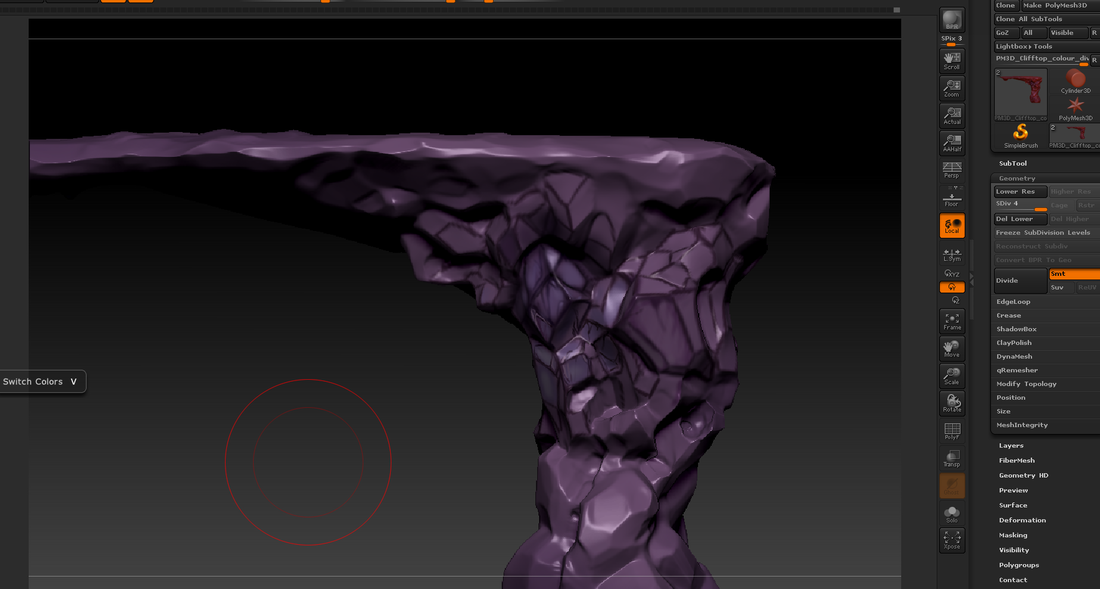
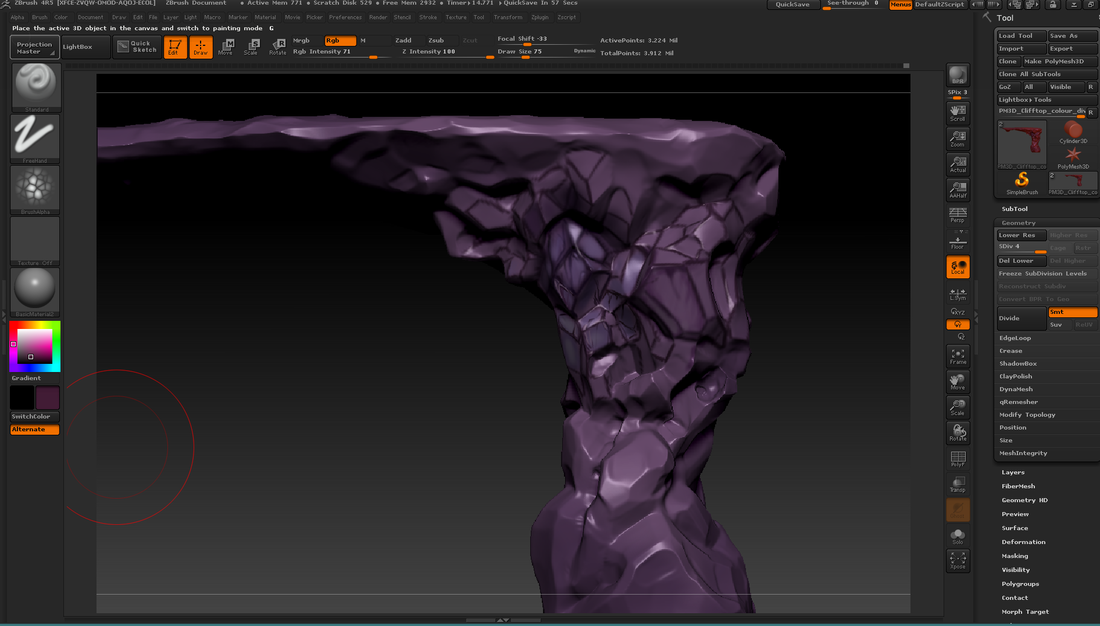
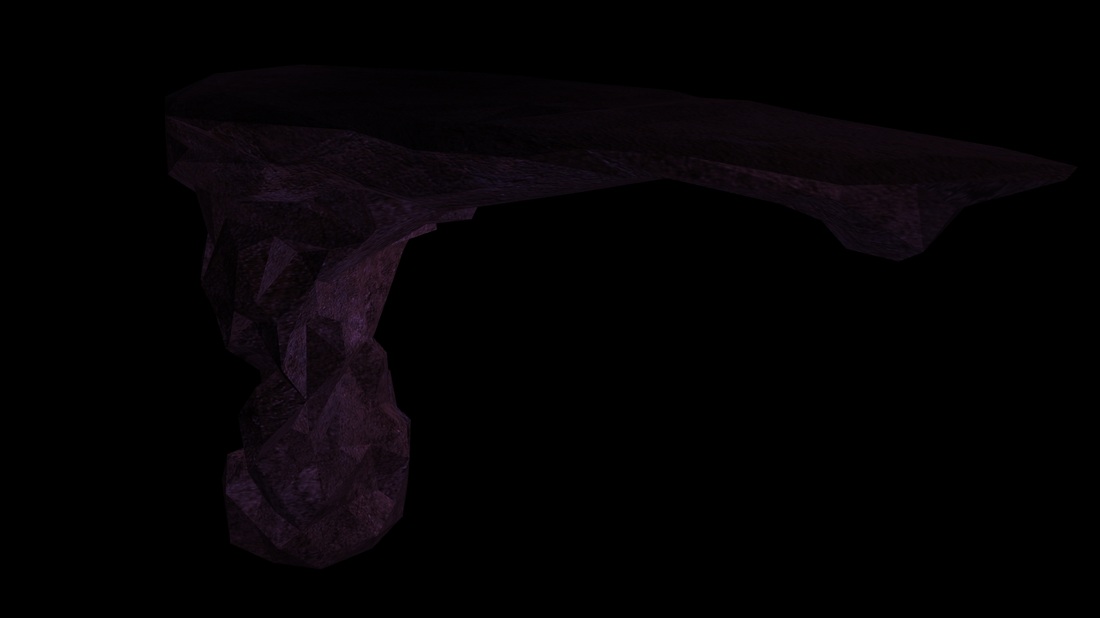
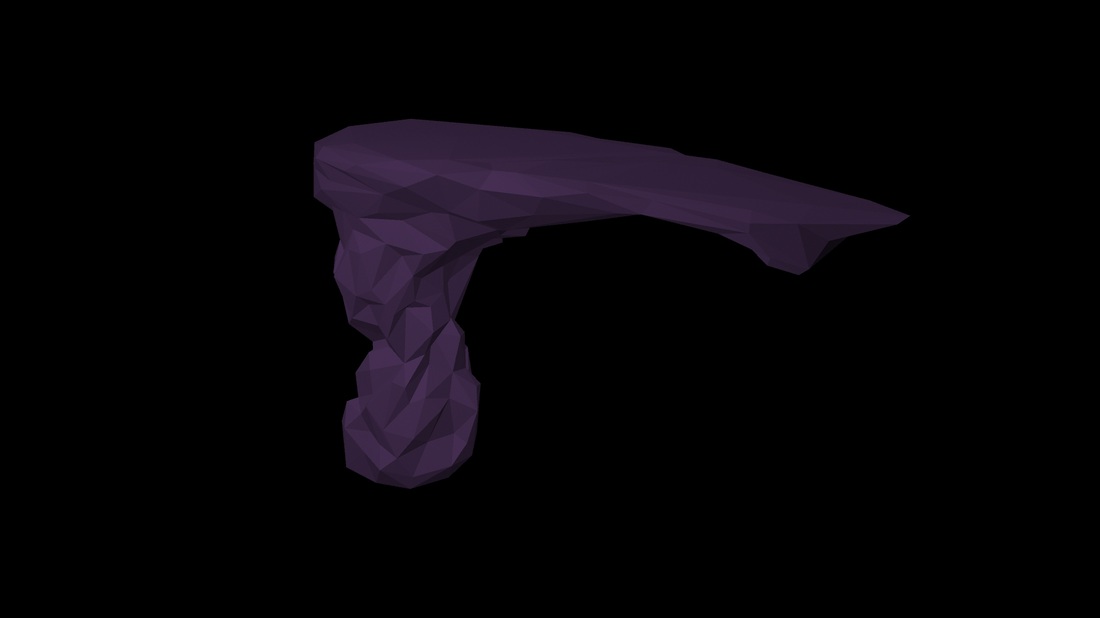
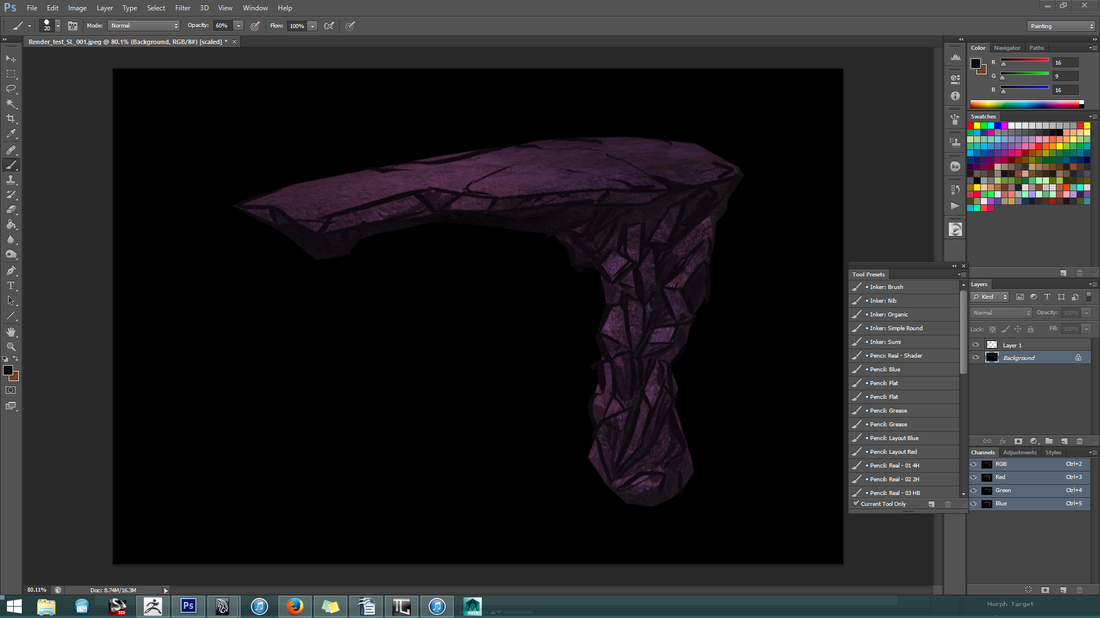
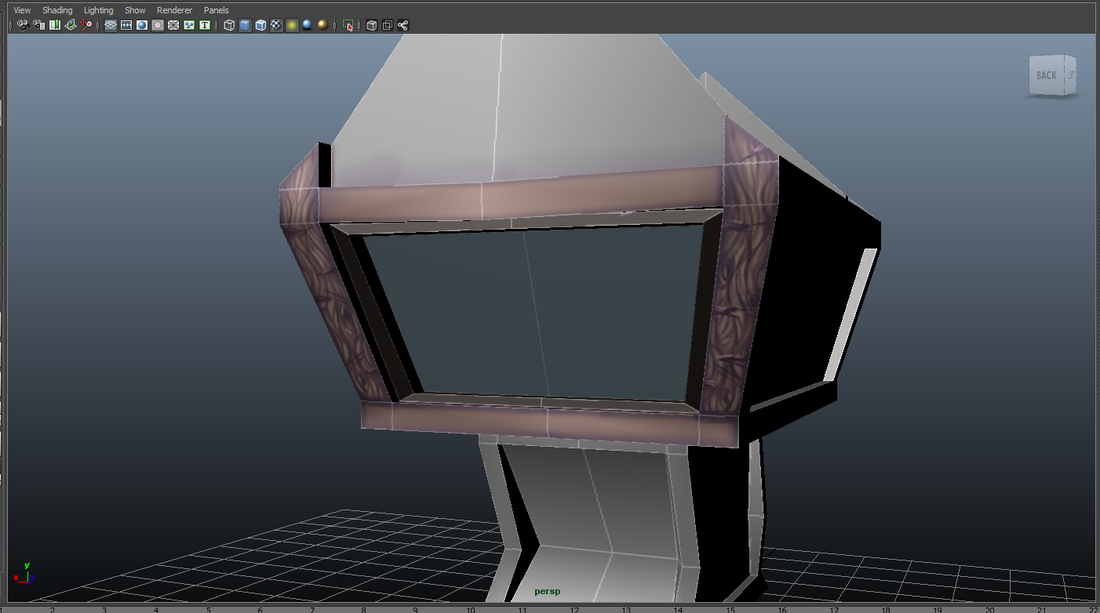
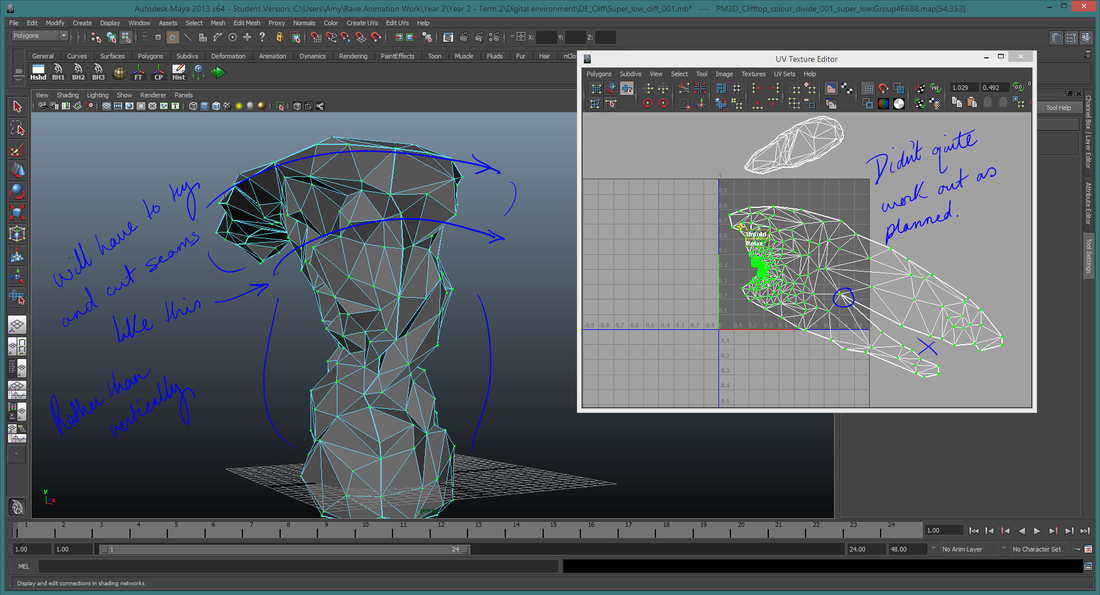
texture tests - Cliff top
Managed to get Andreas to help me with re-topologising in Zbrush. Apparently I have the wrong version, and I need 'Z-remesher' to get the low poly look... whist I have 'Q-remesher', and it doesn't quite retain the structure.
Also overlayed some textures to see the result. I think I'd prefer it to look like paper than rock.
Also overlayed some textures to see the result. I think I'd prefer it to look like paper than rock.