Week Seven
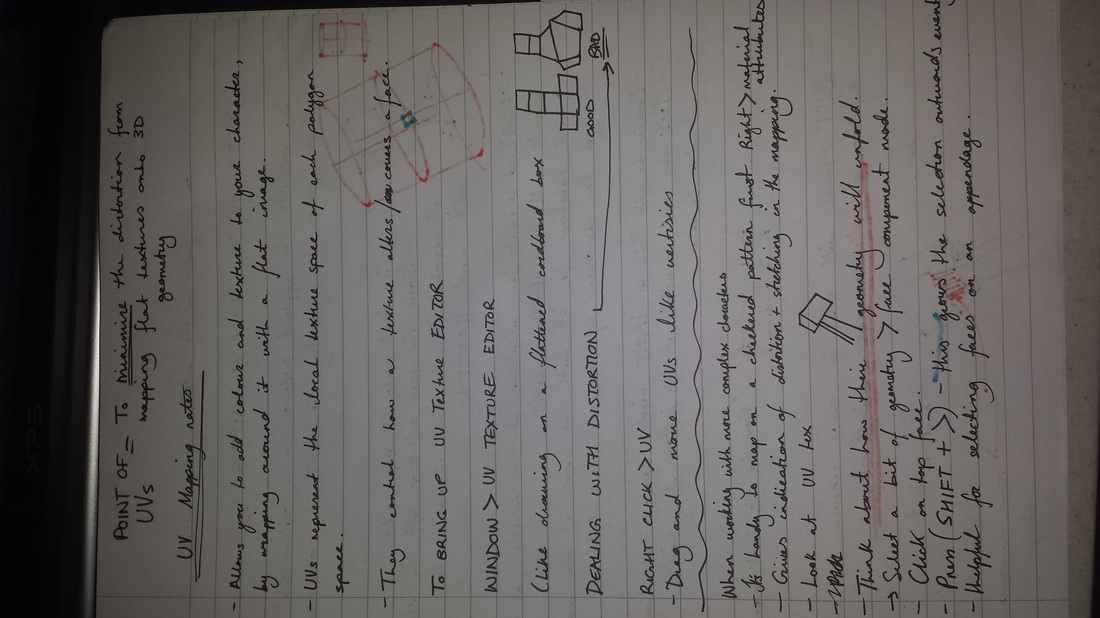
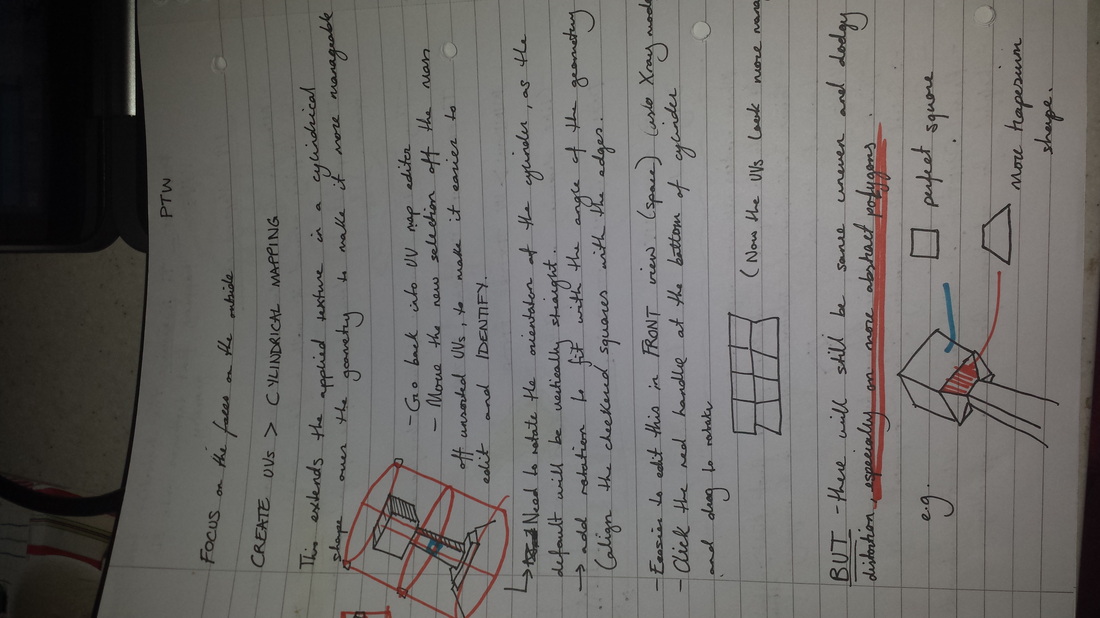
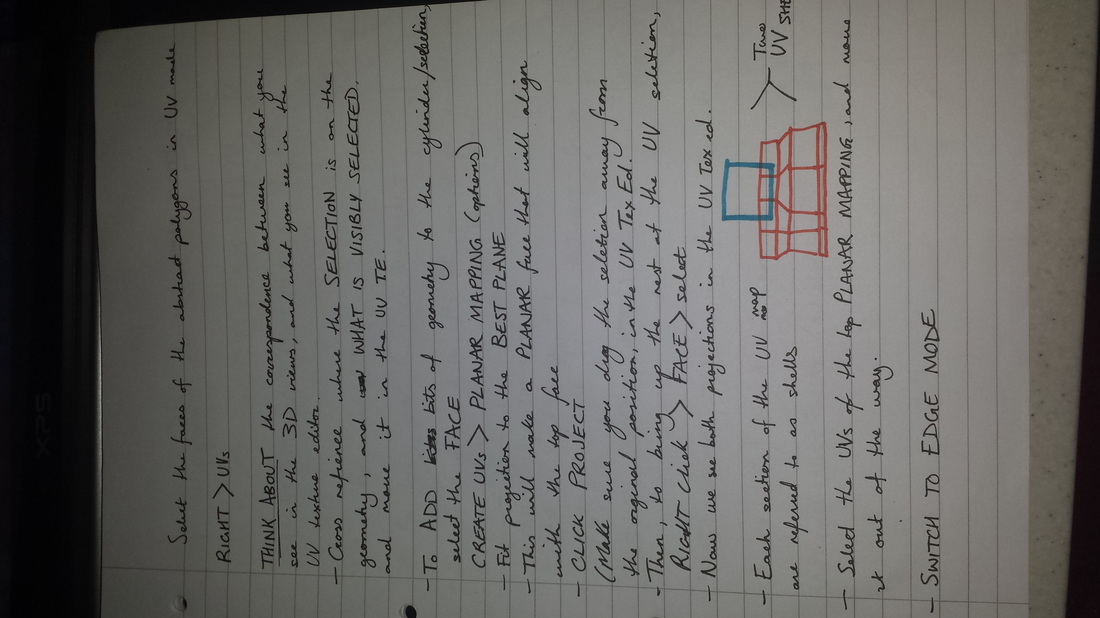
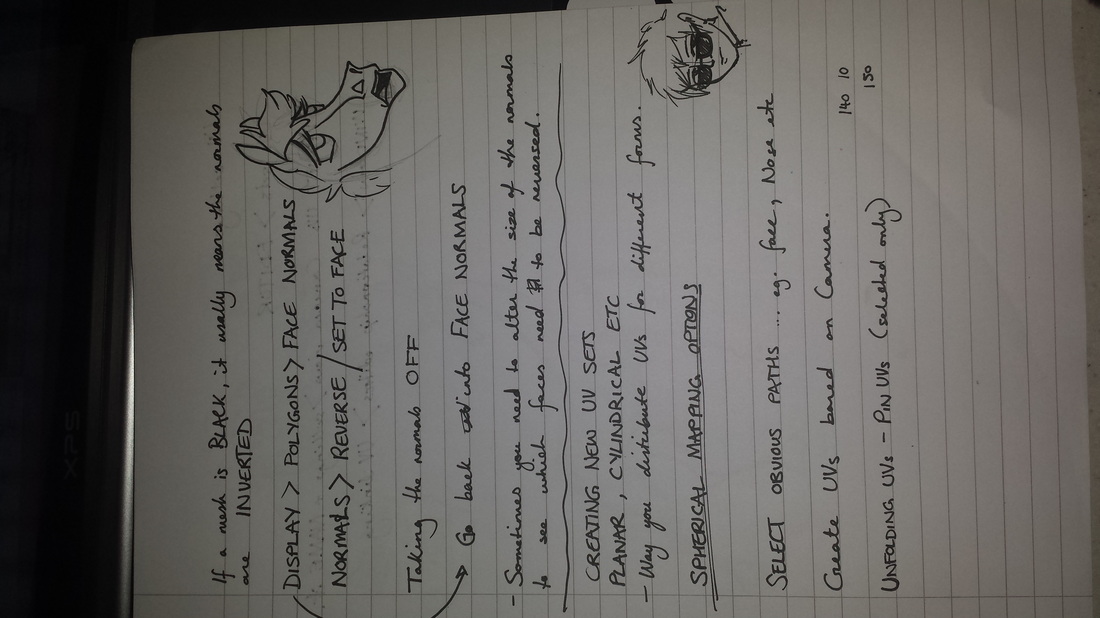
UV Mapping - In Class
|
UPLOAD NOTES!!!!
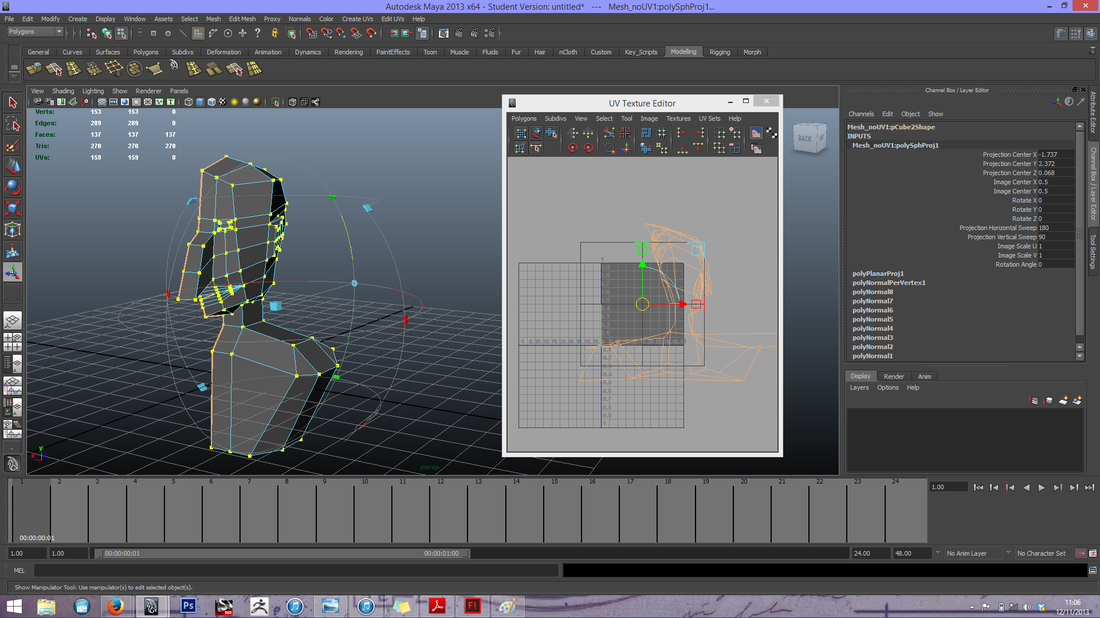
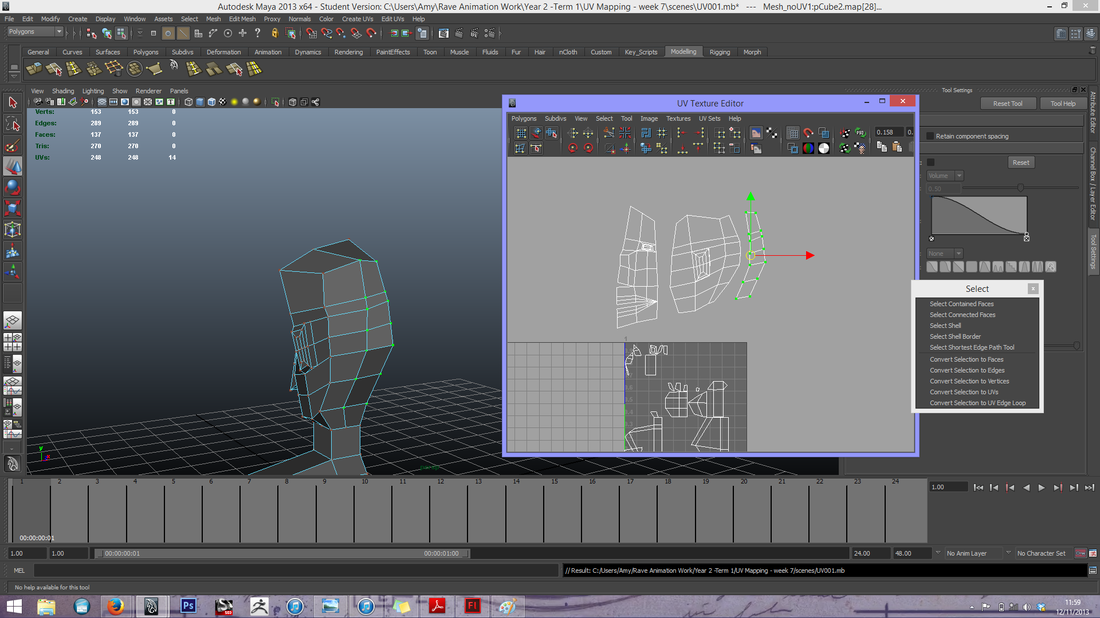
So here we have a simple head, with intentions to UV map it. We firstly take a look at the UV Texture editor, and scale the shape down to fit the layout. At the moment, the shape is still wrapped. |
|
We then began to slowly select individual faces, to make up a specific selection. This way we can ensure total control over what we select. We then created individual UVs for each section, and began to lay it out in the UV texture editor.
|
|
|
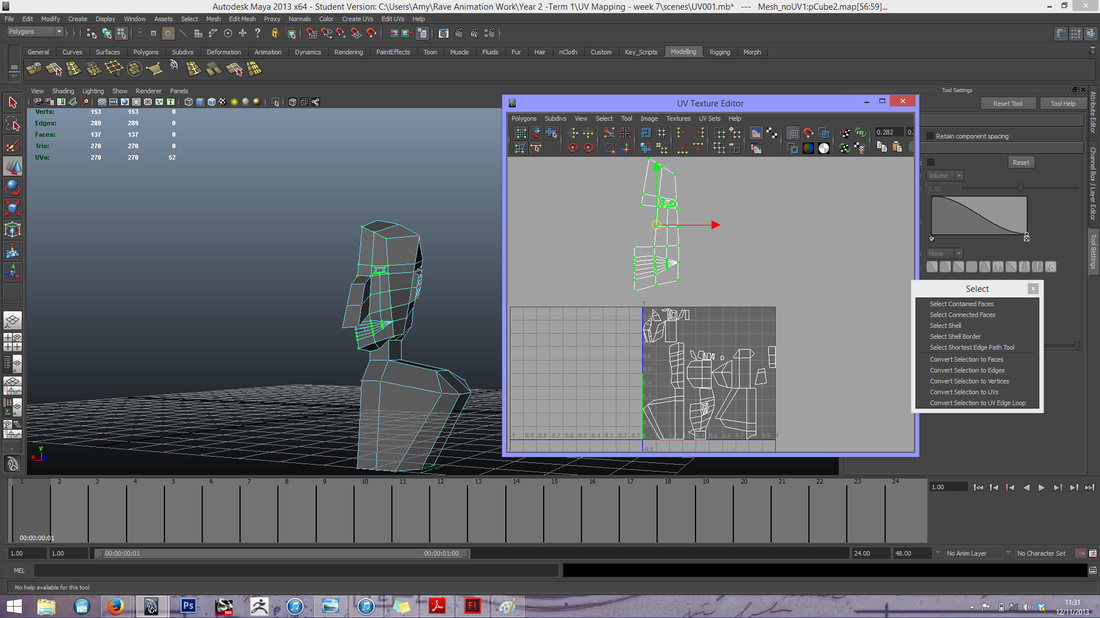
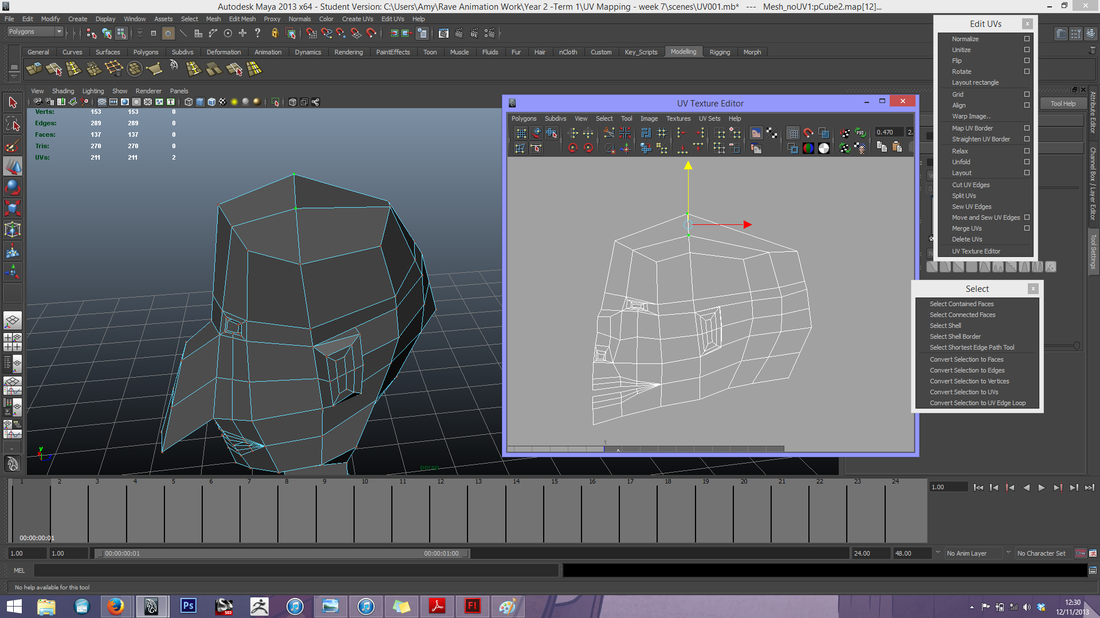
We the re-assembled the face by stitching the UVs back together, to form uniform and neat UV topology.
|
|
We then continued to move the edges around to make better proportions.
|
|
|
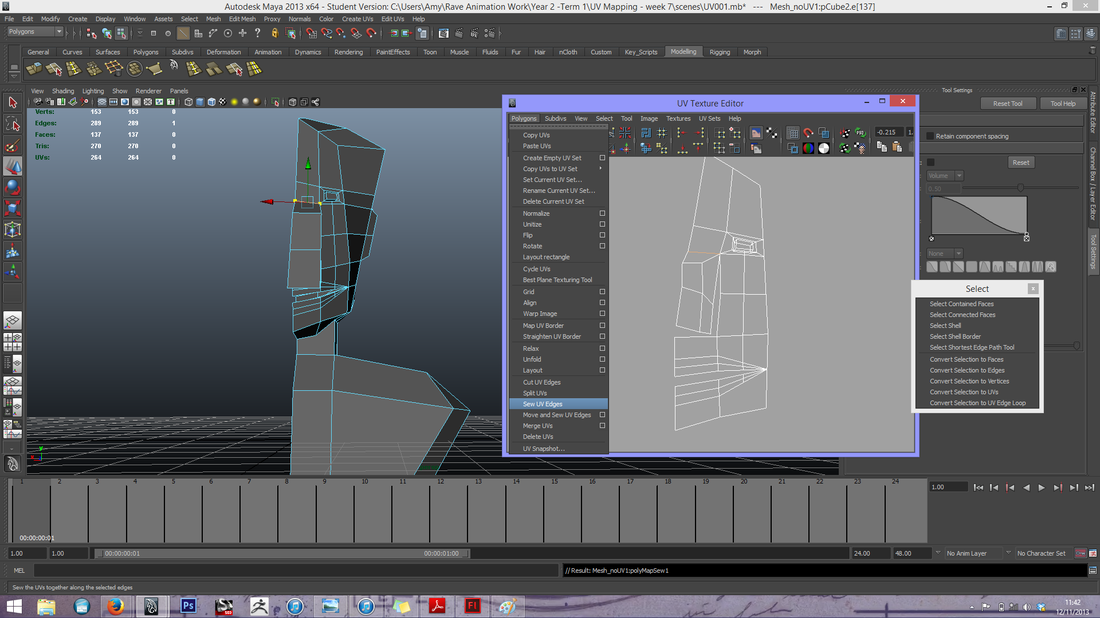
This image shows the process of stitching the face to the side and top/back of the head
|
|
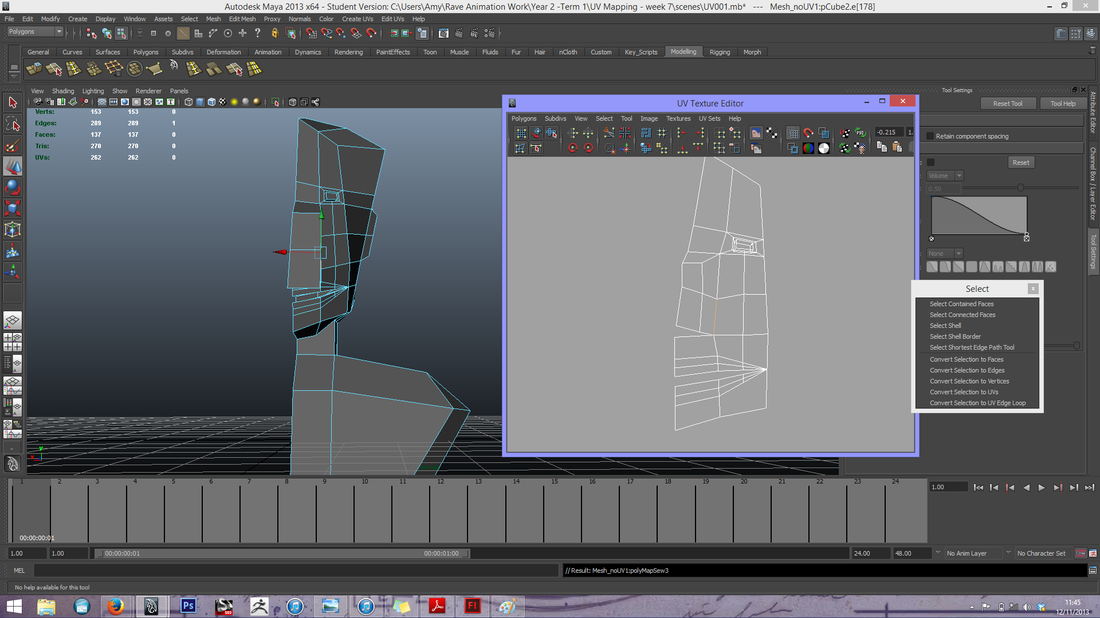
Once the edges are merged/stitched, we see one piece of neat geometry, clearly indicating the details, like the eye and mouth
|
|

|
Now, we mirror the UVs, and stitch them together to create the full UV map for this character bust's head.
|